Tag: vegan

RECIPE: Homemade Coconut Milk (or Coconut Creamer) – Easy, Fast, GREAT for Dairy-Free Travelers!

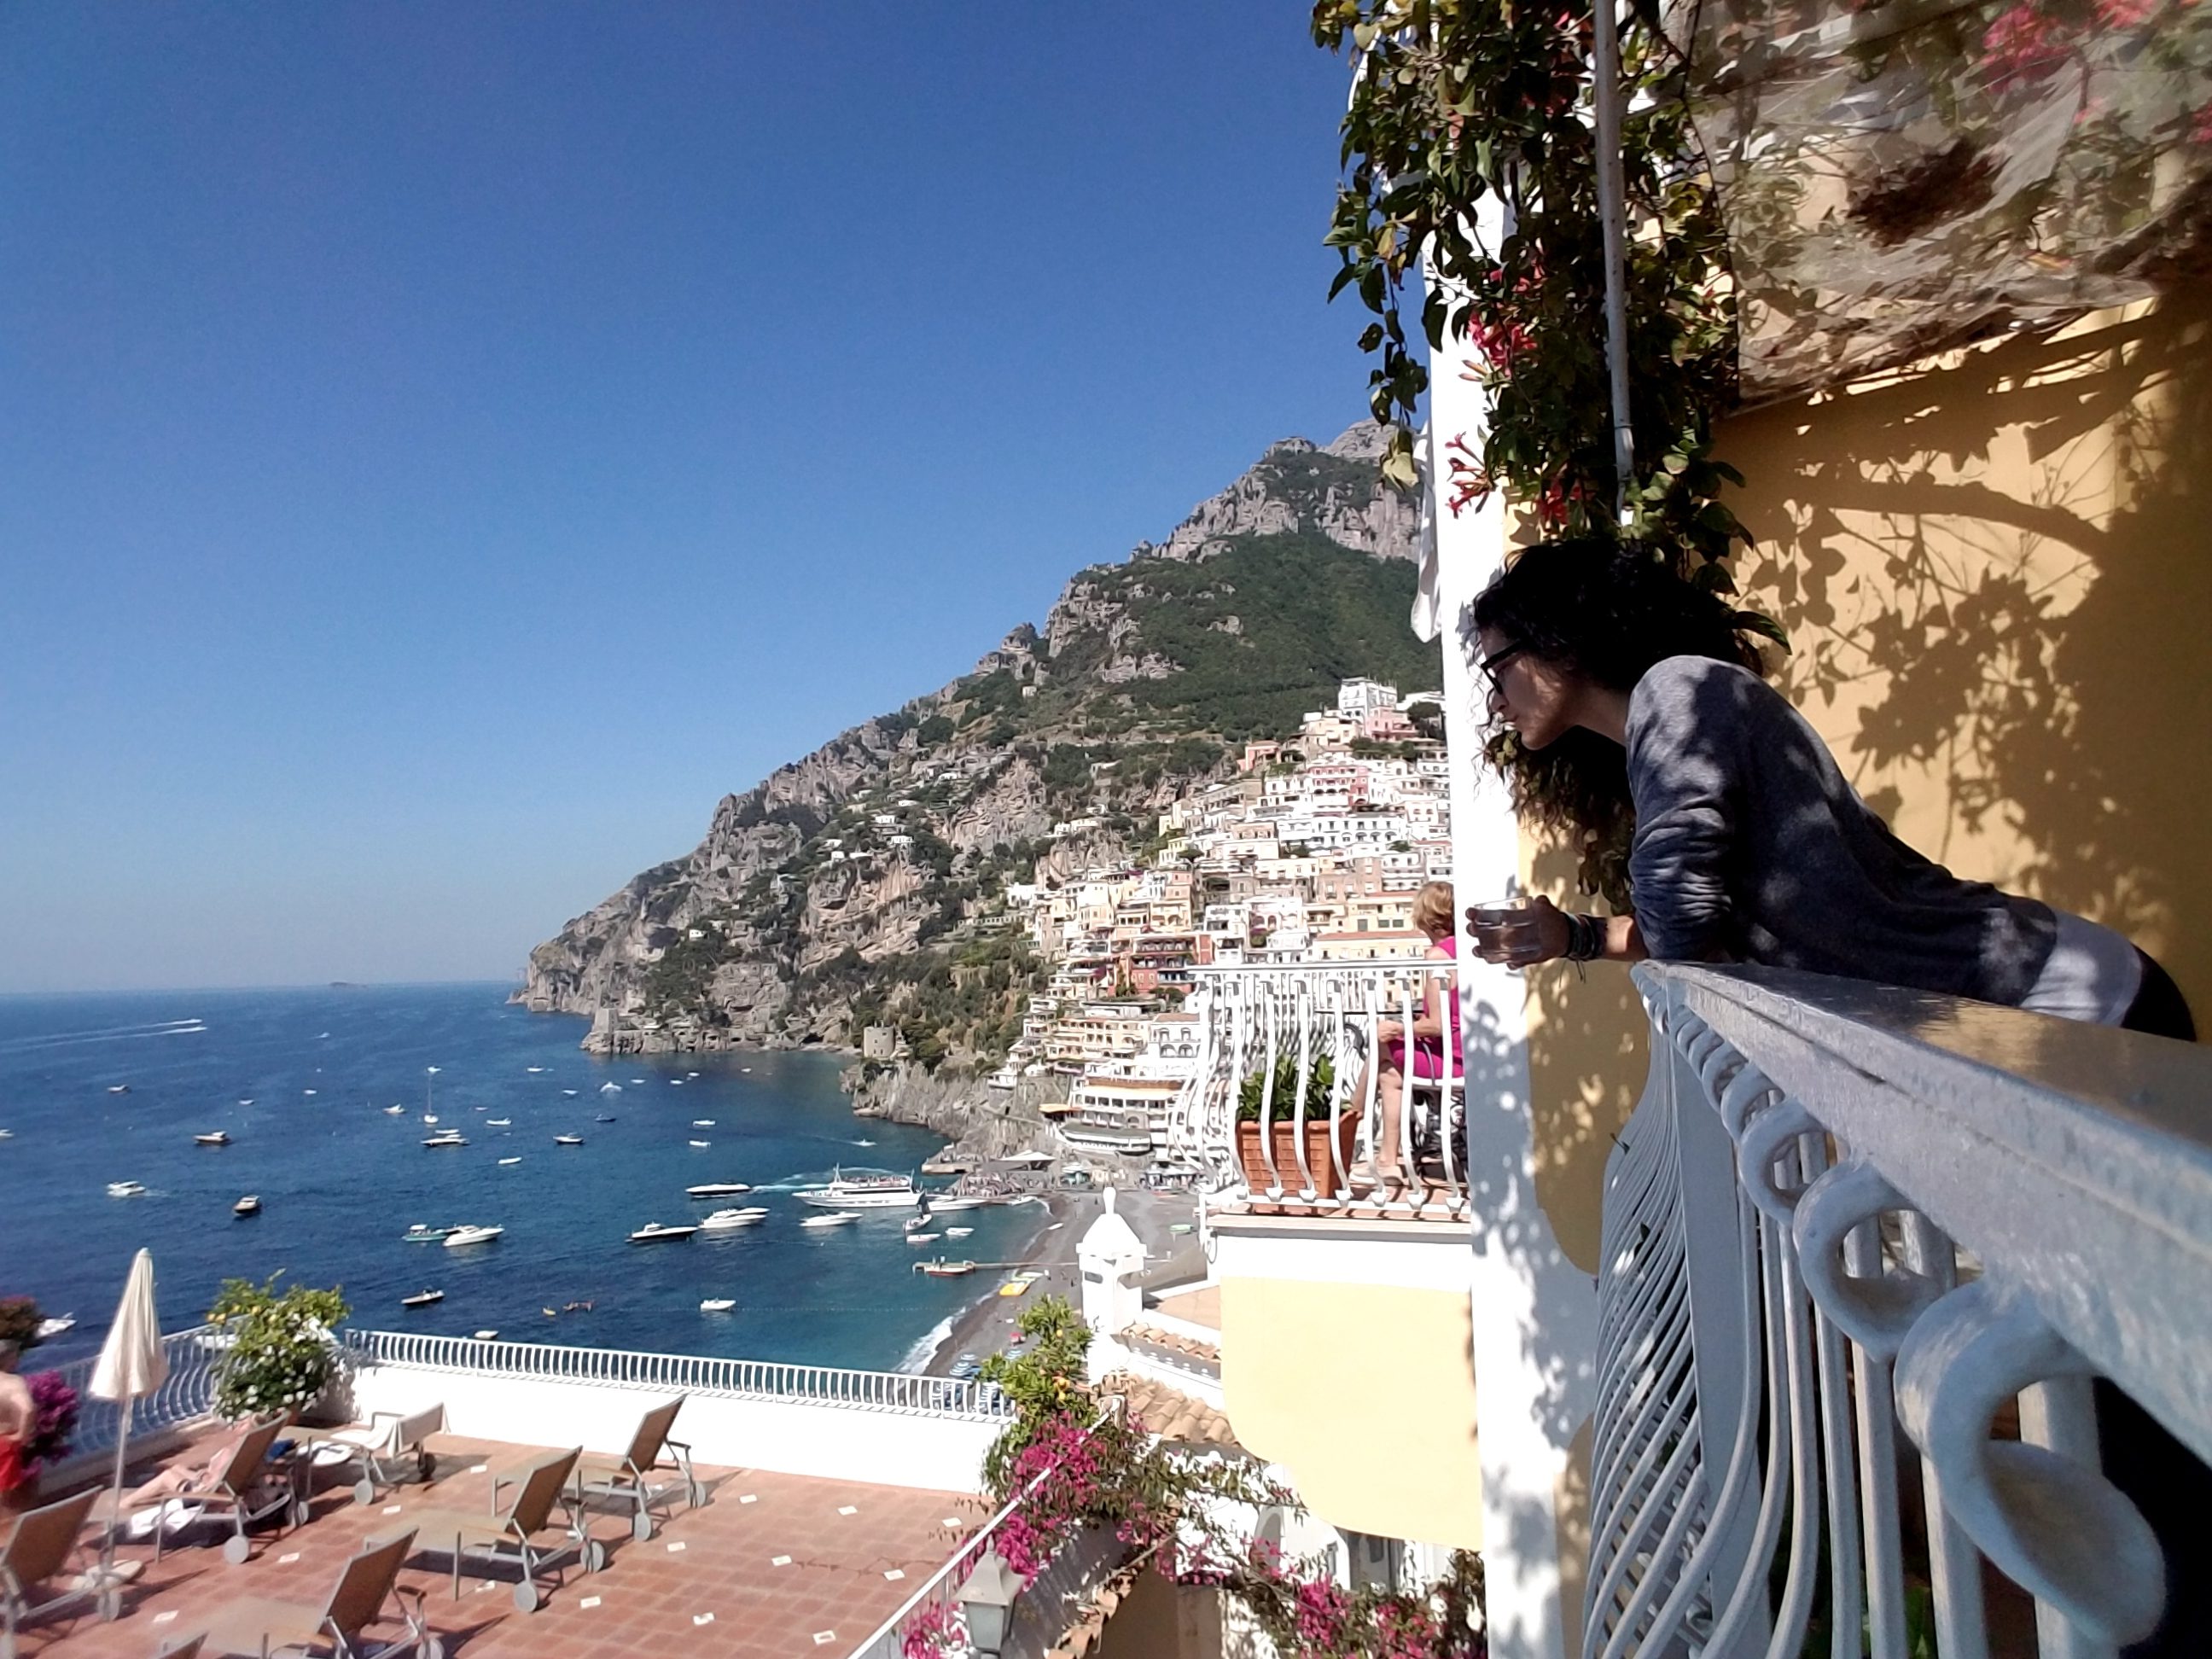
This summer, I have been doing quite a bit of traveling. Starting off in beautiful Italy and then making my way to Latin America, I currently find myself in the middle of a legit jungle – monkeys howling and all – in the Southern Zone of Costa Rica.

Just hanging out off my balcony in Positano, Italy. Totally casual.

This tropical rainforest is amazing and refreshing, but also makes me miss a few small foodie preferences that have been a part of my daily routine for years.

Especially through the most recent experience living off-grid in an isolated, glorified tree house (thankfully with pretty impressive internet to benefit my online clients and me), I learned how to do without a number of American luxuries. These include everything from transportation (no car), no paved roads, no 24-hour convenience stores (or any stores within two miles), and no access to anything from supplements to electronics to mail being reliably being delivered…

Cuddly kittens and warm weather make everything better.

It also includes not being able to find carton-style coconut milk – never mind coconut creamer for coffee. And if you didn’t know, Costa Rica is known for its amazing coffee.

Needless to say, I’m not a milk drinker and never really have been. Anytime I’ve needed a “milk” for something, I’ve opted for the almond or coconut substitution. (If you have my book The Grocery Store Tour Guide, you’re probably familiar with this suggestion.)

Considering the fact that mango, banana, papaya, AND coconut trees are everywhere in this tropical part of the world, I was somewhat surprised that I couldn’t find any carton coconut (or almond) milk near the home I am currently living in. There is one market down the mountain (over 2 miles away and a 90-minute steady walk thanks to the incline) that has one small almond milk carton option, which was unsurprisingly overpriced… and expired by six months.

Luckily, there is also a decently stocked chain supermercado in the nearest town that is accessible by a 20-minute bus ride (in addition to the nearly three mile walk to the bus stop) where I did find a higher quality carton of pure organic coconut cream… but still no sign of a reasonably priced carton coconut OR almond milk.

Did I mention I’m in the [captivating, relaxing, sometimes boring, always magical, yet very remote] jungle?

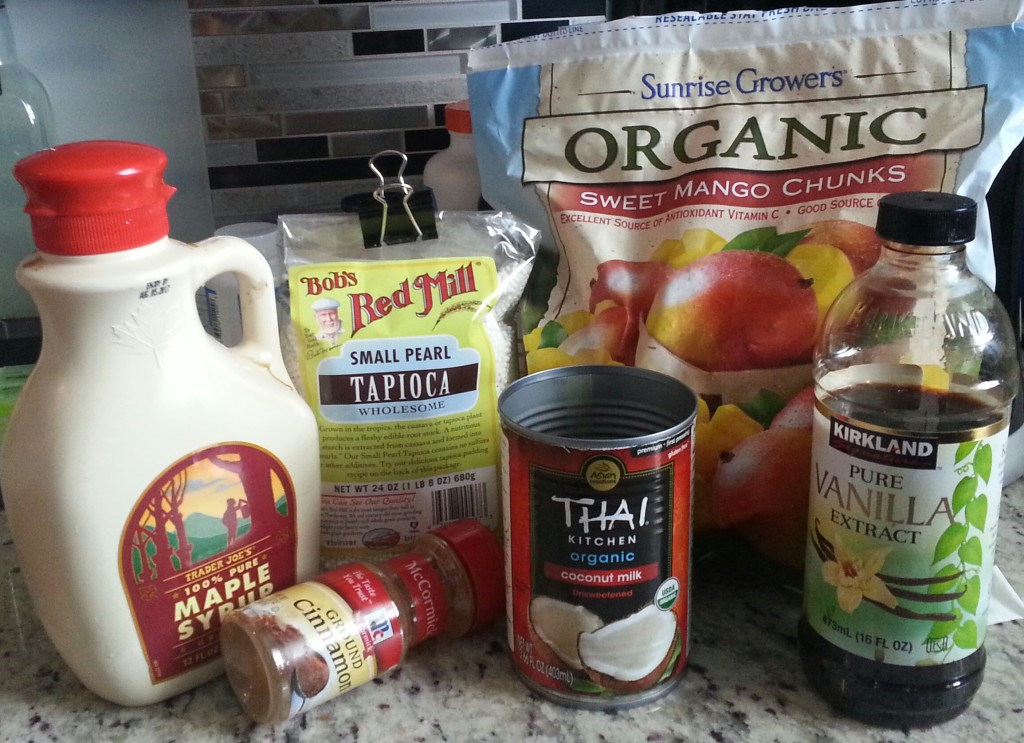
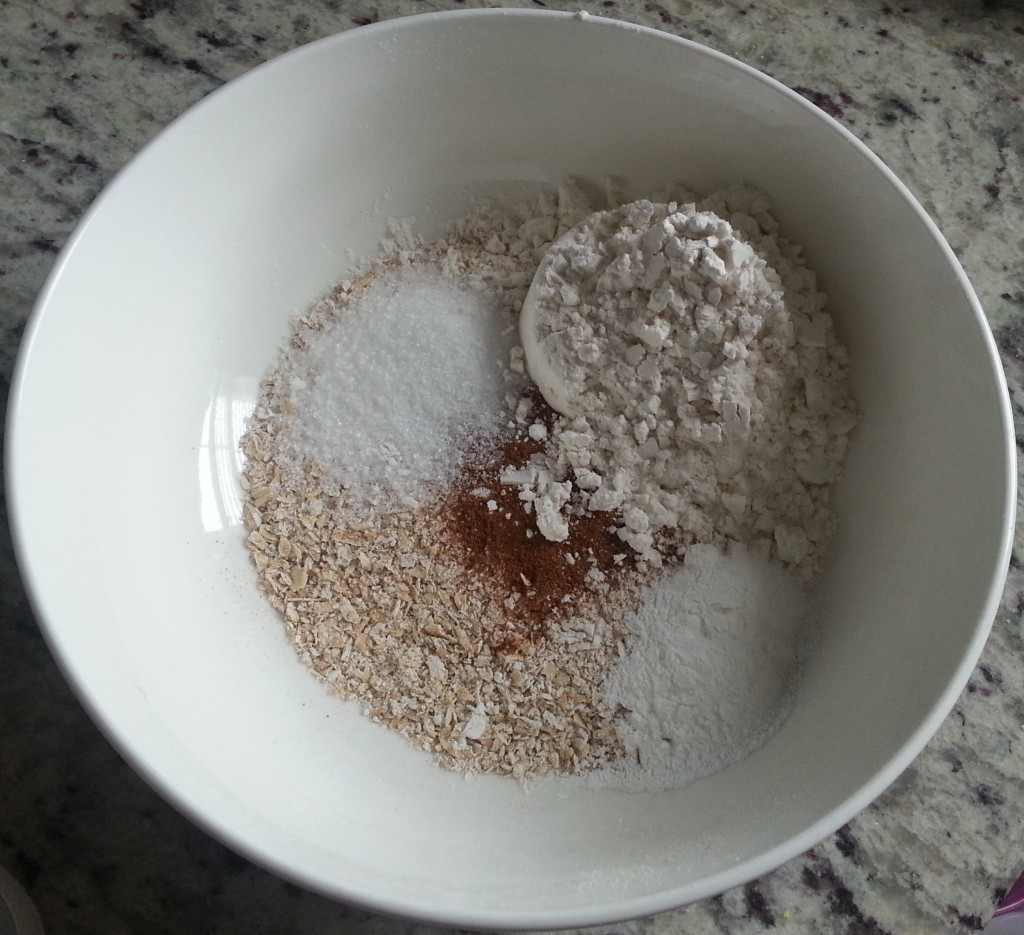
Here is what I did manage to find in the local market: canned coconut cream (and canned coconut milk).

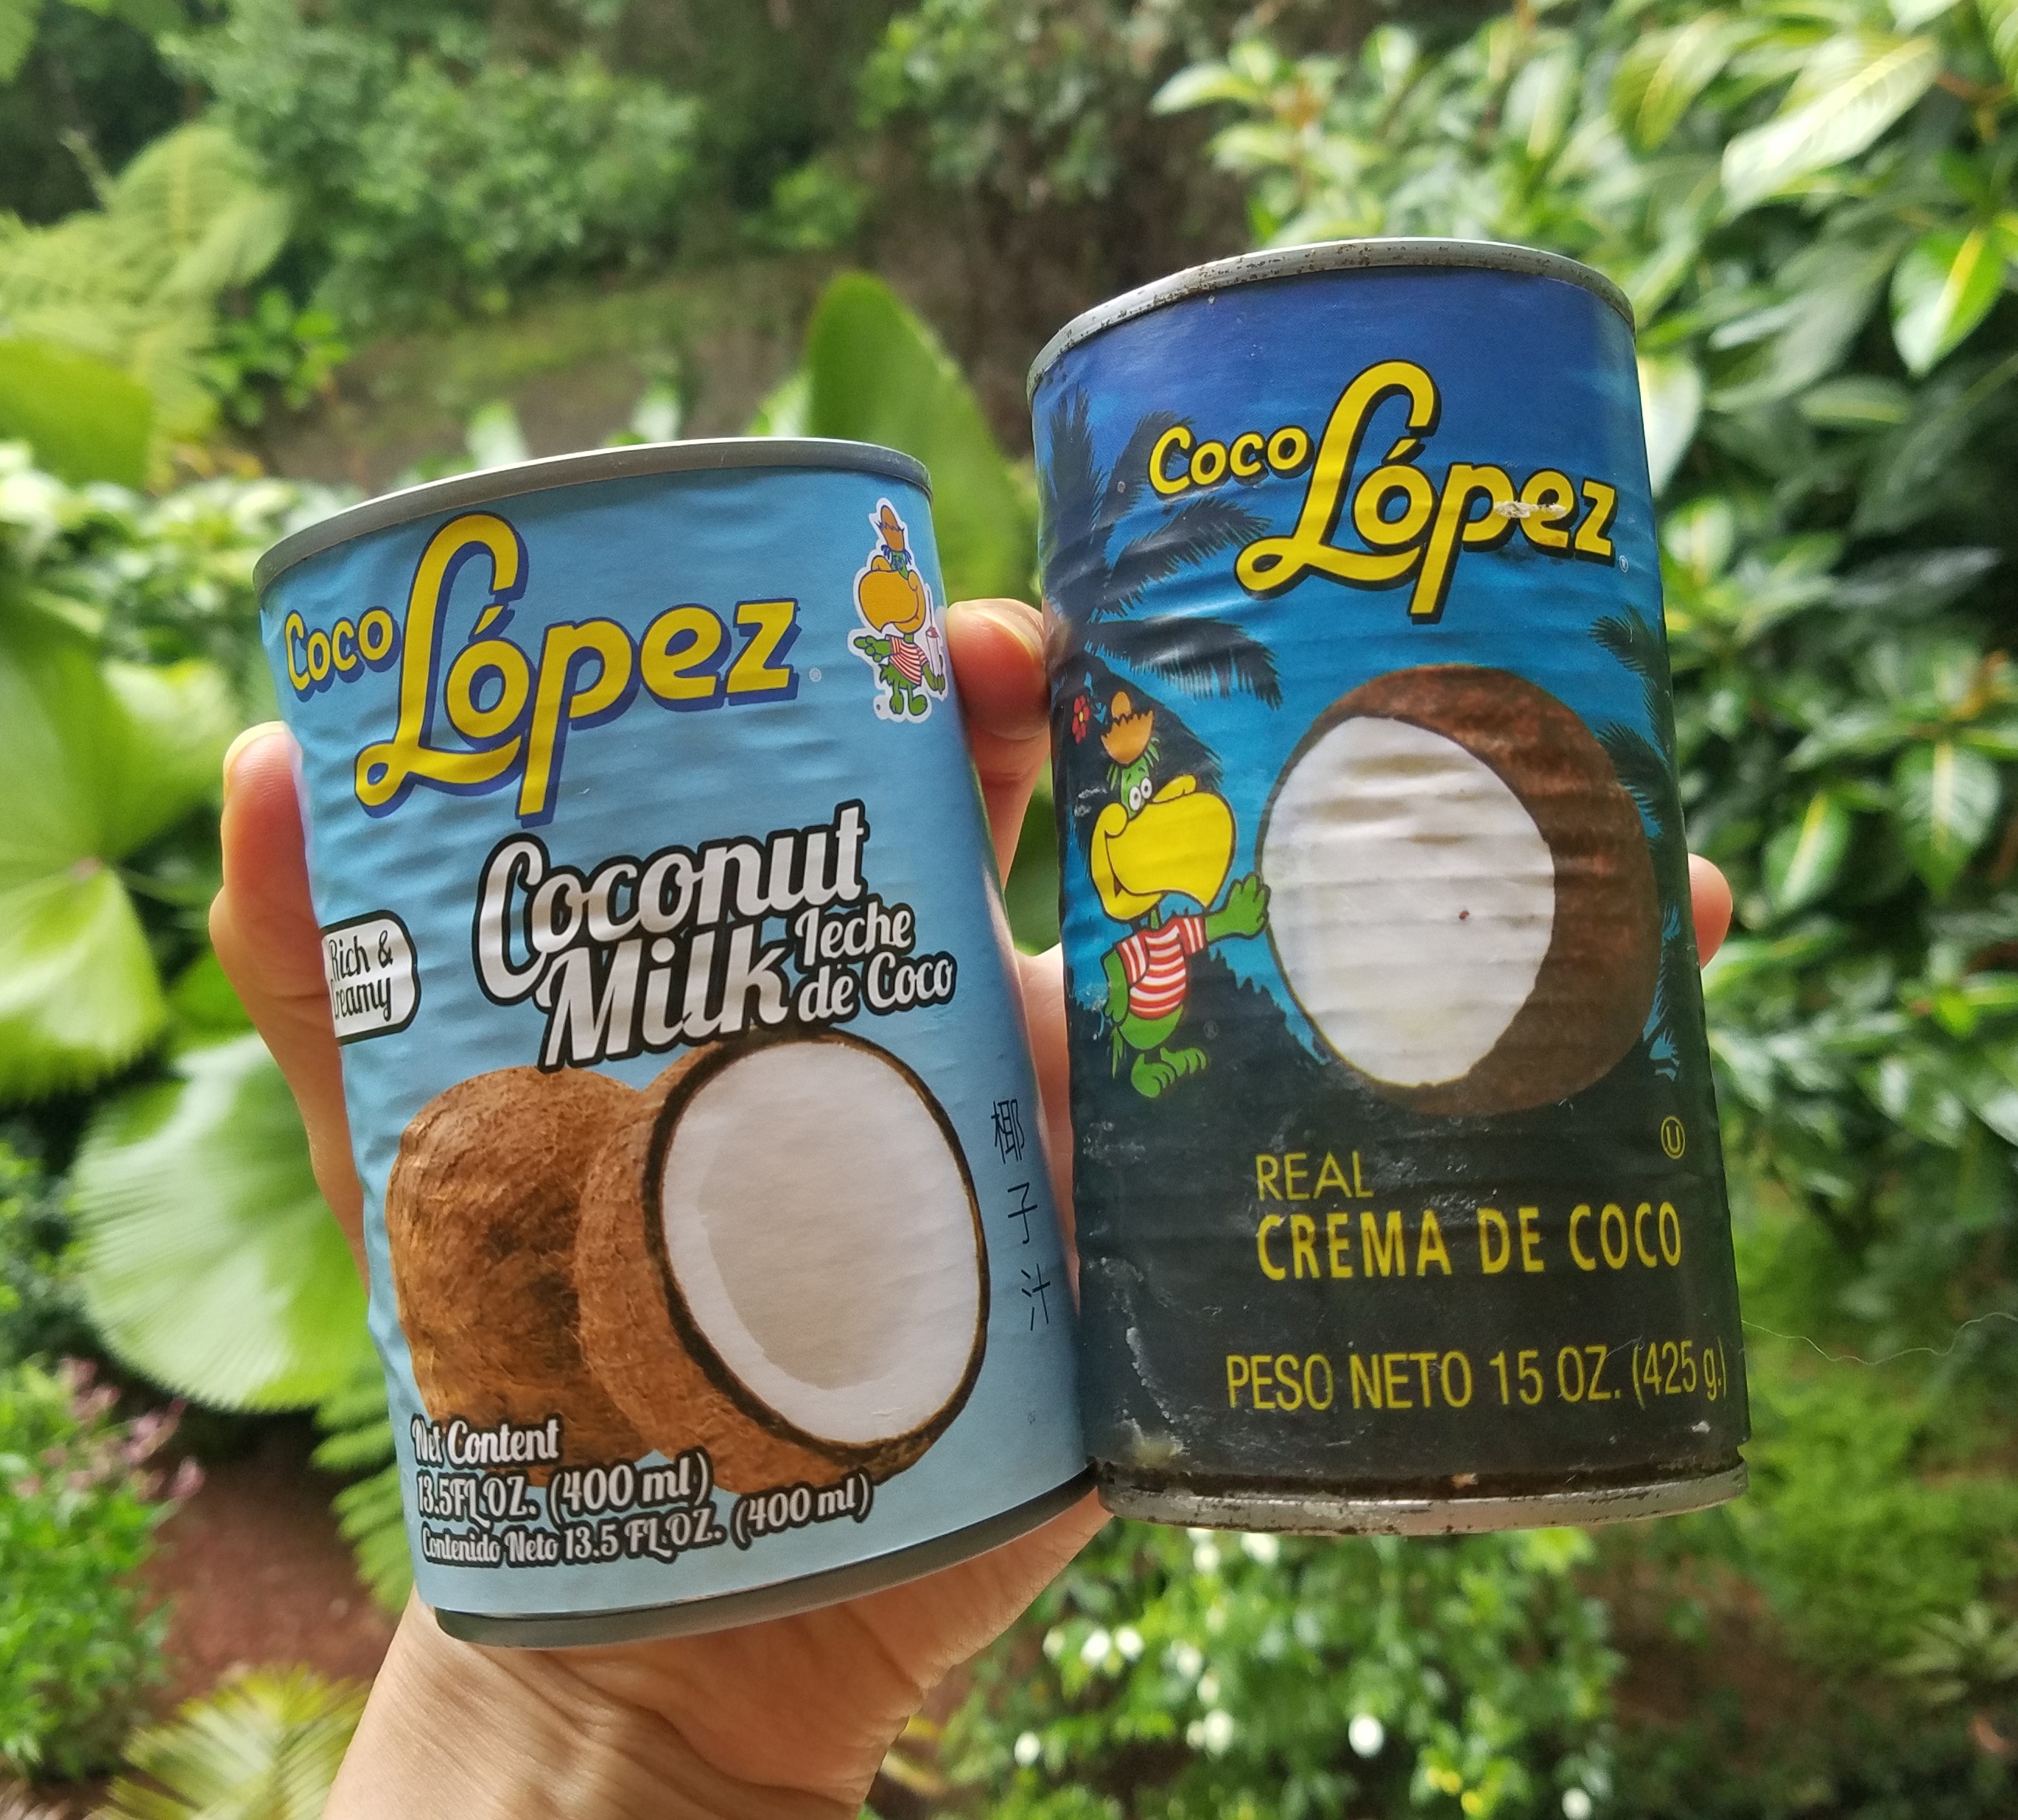
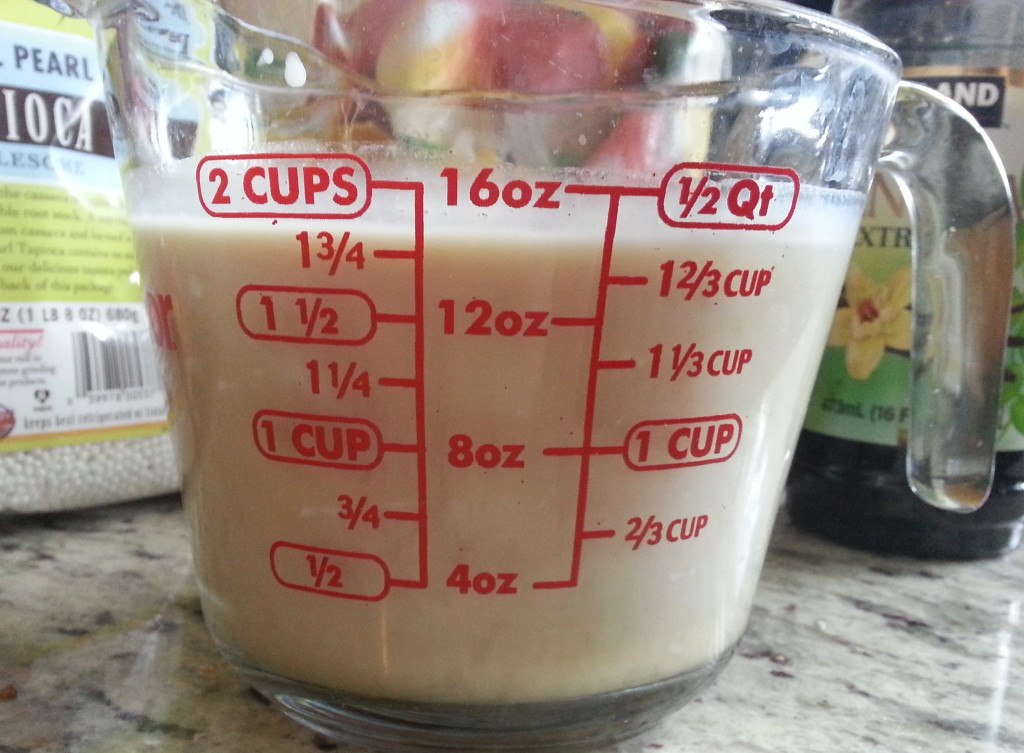
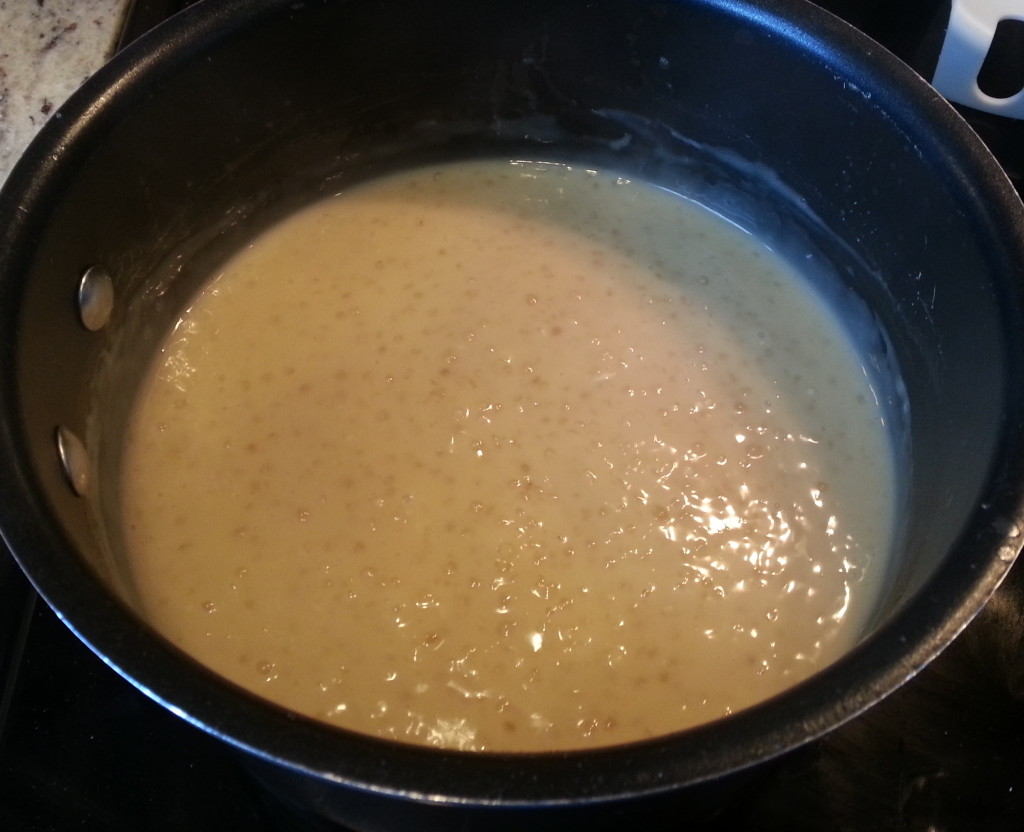
And the good news for my fellow dairy-free, non-leche drinking people out there? To make homemade Coconut Milk (a comparable version to Silk or Almond Breeze brands that you can use for shakes, cereal, or to simply drink as is) AND/OR Coconut Creamer for coffee or tea, all you need is a can or carton of coconut cream (a second option could be canned coconut milk), water, and a pour-able container to keep it in.

That’s it.

Fun fact: if you read the ingredients on a carton of the aforementioned popular American brands of coconut milk, you will see that they are mainly filtered water and coconut cream (with some added preservatives and vitamins)… which is exactly what’s happening here!

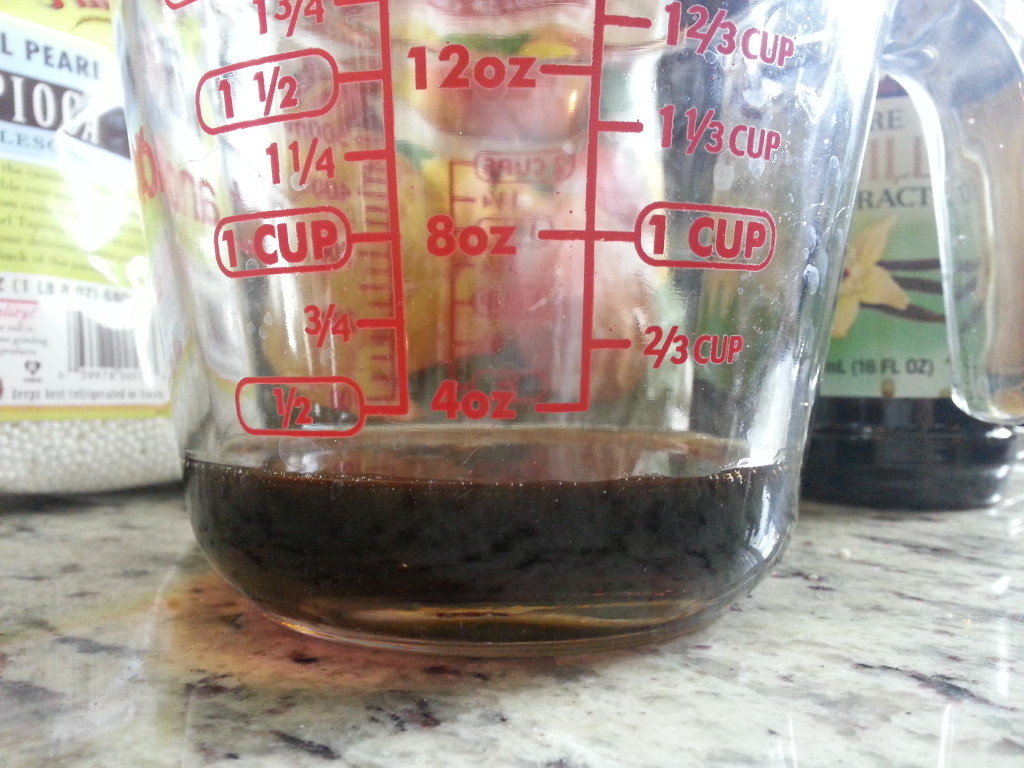
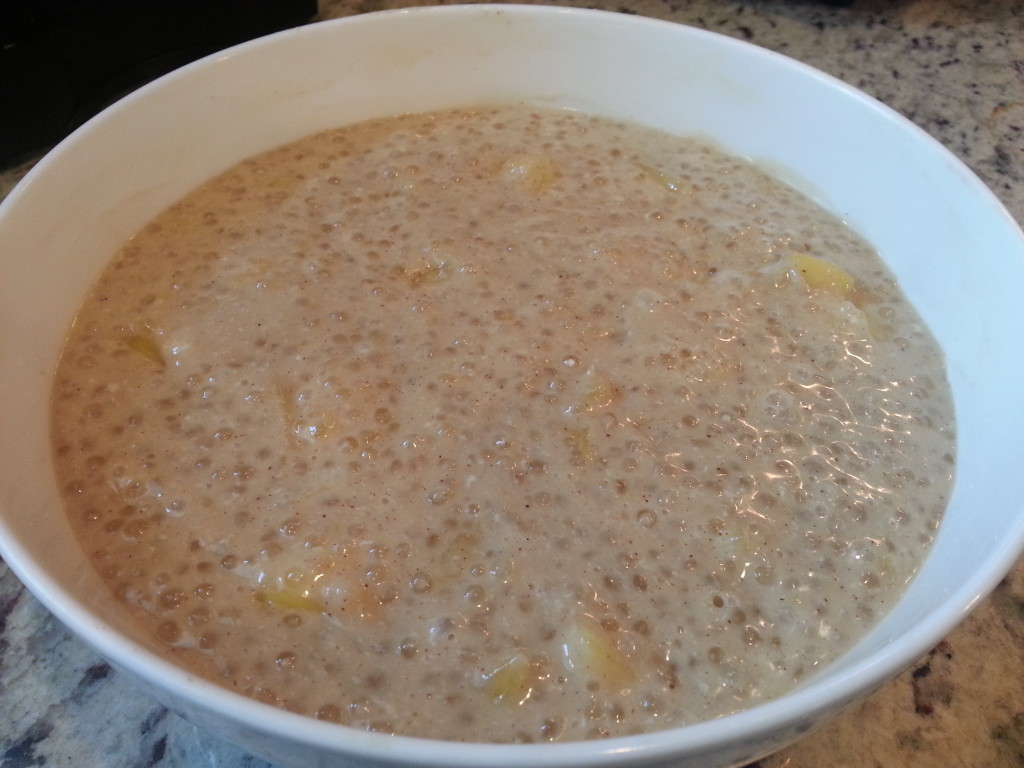
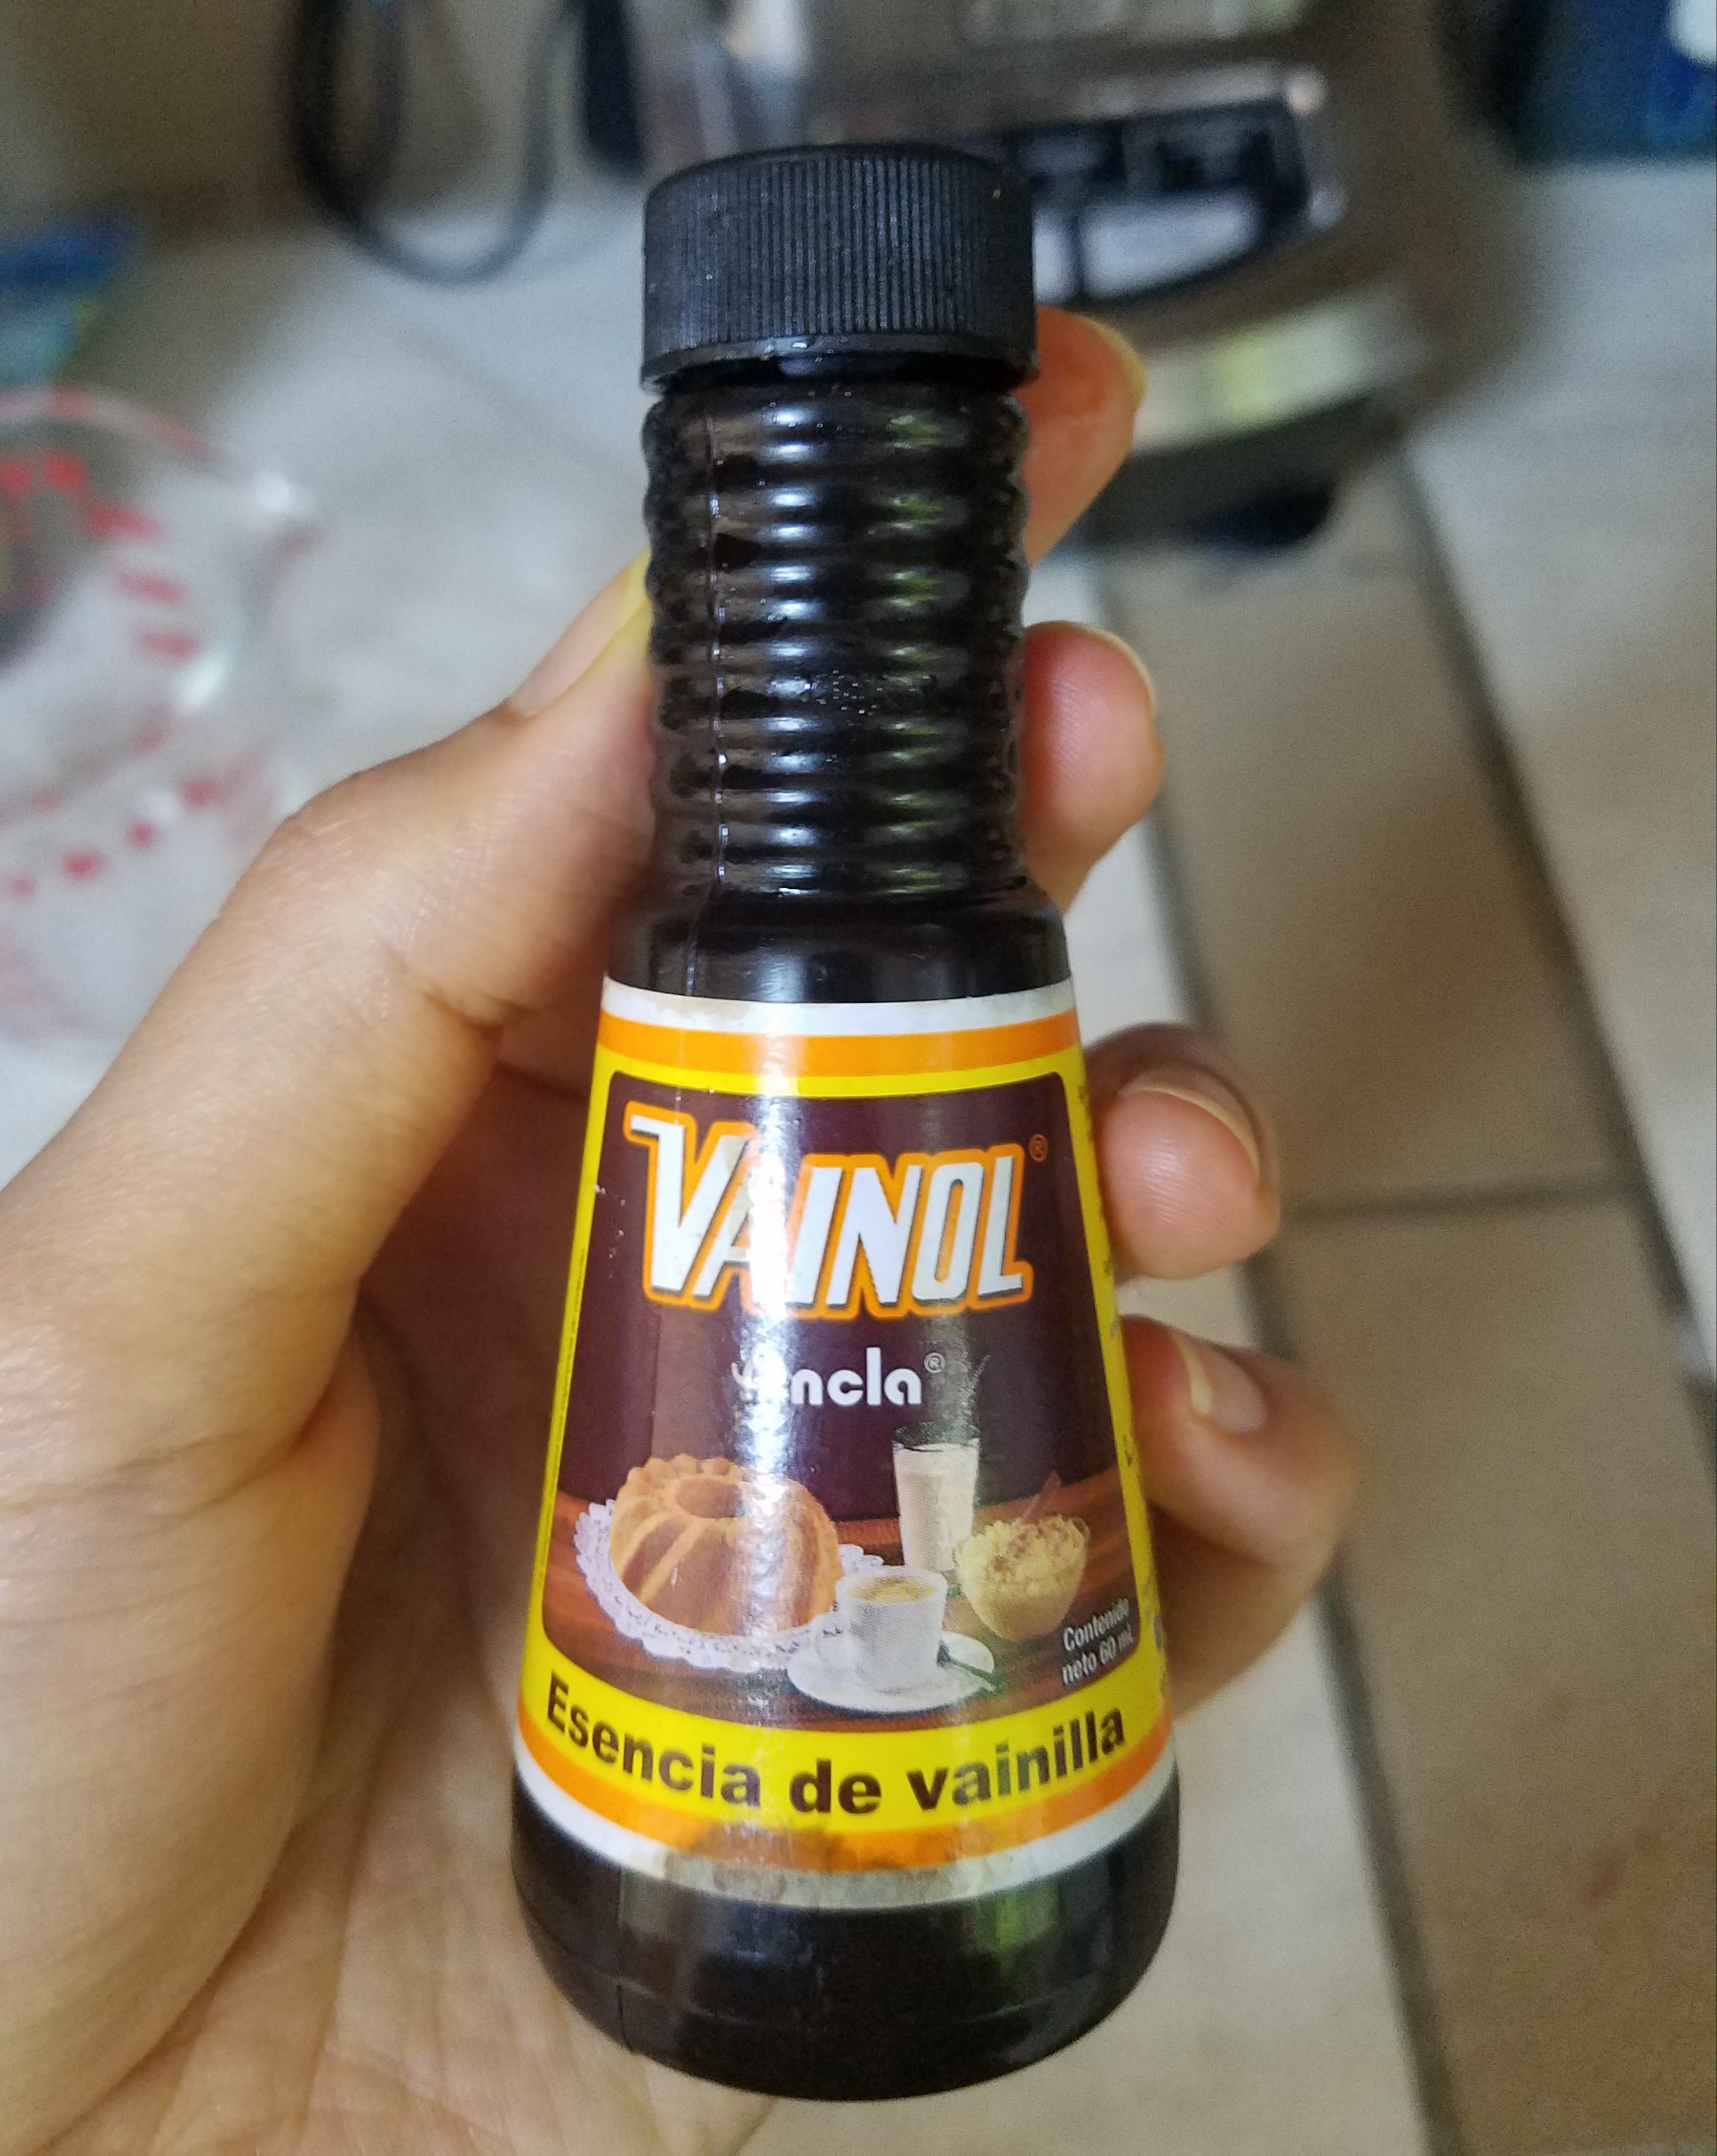
Of course I tend to get a little fancy and doctor things up, so I added a little bit of vanilla extract and a few stevia drops (which I obviously brought with me from the States) to make it taste just like slightly sweetened, cartoned vanilla coconut milk.

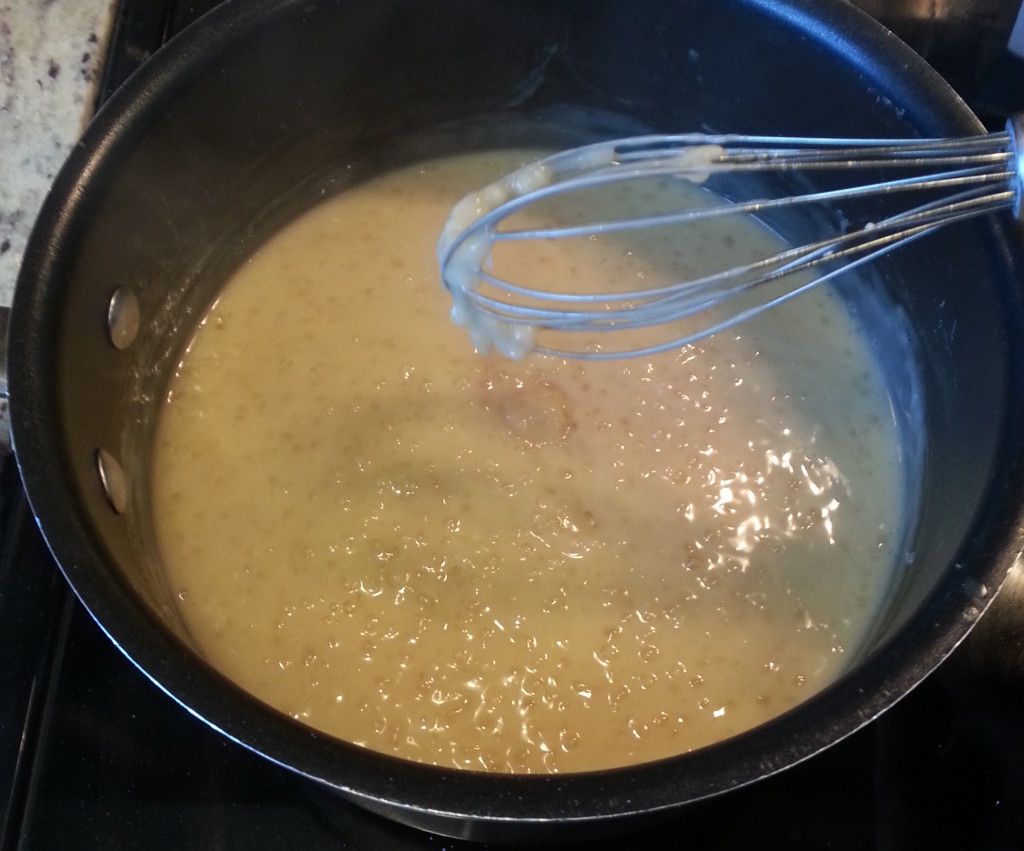
Whisking in a small amount of natural thickener such as xantham gum, guar gum, or gellan gum (if you can access it where you are) will lend a slightly thicker consistency that mimics store-bought Coconut Creamer even more – but the thinner, milkier version that results from this recipe suits my needs just fine. :)

And cost wise? One can of coconut cream cost me about 1500 colones (around $3 USD) and is enough for TWO to THREE GALLONS of drinkable coconut milk or creamer. One HALF gallon of Silk brand coconut milk typically costs $3-5 USD anywhere in the world that I’ve been, so this recipe is a very budget-friendly one that is well worth trying no matter where you are!

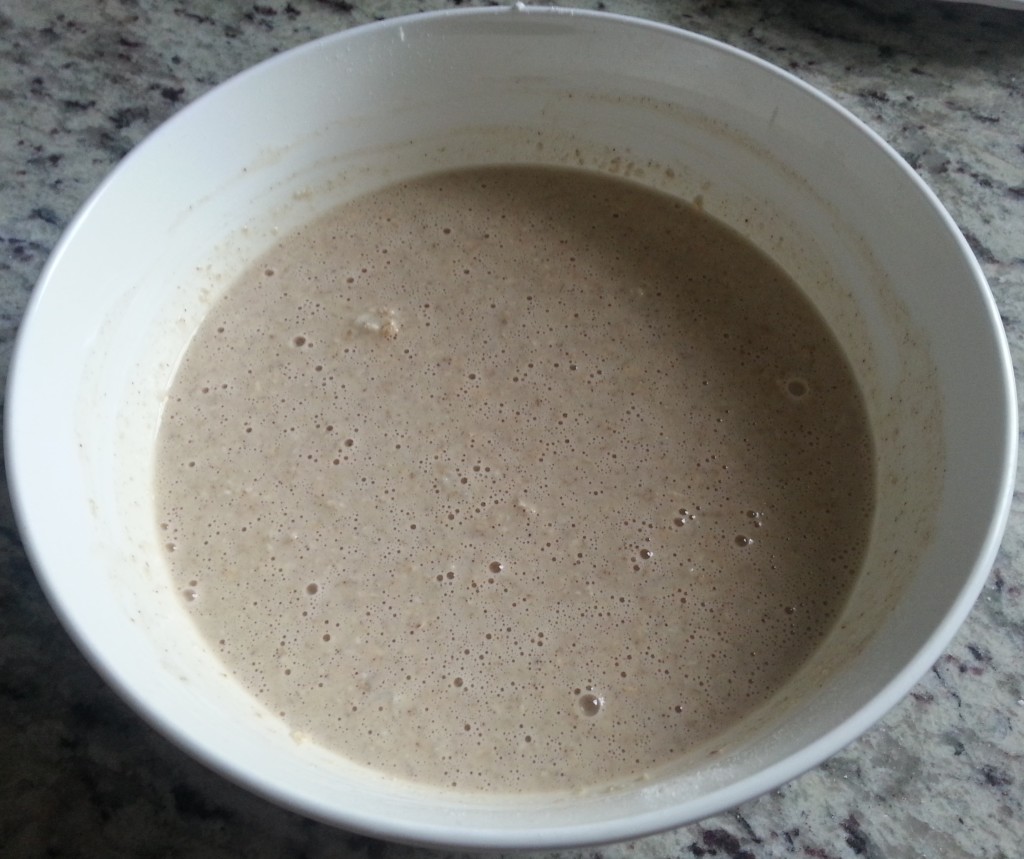
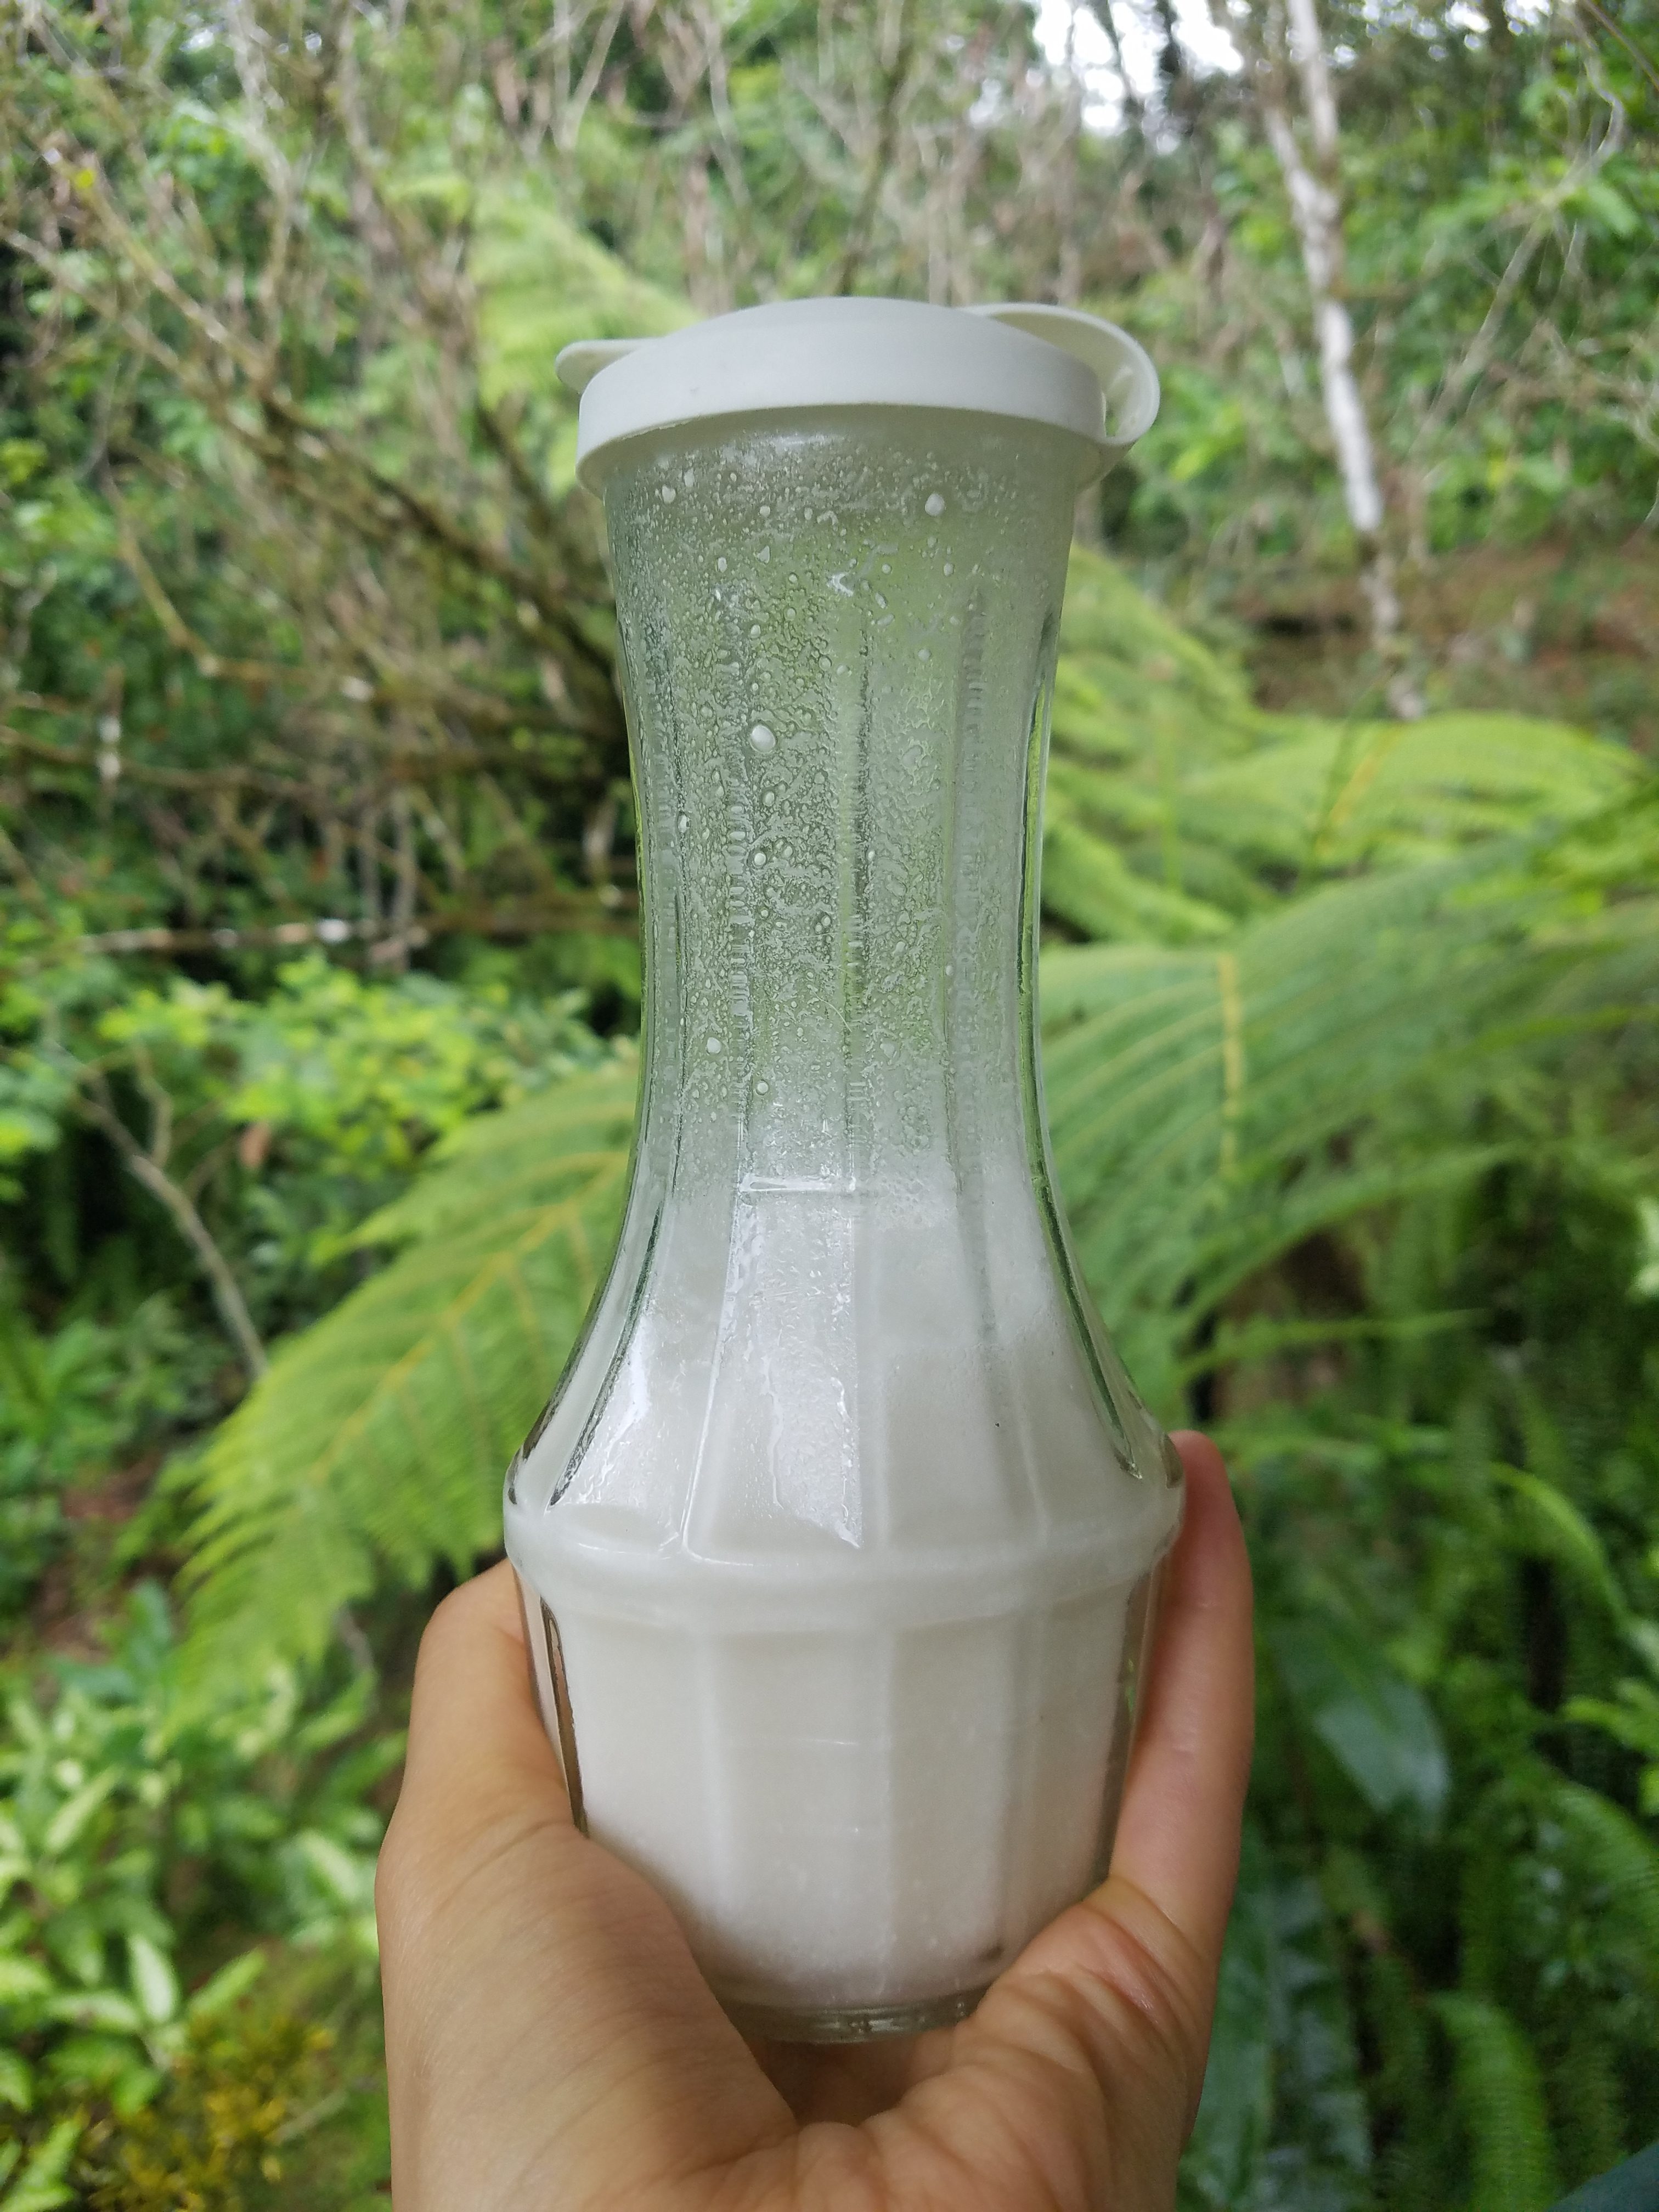
To prepare, you can whisk everything together or blend it in a blender. Then just pour into your chosen container like this perfect one I found on Amazon. It’s important to remember to keep it refrigerated and shake it up well before using each time since it does slightly separate (adding the thickening gum does help keep it more consistently smooth).

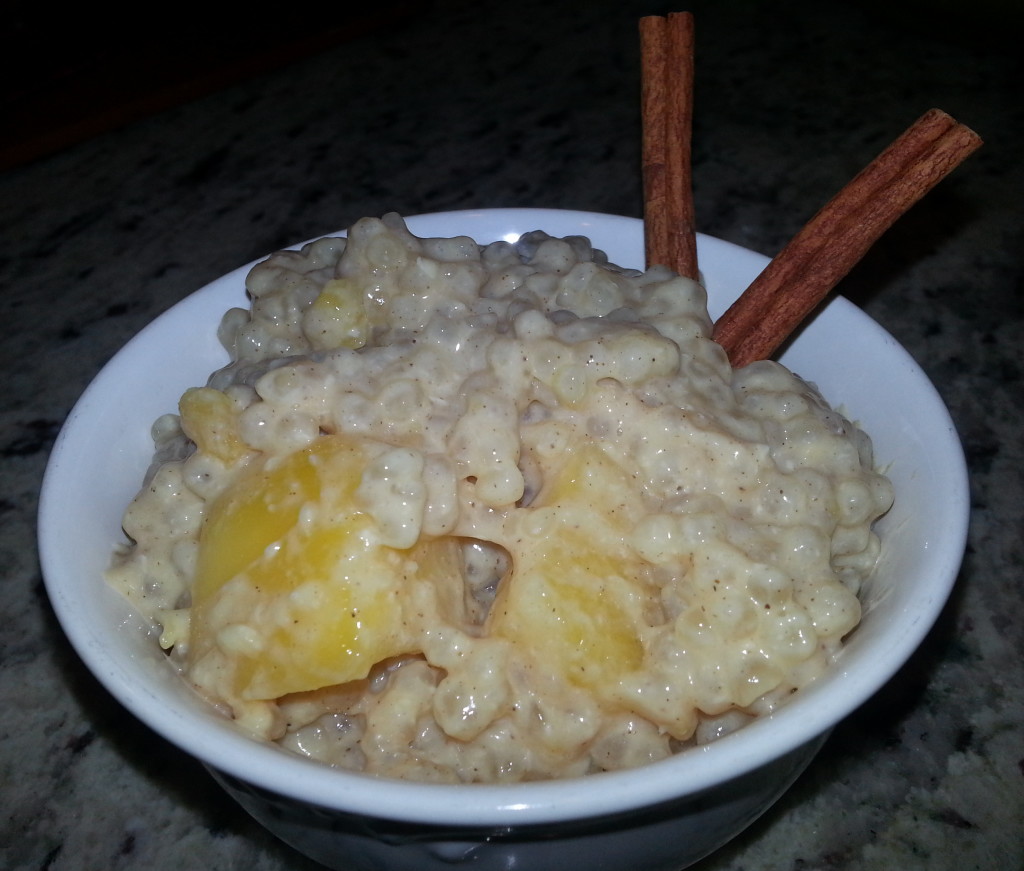
I mainly use this as a “creamer” for my coffee, but it would also make a great milk replacement for any of your milky needs.

Here’s the crazy simple recipe :) Enjoy!

Homemade Coconut Milk or Coffee Creamer

  • 14 C. coconut cream (ingredients should be only 100% coconut cream, if possible) OR 12 C. canned coconut milk (full fat, not “light”)  – shake cans well before opening
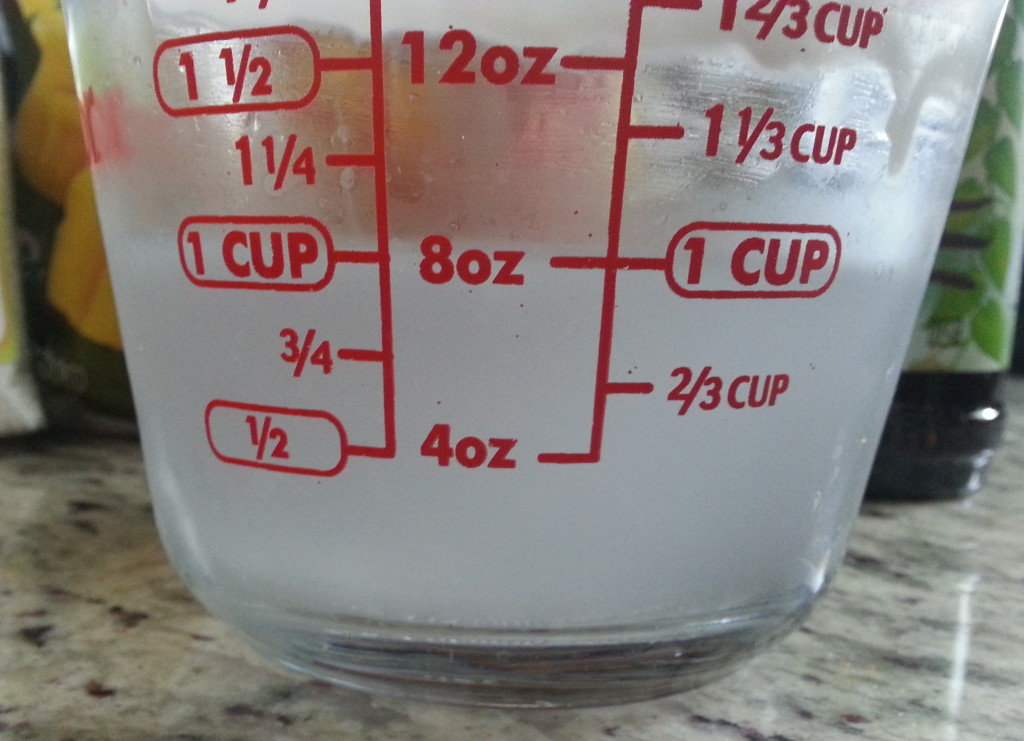
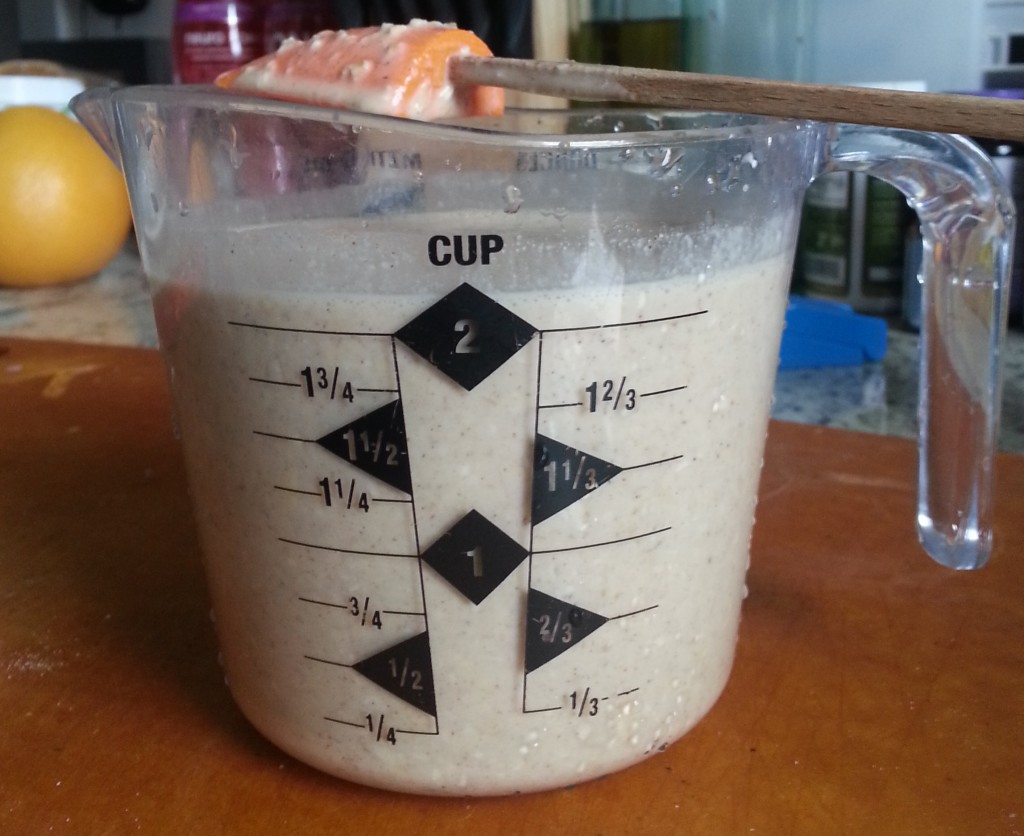
  • Slightly less than a 12 gallon of chilled, filtered water
  • Small pinch of sea salt
  • Optional (for vanilla flavor): 12 to 1 tsp. vanilla extract
  • Optional (for sweetness): Stevia drops to taste OR 1 Tbsp. cane sugar liquified in a small amount of warm water OR 1 Tbsp. maple syrup
  • Optional (for chocolate flavored): 1 Tbsp. unsweetened cocoa powder
  • Optional (for coffee flavored): 2 Tbsp. instant coffee granules liquified in a small amount of hot water
  • Optional (for thickness): 12 tsp. guar gum, xanthan gum, or gellan gum

Directions

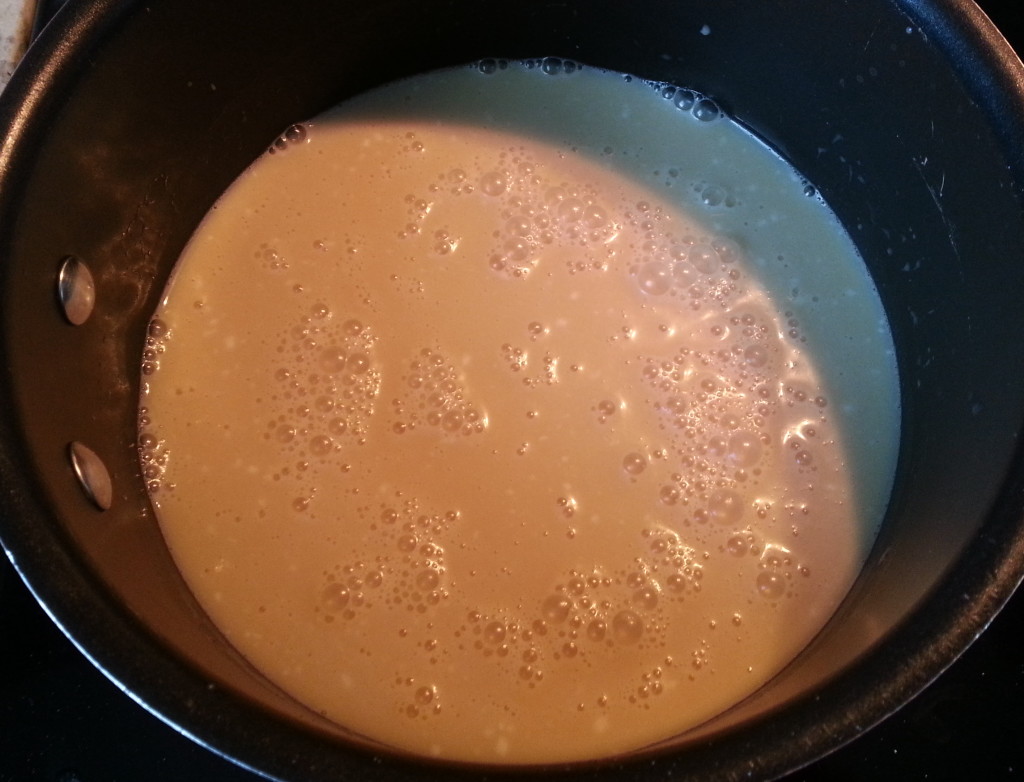
  1. Put coconut cream or milk, chilled water, sea salt, and your optional ingredients of choice in a blender and blend on low until all incorporated, about 1-2 minutes (you can also whisk very well in a large bowl).
  2. Carefully pour into your milk jug or container.
  3. Refrigerate (shaking well before each use) and enjoy as a milk or creamer! It should be good for about two weeks, though mine never lasts that long. Yum!

*If it doesn’t turn out “milky” enough for you, simply add more coconut cream by the teaspoon (or coconut milk by the tablespoon) until your desired flavor and consistency is reached. To make it thicker and creamier, add in more thickening gum by the one-eighth of a teaspoon and blend well after each addition.

*You can freeze your remaining coconut cream/milk in a separate container for future use.

Interested in finding amazing homes to stay in around the world at no cost to you?

Sign up and get 20% off your membership at TrustedHousesitters.com, my favorite website for finding worldwide house and petsitting opportunities, by CLICKING HERE. I use and highly recommend it!

RECIPE: The BEST Cranberry Sauce (with a twist!) – Healthy, Vegan, Gluten Free

The holidays are upon us! A time for festive decoration, plenty of social events with coworkers, friends, and family, and a plethora of seasonal food favorites to enjoy.

If you’ve visited this blog before (or are subscribed to my YouTube channel), you have already gotten a taste for some of my go-to recipes for this time of year like:

I recently realized that the popular side dish and condiment, Cranberry Sauce, was missing from my growing arsenal of holiday recipes! So, now is the time to fix that.

Not only is the following recipe incredibly easy and with minimal ingredients, but it has an extra twist of flavor thanks to the mango juice, spices, and alternate sugar (like coconut). Plus, including apples and pears bumps up the nutritional value by increasing the vitamins, fiber, and flavonols to make your body one happy machine.


img_0689


Whatever you do – I beg you – never, ever choose those processed tin jars filled with a solid cylinder of cranberry jam. Then again, I can assure you that once you make this recipe you will never want to go back.

Without further ado, here’s this simple and amazing recipe! Try it out and let me know what you think… and feel free to share the link with others, too :)


The BEST Cranberry Sauce… with a twist!

Ingredients

  • 1¼ cups coconut sugar, light brown sugar, and/or cane sugar (I will usually use a third of each or whatever I have on hand)
  • 16 oz fresh cranberries (two 8-oz bags)
  • One Fuji apple, peeled and chopped
  • One Bartlett pear (slightly ripe), peeled and chopped
  • One cup mango nectar or juice
  • 1/8 tsp nutmeg or allspice
  • 1/4 tsp cinnamon

Directions

  1. Rinse and drain cranberries. Measure out the mango juice.
  2. In a medium saucepan, bring cranberries, sugar, and mango nectar to a boil on high heat. Cranberries should begin to pop and coagulate with the liquid.
  3. Lower heat and let simmer for 10 minutes before adding chopped apple and pear. Also add spices.
  4. Let simmer together another 5 minutes or so, until all incorporated (but apple and pear should maintain their form and not mush up).
  5. Serve warm or let cool and refrigerate overnight if you prefer serving cold cranberry jam… It’s delicious both ways! This will keep in a sealed container in the fridge for a week, though I’ve never had it last longer than a few days :)

Steps in Photos

img_0690

img_0691

img_0694

img_0697

img_0696

img_0698

img_0701


ENJOY!


RECIPE: How to Make HIGH PROTEIN PLANT BASED ICE CREAM – Vegan / Gluten Free / Nice Cream / Chocolate Lovers

I absolutely love this rich, chocolate “nice” cream and make it on the regular. It is not only easy and delicious, but the extra love from the legit hard chocolate shell topping really make it over the top.

ICE CREAM

This filling and flavorful dessert also happens to be a completely plant-based source of HIGH protein with over 30 grams in this recipe!  Plus, it’s great for any time of day: pre-workout, post-workout, breakfast, lunch, or dinner. Shoot, even dessert after a big ol’ salad.

Watch the video here, recipe is below:

EASY, RICH, CHOCOLATE “NICE” CREAM

Ingredients:

1 cup Frozen Blueberries

2 Ripe Bananas, sliced and frozen solid

1-2 Tbsp High-Quality Cocoa Powder (like my favorite: Pernigotti Cocoa)

1 Scoop Plant Based Protein Powder (recommend: RawFusion Plant-Based Protein)

Generous Sprinkle of Ground Cinnamon

Small splash of Balsamic Vinegar

About a quarter to a third cup of Unsweetened Almond Milk (for desired consistency)

Directions:

  • Put the ingredients, in the order shown, into a high powder blender or food processor. Blend until all incorporated. Add more almond milk for desired consistency. Blend until smooth. Pour into bowl and set in freezer for 15-20 minutes.

To make the HARD CHOCOLATE SHELL COATING:

In a small bowl, mix: ½ Tbsp. melted coconut oil, 4-5 drops Liquid Stevia, a scant teaspoon high-quality cocoa powder, and a pinch of salt. Mix until smooth.

  • Take the bowl of ice cream out of the freezer and pour the chocolate shell coating mixture all over the top, using a spatula to get every last bit. It will harden in seconds.
  • Top your “nice” cream with something crunchy, like hemp hearts, chopped nuts, or sesame seeds.
  • Enjoy! :)

Presentation1


Find more recipes and smart food-shopping tips in my Grocery Store Tour Guide!

The BEST Tapioca Pudding with Mangoes – sweet, amazing, gluten/dairy free dessert! (RECIPE)

Does this look nostalgic to anyone?

k2-_66aae989-09e8-45c4-8d64-0b5773c3dd42.v1I may be in the minority here, but I never had tapioca pudding as a kid. I never even knew what tapioca was and remember wondering if it was just a different name for rice (since rice pudding was actually familiar). I was never a fan of milk or milky things growing up, either, so I never made an effort to try it. Regardless, it was easy to see many a lunch box contained these little sugar-packed and highly processed snacks.

Fast forward twenty-or-so years and tapioca entered my life again. I’ve used tapioca starch as a thickener in recipes for a while and noticed it within the ingredients to many packaged foods, but was still yet to make my own version of this renowned dessert known as Tapioca Pudding.

I don’t know what took me so long… because it is absolutely amazing.

20151226_192434

Though I don’t exactly have anything to compare it to – my prime taste tester did happen to love those school-time snacks back in the day. And I am happy to report he said this isn’t even comparable since it’s the best tapioca pudding he’s ever had (and, possibly, the best pudding dessert he’s ever had). Yet another win!

So, what is tapioca anyway? Tapioca is a starch extracted from the cassava root (which is becoming more commonly found in grocery stores these days – probably next to the potatoes or yucca).  Similar to other starches, it can be processed into sticks, powder/flour, flakes, or fun little pudding-worthy pearls. The pearls are commonly used in Asian desserts where they lend a chewy, satisfying texture to whatever it may be. Oh, and for those wondering, it is indeed gluten free and vegan.

Fun fact: Have you ever had Boba tea? Those boba are actually giant tapioca pearls.

Personally, I absolutely love the texture of tapioca pudding – even more than rice pudding. It’s like eating spoonfuls of simultaneously creamy and chewy surprises with every bite. Plus, by adding sweet, buttery mango, this dairy-free version is also both rich but light at the same time. It can be eaten hot or cold, making it perfect as a summer or holiday dessert.

It’s easy to make, doesn’t dirty many dishes, and has a handful of quality ingredients that are easy to find and much better for you compared to the original kid’s snack.

20151226_124854-1

Just looking at these pictures reminds me I need to make this again, like tonight. It’s that delicious and that easy to put together. Did I mention that it tastes even better after a couple of days in the fridge?

20151226_192502

I really, really hope you try this recipe. You will be so glad you did (and will impress anyone who tries it!)


THE BEST TAPIOCA PUDDING with mangoes

Ingredients

½ cup tapioca pearls

½ of a 14 oz. can of Coconut Milk (~200ml)

¼ cup maple syrup

¼ tsp salt

3 Tbsp stevia-for-baking or xylitol (or sugar of choice)

1 tsp pure vanilla extract

¾ cup unsweetened vanilla almond milk

½ cup + ½ cup water

¼ tsp ground cinnamon

~2 cups chopped mangoes (frozen or fresh)

Optional, for thickness: 1 egg, separated (yolk and white)

Directions (with photos below)

  • Place coconut milk, almond milk, maple syrup, salt, ½ cup of water, tapioca pearls, and egg yolk (if using) in a medium saucepan. Mix to incorporate ingredients and let sit on stove top – no heat or cooking yet – for 20 minutes.
  • Turn burner to medium-high heat to bring pudding mixture to a boil, stirring occasionally.
  • Once it boils, turn burner down to low heat and allow to simmer for about ten minutes or so, until it thickens and the tapioca pearls become translucent. Add more water from the remaining ½ cup if it gets too thick.
  • Add mangoes and cook until mixture begins to simmer again, about 3-5 minutes.
  • If using egg, whip egg white in a small bowl (or the measuring cup) with the sugar/sweetener. Temper this mixture into the saucepan by folding 1-2 tbsp of the hot pudding mixture into the egg white/sugar mixture. Do this at least three times before pouring the egg white/sugar bowl mixture into the saucepan. Then allow pudding to cook another 2-3 minutes in saucepan.
  • If not using egg, simply mix the sugar into pudding on stove and cook 2-3 minutes.
  • Pour into a serving bowl and add vanilla and cinnamon. Mix well.
  • You can serve this warm from the oven or cover it and refrigerate up to 5 days for a cool dessert. It’s really delicious both ways (and thickens even more as it sits). It’s really presentable when served with cinnamon sticks (as shown in pics).
  • Enjoy! :)


20151226_125449


20151226_125711


20151226_130004


20151226_130510


20151226_133803


20151226_133850


20151226_135828


20151226_192417

Healing Magic Panda Soup – Delicious & Satisfying Hug in a Bowl (RECIPE)

*This recipe is featured as a BONUS RECIPE in The Grocery Store Tour Guide & Nutritional Workbook, available HERE

Are you a soup person? Me neither. Or, at least I wasn’t before coming up with this amazingly magical and ridiculously simple recipe this a few winter ago.

20140124_185159

There is something so wonderful, comforting, filling, and peaceful about this soup. It is the perfect amount of sweet and savory, not too broth-y with a touch of bite, and completely enjoyable regardless to which diet or lifestyle you are following (unless you are allergic to any of the minimal ingredients, of course).

It proves to be the perfect side dish- complementing any salad, sandwich, main course, crusty bread, breakfast, lunch, or dinner. It can even suffice as its own full-meal show. Additionally, it can act an amazing base recipe for whatever additions your heart desires; from greens to corn, veggies to grains, and meat to tofu.

Whether you are Vegan, Vegetarian, Paleo, counting points, raw ‘til 4, or have never particularly liked soup before, I am confident that you will love this Sweet Panda Soup as much my family, friends, and I do. Winter has long past as we now experience scorching summer days, yet this is still a staple in my kitchen for winding down in the evenings (and is surprisingly delicious cold, too)!

Not to mention, Healing Magic Panda Soup packs a punch in maintaining or improving your health by providing nutrient-rich hydration, anti-inflammatory compounds, natural fiber, and vitamin B-12. If you are hypoglycemic, it may even help to balance blood sugar levels.

Another bonus that others have found and that I can vouch for myself? It not only fills you up, but can also help keep any late-night cravings at bay.

With no further ado, here is my recipe for Healing Magic Panda Soup.

 20140124_185244

HEALING MAGIC PANDA SOUP

Single-Serving Ingredients *use organic, if possible

1 (medium to large) Sweet Vidalia Onion, chopped

1-2 cloves of garlic, minced

1 tsp. Extra Virgin Coconut Oil

1 Tbsp. Balsamic Vinegar

1 ½ Cups (or about two-thirds of your favorite bowl-full) of Organic, Low-Sodium Vegetable or Chicken Stock

A large pinch of Freshly Ground Sea Salt (I use Pink Himalayan)

A large pinch of Freshly Ground Black Pepper

2 tsp. Dried Thyme (or 1 tsp. fresh Thyme leaves, chopped)

¼ tsp. (or a modest sprinkle) All Spice

1 heaping tsp. sugar of choice (coconut, organic cane, honey) or 2 drops of liquid stevia

Optional, but recommended: 1 Tbsp. Nutritional Yeast flakes

Optional: 1 tsp. Dried (or chopped fresh) Parsley

Directions (Photos Below CROCK-POT VERSION)

  • Preheat a medium to large pan on stove at medium-high.
  • Put in coconut oil, chopped onions, and salt. Cover and let cook, stirring around every 5 minutes or so, until onions are translucent and beginning to caramelize into a light brown (about 20 minutes).
  • Add in garlic and let saute with onions for 2-3 minutes, until fragrant. *Always avoid burning or browning garlic, as it may cause bitterness in the dish.
  • Add in balsamic vinegar, pepper, thyme, all spice, sugar/stevia, and stock. Bring to a simmer before turning heat down to medium-low. Cover and let cook another 5-10 minutes until flavors marry.
  • Pour in your favorite bowl; sprinkle the top with Nutritional Yeast flakes and parsley… Enjoy!
CROCK-POT VERSION

Ingredients (makes 8-12 servings) *use organic, if possible

6-8 (medium to large) Sweet Vidalia Onion, chopped

4 cloves of garlic, minced

1-2 Tbsp. Extra Virgin Coconut Oil

¼ Cup Balsamic Vinegar

2 ½ to 3 (32 oz) Cartons of Organic, Low-Sodium Vegetable or Chicken Stock

3 good pinches of Freshly Ground Sea Salt

3 good pinches of Freshly Ground Black Pepper

1 heaping Tbsp. Dried Thyme

½ tsp. (or a good sprinkle) All Spice

1 Tbsp. sugar of choice (coconut, organic cane, honey) or 4 drops of liquid stevia

1 Tbsp. Nutritional Yeast flakes (per bowl)

1 tsp. Dried (or chopped fresh) Parsley (per bowl)

Directions

  • Set Crock-Pot to HIGH and drizzle half of your coconut oil at the bottom.
  • Put in half the onions and sprinkle salt. Drizzle the rest of your coconut oil and put in the remaining onions, garlic, thyme, pepper, all spice, and salt. Stir around and cover.
  • Let onions cook and caramelize until they begin to sweat and turn a light brown (about 5-6 hours), opening to stir around once or twice in that time.
  • Add in stock, balsamic vinegar, and sugar/stevia. Stir well and cover again. Let cook for another 1-2 hours (up to 4) before serving it up in your favorite bowl with Nutritional Yeast flakes and a bit of parsley. Enjoy!

20140124_183436

20140124_183504

20140124_182840

20140124_183711

20140124_184051

20140124_185244

Oh, and don’t worry. No pandas were harmed in the making of this glorious dish. I just happen to love pandas, and it only seemed fit that this amazing soup be named after something I adore just as much!

Easy, Homemade Oat Waffles (or pancakes) – gluten-free, vegan, low-fat, delicious! (RECIPE)

If you’re looking for a twist on getting healthy oats in for breakfast, but want to venture from the typical (delicious) bowl of warm oatmeal as your only vehicle – this recipe is exactly what you need.

EASY, Homemade Oat Waffles (or pancakes, if you don’t have a waffle maker).

20160207_114526

This recipe takes less than ten minutes to put together, twelve total minutes to cook, and the result is two giant waffles (which can yield 2-4 servings depending on your size and satiation) or 6-8 medium pancakes. It also utilizes ingredients that can all be found on the grocery list within The Grocery Store Tour Guide & Nutritional Workbook.

And if you’re worried about the overt denseness that a lot of oat-based recipes are guilty of producing? You’ll see that these waffles – though seemingly more dense than those made with a typical store-bought batter at first – turn out perfectly crispy on the outside while staying soft and fluffy on the inside.

20160207_114314

Plus, these high-fiber waffles will help satiate you and keep you full much longer than processed or store-bought mix versions. You can enjoy them with a touch of maple syrup or honey, eat them aside a scramble, or even use two pieces as your bread for an almond butter and banana sandwich.

You can even make these in bulk and freeze them. Just pull your serving out of the freezer and heat up in the toaster oven whenever a waffle-urge hits!

20160207_114230

As for the waffle maker I use, it is the Presto FlipSide Waffle Maker and it is amazing. I got it off of Amazon over two years ago and use it once a week on average, if not more. It not only makes the perfect waffles every time, but can be used as a sandwich press, scramble cooker, hash browns, and for tons of other sweet or savory concoctions. It’s easy to clean, takes up no kitchen space to store, and is virtually fail-proof.

20160207_112250

Basically, don’t be surprised if I organize a compilation of recipes utilizing this thing for a special eBook in the future… because it’s that awesome.

Once you bite into one of these crisp and fluffy waffles, you will taste their mild sweetness and hint of vanilla with cinnamon. They have just the right amount of whole-grain flavor while keeping the traditional feel of a classic Belgian waffle.

Now, enough talk. Onto this delicious recipe!


HOMEMADE OAT WAFFLES (or pancakes) *photos below

  • 1 cup of quick-minute or old fashioned rolled oats
  • ½ cup flour (I use a gluten-free flour blend, like Trader Joe’s brand)
  • 1 Tbsp. xylitol (or sweetener of choice, like stevia for baking, turbinado, regular sugar, or coconut sugar)
  • 2 tsp. baking powder
  • tsp salt
  • ½ tsp. ground cinnamon
  • 1 cup almond milk (I use unsweetened vanilla flavored)
  • 2 tsp. apple cider vinegar
  • 1 tsp. pure vanilla extract
  • ~8 drops liquid stevia (if you do not have this, use 2 Tbsp of your above sugar/sweetener instead of one)
  • 1 whole egg or a flax substitute (using a 1:3 ratio of ground flaxseed to water)
  • 1 tsp. coconut oil
  • Non-stick cooking spray (like Trader Joe’s Coconut Oil Spray) for the waffle maker or pan
  1. Get out a large bowl, a liquid measuring cup (at least 16 oz large), your blender/food processor, and your waffle maker.
  2. Pour almond milk and apple cider vinegar into the measuring cup. Whisk and let sit as you do the following steps.
  3. Put oats into your blender or food processor and blend for about ten seconds, or until they are ground to about half the consistency that they were beforehand (see photos below).
  4. Into your large bowl, put oats, flour, baking powder, xylitol/sweetener, salt, and cinnamon. Whisk altogether to incorporate.
  5. Into the measuring cup with liquids, add vanilla extract, liquid stevia, and egg (if using). Whisk to blend well and make sure egg is mixed, then add liquids to dry ingredients in bowl. Whisk well.
  6. Add flax-egg substitute, if using, and coconut oil into bowl. Whisk well (making sure coconut oil blends since it may be more solid due to the cold batter). Let batter sit for at least ten minutes to thicken.
  7. Plug in waffle maker to let it preheat (or begin heating pan, if making pancakes, on medium-high heat).
  8. After batter has rested for at least ten minutes, give a quick stir and pour it all into the liquid measuring cup. Scrape the bowl with a spatula to ensure you get all of the waffly-pancaky batter goodness into the cup (photo below).
  9. Once waffle maker is heated, open and spray lightly with non-stick spray on both sides. Give batter a quick stir and pour exactly half (or 1 cup) of your batter into the center of the waffle maker. Close, set timer for 6 minutes, and flip to other side (if you are using the same Presto FlipSide waffle maker I own).
  10. Once the timer goes off, check your waffles. They should be light and slightly golden in color (see photos). Feel free to let them cook an additional 1-2 minutes if you like a really well-done and crispy waffle.
  11. Enjoy however you like! *To maintain crispness if you do not plan on eating immediately, set your oven to about 200 degrees F and place cooked waffles directly on the racks. This will keep them from getting soft as it keeps them warm. If you plan on freezing them, make sure they are cooled completely on a rack before freezing.

Remember to tag #truehealthtrifecta and share how you like this recipe on the True Health Trifecta Facebook page!

Step-by-step photos:

20160207_110133

20160207_110328

20160207_111316

20160207_112140

20160207_112703

20160207_112734

20160207_112826

20160207_112858

20160207_114224

20160207_114329

20160207_114509

Sautéed Cabbage & Carrots: my UNIVERSAL side dish! (RECIPE)

This dish has been a legit staple in my household for a long time now and, even still, I find myself craving it almost daily.

20160118_193933

I even included this as a bonus recipe in my latest book, The Grocery Store Tour Guide & Nutritional Workbook (which will be available in just one week… and I am super excited about sharing with you all)!

Before I get into this insanely easy and flavorful recipe, here’s a little bit more about the 70-page Grocery Store Tour Guide & Nutritional Workbook. This beautifully designed, visual book contains a plethora of useful information, including:

  • Shopping preparation tips
  • Explanations about supermarket psychology
  • How to identify and define misleading label claims
  • Tidbits about nutritional lingo and regulated terms, such as GMO, Certified Organic, Gluten Free, etc.
  • Food storage and safety tips
  • A thorough seasonal produce chart
  • Aisle-by-aisle tips to navigate the supermarket like a health-conscious pro
  • A list of ingredients to avoid
  • My personal kitchen essentials
  • Easy Meal and snack recipes
  • A post-tour quiz (if you are a trainer or nutrition coach, this e-book is great to use with clients!)
  • Much, much more…

Plus, unlike my print-only book – The Holistic Fitness Starter Guide – which will be available at the end of the month, I decided to publish The Grocery Store Tour Guide in print and as a quickly accessible e-book. This means that as soon as you buy it here, you will be able to download it to your PC, laptop, or tablet immediately and begin reading while you wait for the printed copy to arrive!

How cool is that?!

Now, as exciting as this new book is, back to the deliciousness that is My Universal Side Dish. First of all, it’s crazy simple to make since we are using pre-shredded cabbage and carrots. The only chopping involves the fresh herbs, ginger, and garlic (unless you have minced ginger and garlic in jars, in which case, this may be the easiest recipe ever).

20151212_171501

This is also so incredibly flavorful thanks to the fresh Rosemary and Thyme. Sometimes, I’ll add in fresh basil or sage and it becomes a bigger explosion of flavor in your mouth.

As I mention in The Grocery Store Tour Guide & Nutritional Workbook, this side dish goes well with nearly everything. On salads, sandwiches, in wraps, or by itself. It’s fast to whip up and perfect to keep ready-handed in the fridge. One of my favorite ways is wrapped up in rice paper wraps with some thin rice noodles.

20151212_180806


20160118_192837


Give this recipe a try. I promise you will be happy you did!


MY UNIVERSAL SIDE DISH: SAUTéED CABBAGE AND CARROTS

Ingredients:

2 (10-16 oz.) bags of Shredded Cabbage

½ of one (10-12 oz.) bag of Shredded Carrots

1 Tbsp. fresh Rosemary (leaves from about three 4” sprigs), chopped

1 Tbsp. fresh Thyme (leaves from about 5 4” sprigs), chopped

1-2 inches of fresh ginger root, peeled and minced

2 garlic cloves, minced

1 Tbsp. Coconut Oil

Salt & Pepper to taste


Directions (photos below):

  • Heat a large sauté pan or wok on the stove at medium to medium-high heat and place coconut oil in the pan.
  • Once the coconut oil is melted, add ½ bag of carrots and two bags of cabbage. Sprinkle minced ginger on top and season the surface with salt and pepper. Cover to let cook down about 5-7 minutes. (The pan may seem really full, but the veggies cook down quite a bit.)
  • Remove lid and toss the cabbage and carrots to encourage even wilting/cooking. Cover and let continue softening for another 3-5 minutes.
  • Remove lid and add rosemary, thyme, and minced garlic. Toss well until all the herbs are well incorporated into the mix. (If the veggies seem to be browning from the bottom of the pan, lower the heat a little bit.)
  • Continue cooking, tossing occasionally, until veggies are softened and cooked down to a little less than half of the original volume. Add more salt to taste, if needed.

Enjoy in any which way!


20160118_191339


20160118_192511


20151208_170028


20160118_192828


20160118_194010


20151212_180719

Rich, Delicious Pumpkin Cheesecake (RECIPE) – Easy, no bake, dairy-free, vegan!

This is one of my go-to recipes when it comes to last minute requests for dessert, which is exactly what happened on Christmas this year. I was asked to bring a dessert the night before the big day – well after all the grocery stores were closed. Seeing as I normally have all of the ingredients on hand that are needed to put this Pumpkin Cheesecake together, it was easy breezy.

Too delicious to set up for a food photo shoot. Paper plate it is.

This dessert turns out super rich, indulgent, creamy, and cheesecake-y… despite not having any dairy whatsoever. Unless you let everyone know this is a plant-based dish, no one will guess that cashews are the “cheese” up in this cake. Not to mention, there are virtually no dirty dishes, give or take a few measuring utensils, because everything goes straight into the blender with no bowls or mixing necessary. It’s also fast to prepare since all you do is blend for a couple of minutes until it becomes nice and creamy.

The hard part is the waiting time for this to set, which still isn’t even that bad at only an hour or two.

Yaaaas this Pumpkin Cheesecake deserves a porcelain plate. But taste > aesthetics.

All that said, it’s important to remember this is still an indulgent dessert. Just because it is made with more nutritious and quality ingredients than any store bought (or even traditionally made) cheesecake, doesn’t mean it’s a free-for-all to have a handful of giant slices and nudge it off as okay since it’s “healthy“. I mention this because whenever I concoct any food things – whether it is a main dish, appetizer, dessert, drink, anything – I noticed many people assume it is a “healthier” or “lighter” version and, therefore, it’s okay to overindulge. This isn’t the case, as the macro-nutrients (namely, fat and sugar) do still add up which means that sometimes my versions aren’t necessarily lower-calorie versions. They’re just better quality options than others.

Treat any dessert like dessert, and any main dish as a main dish. Eat until your just about satisfied and avoid stuffing yourself. Treat this Pumpkin Cheesecake like you’d treat any special dessert or high-fat-high-sugar treat. (Hint: That means it may be best for your waistline to keep this recipe in your arsenal for potlucks or special date nights. Once you taste it, you’ll see why… It’s really freaking good and tough not to eat the whole thing yourself!)

20151215_123102
High quality ingredients does NOT always equal lower calorie treats!

Now, get to makin’… and make sure you enjoy each bite!

EASY, DELICIOUS PUMPKIN CHEESECAKE

For the filling:

  • 2 cups raw cashews (soaked in cool water overnight, or use boiled water and quick-soak for an hour)
  • ½ cup 100% pumpkin puree
  • ¼ cup coconut oil
  • Juice from one lemon (about 3 Tbsp)
  • 1 tsp pure vanilla extract
  • ¾ cup pure maple syrup
  • 1 tsp. pumpkin pie spice
  • ¼ tsp. ground cinnamon
  • Scant ¼ tsp. ground ginger
  • A good pinch of salt
  • tsp. Chinese five-spice powder *this is my secret addition for pumpkin pie, too! Adds a touch of special!
  • Optional: ¼ cup unsweetened coconut flakes, toasted (to sprinkle on top when serving)
  1. Place all of the above ingredients (except coconut flakes) in a blender or food processor and blend until smooth.
  2. Pour the creamy filling into a prepared graham-style pie crust, or into a raw crust (recipe below).
  3. Place in the freezer for ~2 hours or until solid.
  4. To serve, remove from freezer and let thaw enough to cut through (about 20 minutes before serving). To avoid the cheesecake from getting too soft, don’t leave out for more than an hour and keep any uneaten portion stored in freezer (it may get too soft in fridge). This will easily keep in the freezer for up to a month, I imagine… Though it’s never lasted more than a week at my house!
  5. ENJOY! :)

NO-BAKE, RAW PIE CRUST RECIPE

  • 1 cup raw almonds (or 1 1/4 cup almond flour) *Pecans would be great, too!
  • 1 cup of packed, pitted Medjool dates (about 15 medium sized dates)
  • A good pinch of salt
  • 1/8 tsp ground cinnamon
  • 1/16 tsp ground ginger
  • Needed: A spring form pan, if possible, Otherwise a pie dish or even 8×8 baking dish works.
  1. If using a spring form pan, line the bottom with parchment or wax paper (and cut into a circle).
  2. If using whole almonds, place them in a food processor and grind until it becomes a coarse flour (photo below). *If you’re using the almond flour, skip to next step.
  3. Remove ground almonds from food processor and set aside in a bowl.
  4. Place dates in food processor and process until they soften and one big sticky ball forms (photo below).
  5. Add ground almonds back in with salt, cinnamon, and ginger, and continue processing until the texture becomes small crumbles that easily stick together when you press them between your fingers.
  6. Pour the crust mixture into the spring form pan (or pie dish, or baking dish), and press down with your fingers until it covers the entire area (photo below). *Wet your fingers with a little bit of water if you find it’s too sticky.
  7. Pour in your favorite pie filling (like the Pumpkin Cheesecake above) and you’re good to go!
Line your spring form pan…

20151215_122852

Grind up those almonds…

20151215_123606

Process the dates until a ball forms…

20151215_124813

Add ground almonds back in and process to reach this consistency…

20151215_125042

Press crust into bottom of pan…

20151215_125622

Pour in the pumpkin cheesecake filling and smooth with the back of a spatula…

20151215_132748

let set, cut, serve, and enjoy! :)

20151215_193757

Classic Sweet Potato Casserole with a twist (RECIPE) – Dairy free, Vegan, Delicious!

Did you know that the delicious and sugary Thanksgiving dish we know and love – the sweet potato casserole with browned marshmallows on top – was created by the marshmallow lobby in the early 1900’s? (You can learn a little more here.)

20151126_164036

I know, that may slightly tear away some magic from this classic dish. But the fact is, so many popularized, American foods that aren’t actually nutritious or beneficial – such as marshmallows – have simply become what they are due to smart advertising. Instead of getting too into the psychology and economics involved in the food industry (and further crapping on anyone’s marshmallow-loving parade), let’s just learn a little bit about marshmallows and where they came from.

Originating in ancient Egypt, marshmallows were a honey-sweetened candy made using the sap from the marshmallow root plant. It was soft and chewy, and used medicinally for ailments like sore throats.

Fast forward a few hundred years to the 19th century, and the labor-intensive methods of extracting marshmallow root sap made manufacturers come up with new processes (and involve new ingredients) which brought us to how we know the marshmallow today – as a light, fluffy, campfire treat which also tops the holiday sweet potato casserole.

Today’s version of the confection no longer contains the source ingredient of it’s name – marshmallow root – but instead, it is made up of a stabilizing protein such as gelatin (or agar, in Vegan versions) and sucrose (often with high fructose corn syrup).

20151205_235408

That said, there is nothing wrong with incorporating the better quality versions of marshmallows when making this crowd-pleasing dish once or twice a year. I use Dandies mini marshmallows, which contain no corn syrup, no gelatin, and no genetically modified ingredients. And, yes, they taste EXACTLY like your classic, name brand marshmallows – if not better.

As for the secret ingredient that gives this casserole a twist? Well, that would be mango juice of course.

20151205_235356

Most “classic” recipes call for heavy cream, which is meant to contribute creamy richness. It doesn’t really alter the flavor, but it does bring in a LOT of unnecessary fat and calories. You won’t find heavy cream or ANY dairy within this recipe, which has been a hit at many-a-holiday-dinner time and time again.

A Helpful Hint: If you choose go to back to your traditional sweet potato casserole recipe after trying this one (dare I say, doubtful?) try substituting canned coconut milk for your heavy cream. Though it will not lessen the overall calories or fat content, it will maintain the same creamy consistency and add a complimentary touch of flavor. All while being more plant-based friendly and allergen free.

If you just want to make a great sweet potato mash, you can stop before step 4 below and enjoy as is. It is just as delicious (and plenty sweet) without the marshmallow topping!

Sometimes the deliciousness can't wait for a photo opp, as shown here.
Sometimes the deliciousness can’t wait for a photo opp, as proven by the devoured portion above.

CLASSIC SWEET POTATO CASSEROLE RECIPE (with a twist)

  • 3 lbs Sweet Potatoes (about 4 large or 5 medium spuds)
  • 1 tsp. pure vanilla extract
  • 1/2 cup mango juice/nectar *I’m sure pineapple or orange juice would work, too… but try to find mango!
  • 2 Tbsp. coconut sugar or light brown sugar
  • 1/2 tsp. ground cinnamon
  • 1/4 tsp. sea salt
  • 1/2 cup pecan halves, chopped
  • Half a bag (5 oz.) of quality marshmallows *I use homemade, locally made, or Dandies mini-marshmallows
  1. Preheat oven to 450 degrees F and line a baking sheet with tin foil.
  2. Wash the sweet potatoes in the sink and pat dry. Pierce the tops of the potatoes with a fork, 2-3 times, before placing (holes up) on the baking sheet. Put in the oven for about 45-55 minutes, until sweet potatoes are fork tender and syrup begins to ooze out from the holes. Remove from oven and let cool until they aren’t too hot to be handled (usually 15-20 minutes).
  3. Lower the oven to 375 degrees F. Grab your 8×8 glass baking dish (metal is fine too, I’m sure – and 9×9 would also work). Peel the potatoes, putting the yummy orange flesh straight into the baking dish. Mash well with a potato masher or large fork. Add the vanilla extract, mango juice, sugar, cinnamon, and sea salt. Mash and mix together until all incorporated.
  4. Use a spatula or the back of a spoon to even out top of the mash. Sprinkle the chopped pecans evenly all over the surface. Then do the same with the marshmallows.
  5. Place on center rack in oven and bake at 375 degrees F for about 25 minutes, or until marshmallows begin to turn golden brown. Remove, let cool slightly, and enjoy!

*You can also make the dish ahead of time. Simply cover the mash in the baking dish after step 3 and refrigerate for up to 2 days. When ready to bake, remove from fridge for about 20 minutes to take the chill off and preheat the oven. Then add pecans and marshmallows, and bake as instructed above!

20151126_164045
Impromptu dinner paparazzi – starring the BEST sweet potato casserole!

Sweet Potato Soup: Easy, satiating, and delicious! (RECIPE)

‘Tis the season for warm and inviting soups.

20151115_153649

If you’re looking for a flavorful and easy meal – or a nutrient-rich accompaniment to any meal – this rich and creamy sweet potato soup is sure to do the trick. With the sweetness from roasted sweet potatoes and a surprising little kick thanks to fresh ginger root, this takes very minimal prep time and will make you a batch big enough to last a week.

Okay, in my house it’s more like a few days, but you get the idea.

It’s also whole food and plant-based (vegan), Paleo (if you indulge in the tubers), and gluten-free for those with sensitivities. Sugar-free, Low-sodium, blah blah benefits, benefits, benefits, free this, free that… Basically, unless you’re not into nightshades or onions or garlic, this recipe is perfect parts of magic for everyone.

Soups are so satisfying. It is the perfect meal if you’re craving something savory and filling, but aren’t a fan of feeling weighed down after eating. Plus, soups like this are incredibly inexpensive to put together. If you’re a single college student or a part of a monster household, it’s a lot of bang for your buck – financially and nutritionally.

There is virtually no fat in this recipe, it’s high fiber, and drowning in beneficial nutrients to make your mind and body all kinds of happy. You can eat it alone, aside a sandwich, aside a salad, with sprouts on top, as a different kind of salad dressing, tossed with other veggies or pasta, or drink it warm out of a mug. Ver-soup-tility, for the win!

Enough talk. Recipe time!

20151115_150646-1

SUPER SWEET POTATO SOUP

Ingredients:

  • 2 large sweet potatoes
  • Half a large sweet (yellow) onion, chopped
  • 2 stalks celery, chopped
  • 2 large carrots, chopped
  • 2-3 garlic cloves, minced
  • 2 inches fresh ginger root, peeled and minced
  • 1 Tbsp Extra Virgin Coconut Oil
  • 1 cinnamon stick, broken in half (optional, but recommended! Use 1/4 teaspoon ground cinnamon otherwise)
  • 1 carton (4 cups) low-sodium, organic vegetable or chicken stock
  • Salt & Pepper, to taste
  • Additional water, if needed

Preheat oven to 425 F. Scrub potatoes and poke holes on top of each with a fork. Place on a tin-foiled cookie sheet or baking dish and place in oven for about 45 minutes or until knife tender and syrup begins bubbling through fork holes.

While the potatoes are in the oven, heat a large saute pan on the stove at about medium to medium-high heat.  Warm & melt coconut oil. Add in onion, celery, carrots, and ginger, and stir to mix and coat in oil. Add some salt & pepper.

Once onions are translucent and carrots and celery soften, add in garlic and saute a couple of more minutes (don’t let garlic get burned or too dark, it will result in a bitter taste). Add in about one cup of the vegetable or chicken stock and the cinnamon stick or ground cinnamon. Turn heat down to medium-low and let simmer. Add a little bit more salt & pepper.

20151115_150612-1

By this time, the ‘taters should be done in the oven. Take them out and let them cool a bit. Carefully cut a slit through the skin to help them cool down faster. Once they’re cool enough to handle, remove the skin and chop roughly.

20151115_151322

Add the potatoes to the saute pan and pour in the rest of the vegetable or chicken stock. Bring the mixture back up to a simmer and cover. Let simmer for about 5-6 minutes. If you have a potato masher, you can also gently mash them up in the saute pan. Add a little bit of salt & pepper.

Remove the cinnamon sticks and transfer the almost-soup from the saute pan into a high speed blender or food processor, and blend until smooth, about 2 minutes. Add water until consistency you like is reached.

20151115_153246

If you’re not eating it right away, pour the soup into containers and let cool before refrigerating. Otherwise, pour the now smooth-n-creamy soup back into the sauce pan and let simmer a couple of minutes before serving. Hint: It’s great with broccoli sprouts and/or sliced almonds on top.

20151115_153622-1

ENJOY!