Tag: vegan recipe

RECIPE: Cilantro Lime Rice & Beans (better than Chipotle!) – Easy, Plant-based dish!

Everyone loves Chipotle (right?) and their simple yet delicious spread of Tex-Mex goodness.

But… let’s be honest. Cost-wise, they make a killing charging what they do for some of the most affordable types of food around. Namely, rice ‘n beans (or arroz y frijoles).

Even if you do skimp on the guac (which, if so, who ARE you?) eating at places like Chipotle often can definitely put a dent in your finances.
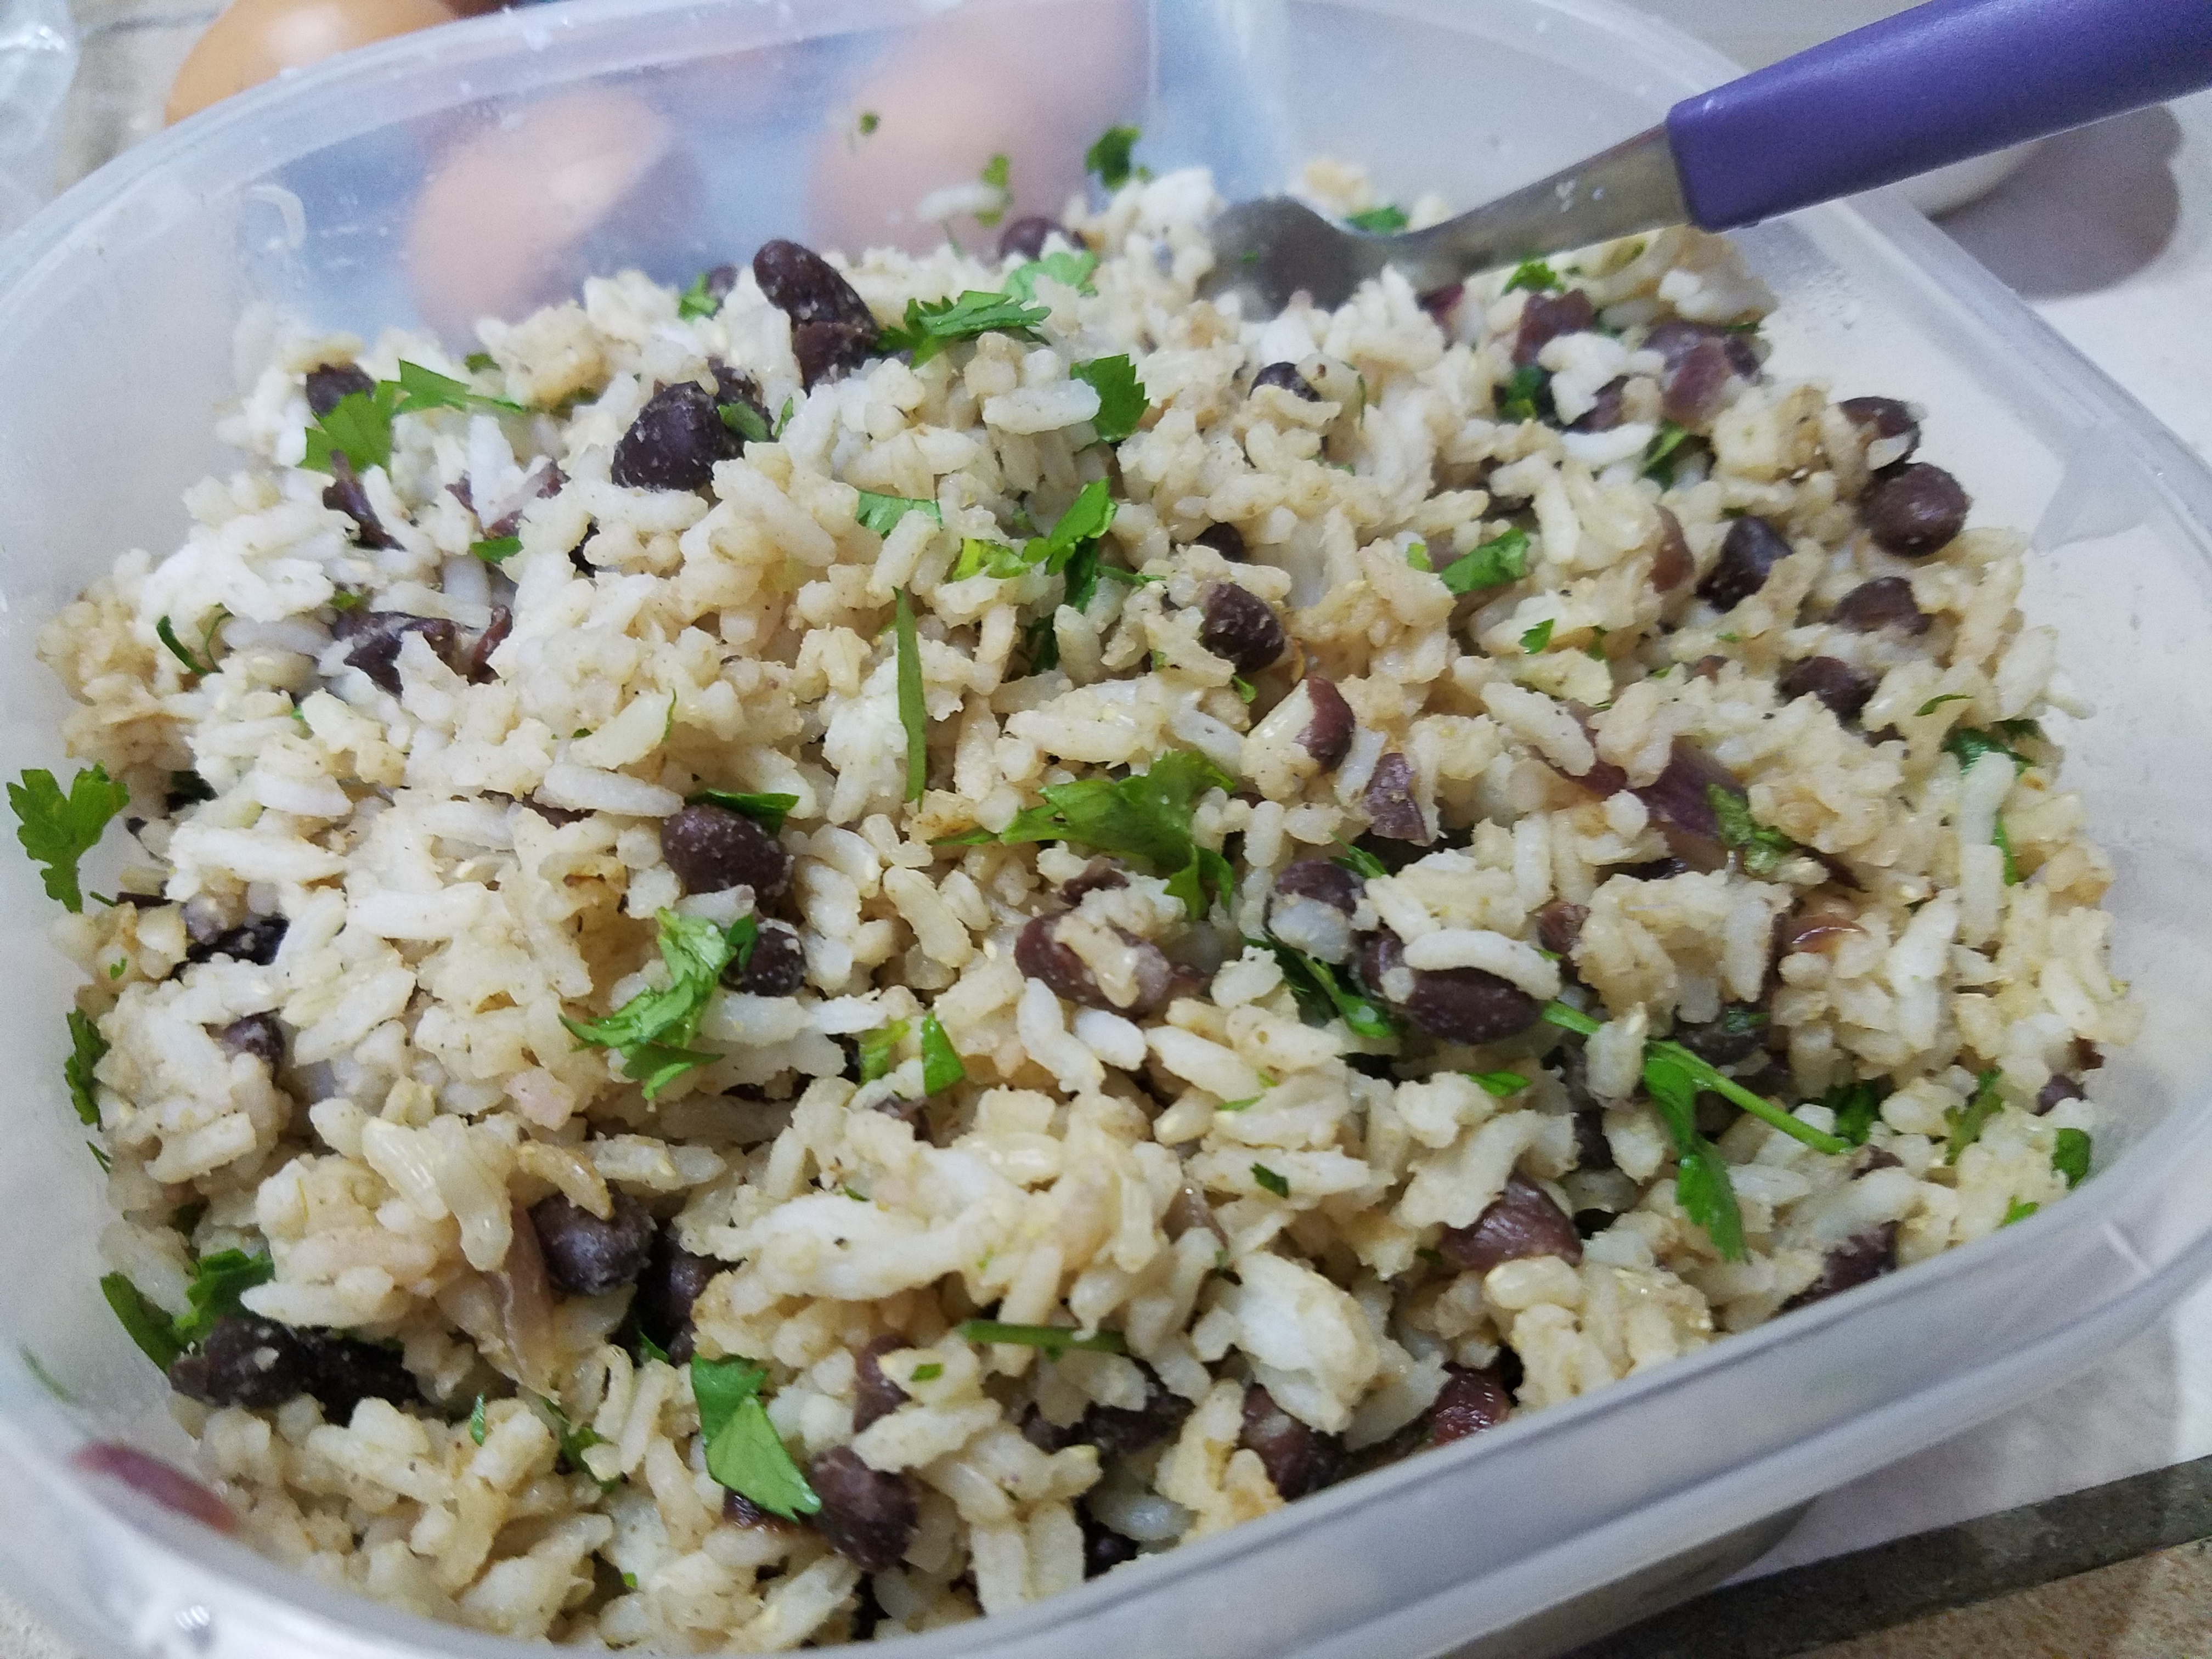
So, allow me to bring to you my HOMEMADE CILANTRO LIME RICE & BEANS (that are better than Chipotle).

I love me some rice ‘n beans, as do most people I know. Especially while traveling through Latin America, where gallos pinto – the traditional rice ‘n beans dish – is typically served with breakfast.. AND lunch.. AND dinner at times… I grew to love them even more rather than get tired of them.

I love this dish so much that there are at least 5 different, flavorful rice ‘n beans recipes I plan to share here on the blog (as well as helpful tips and advice for anyone who plans on traveling or living in places like Costa Rica).

It all starts with the two [obvious] key ingredients…
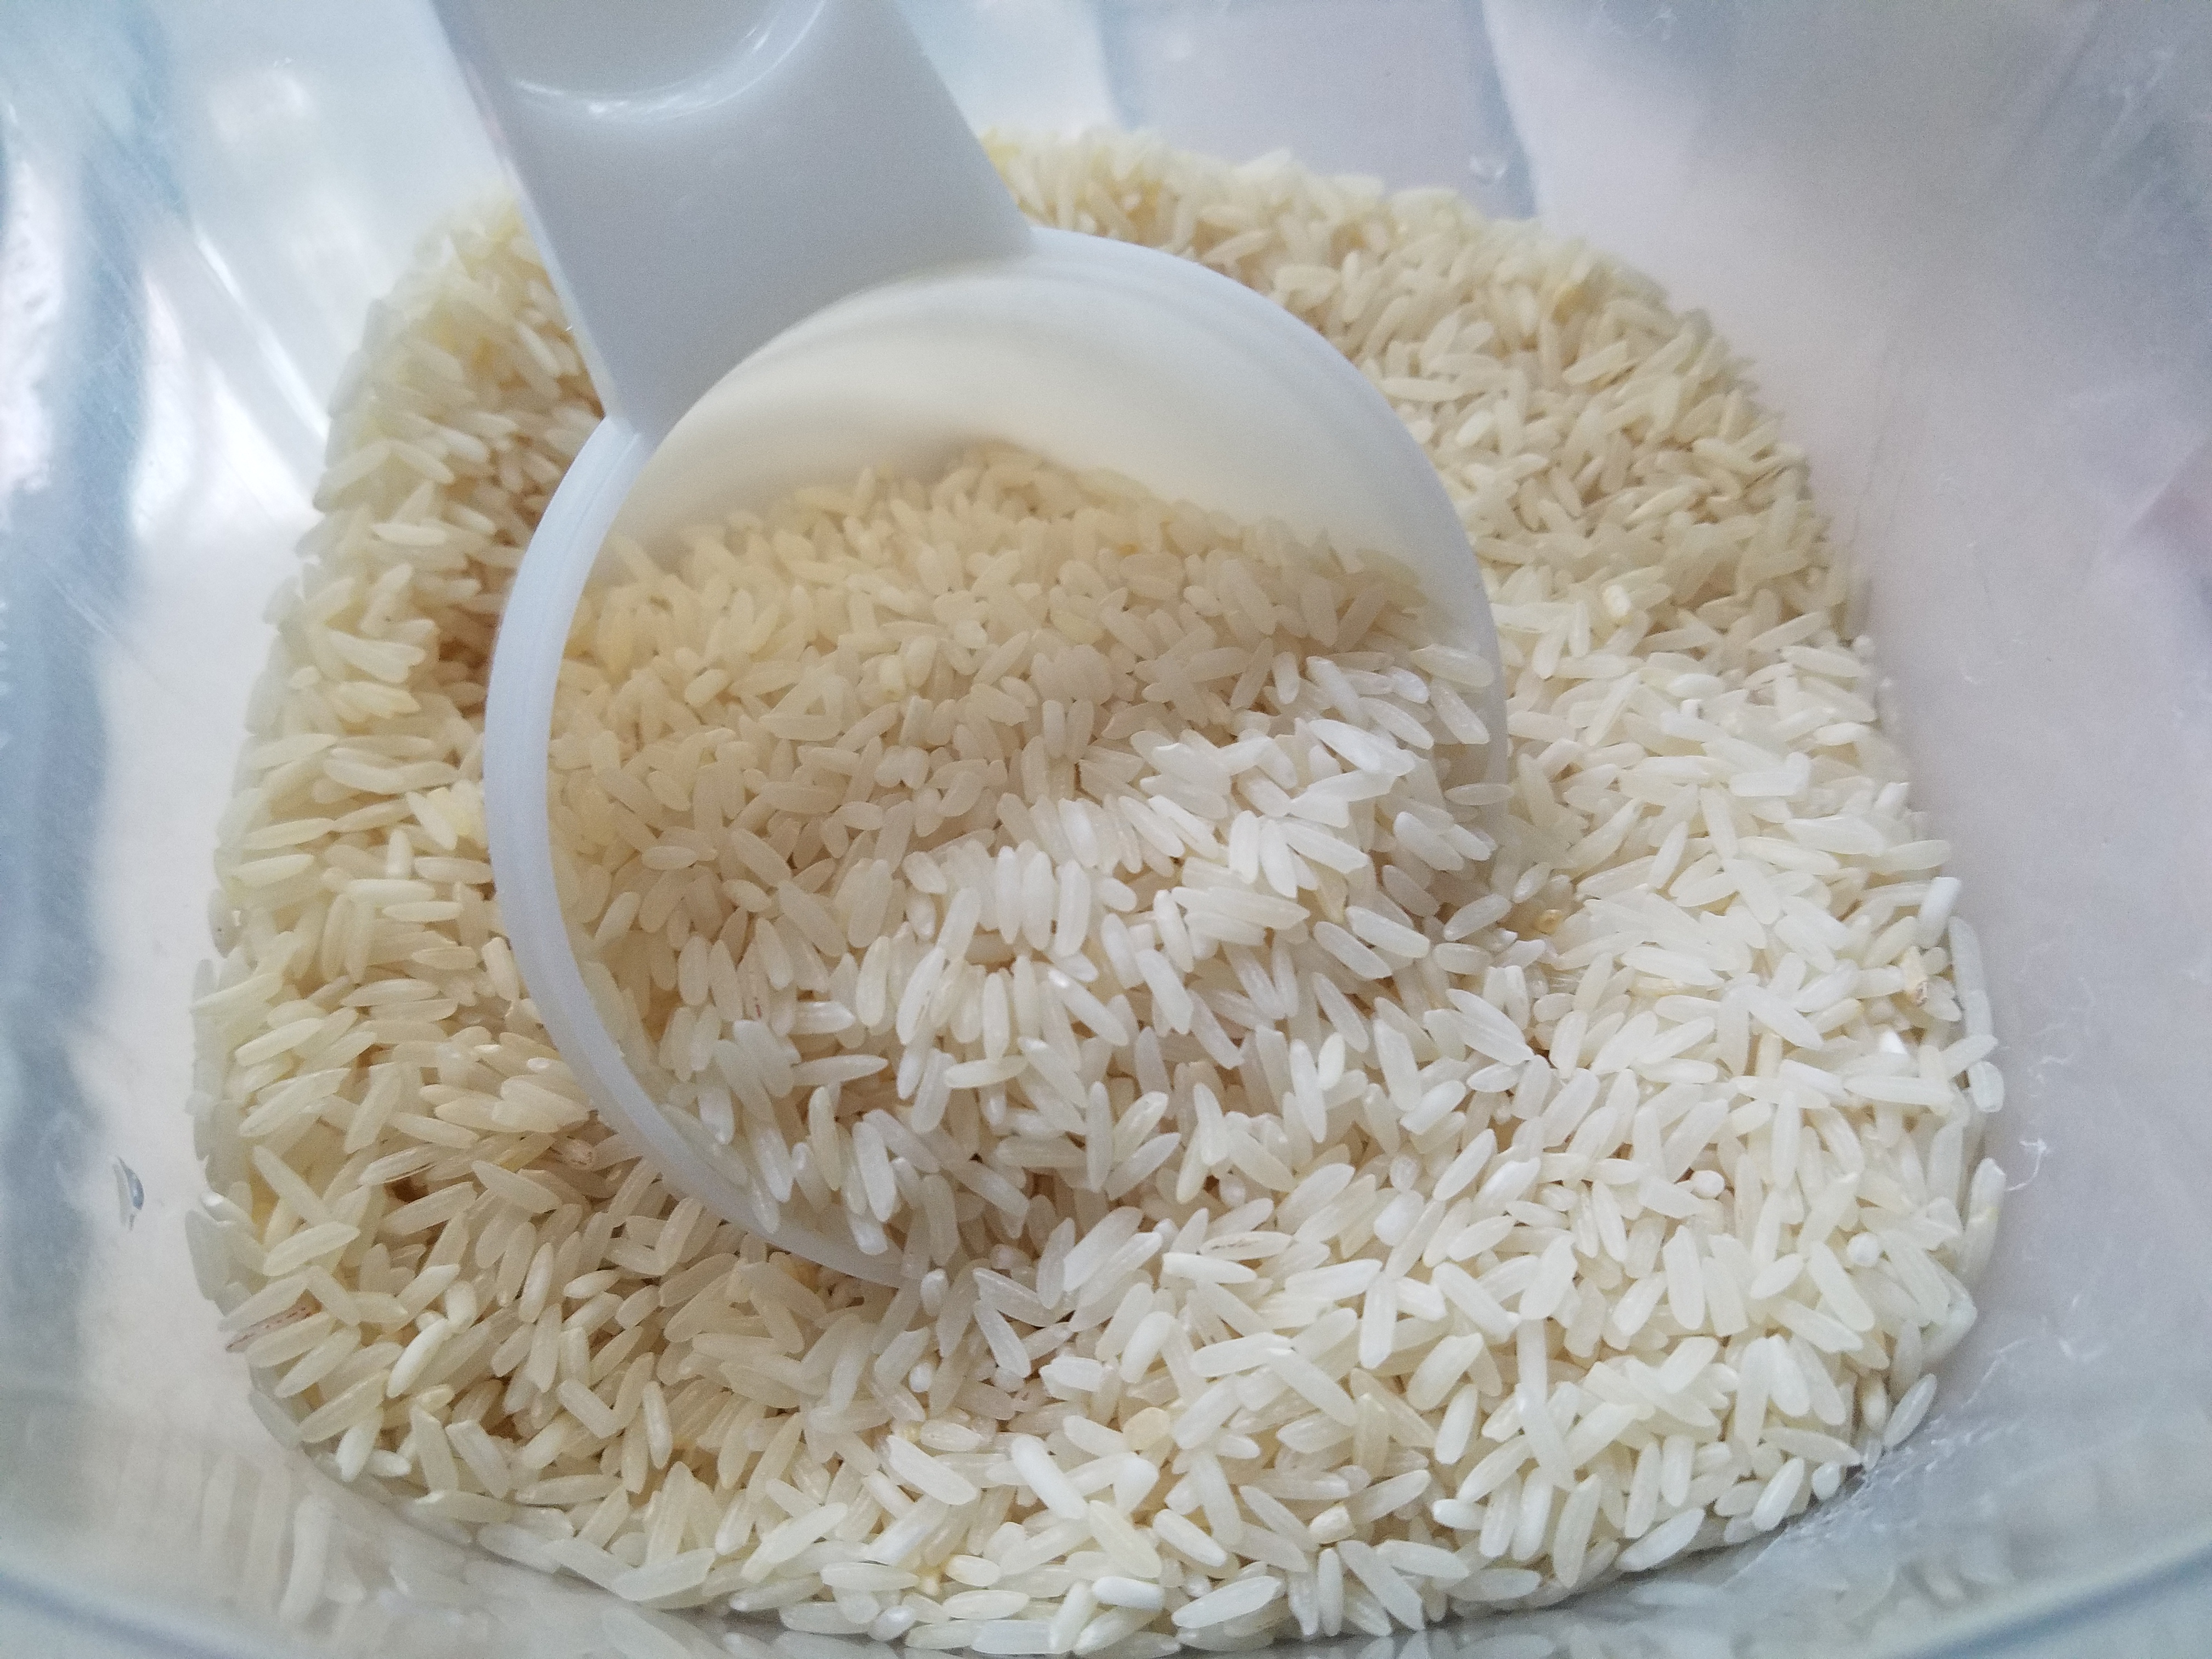
Arroz.

Y frijoles.

Now, if you don’t have the kitchen blessing that is a rice cooker, you’re still good to go. You can use a saucepan on the stove top. Yes, this may be the easiest, better-tasting, restaurant-replica recipe you have ever made.

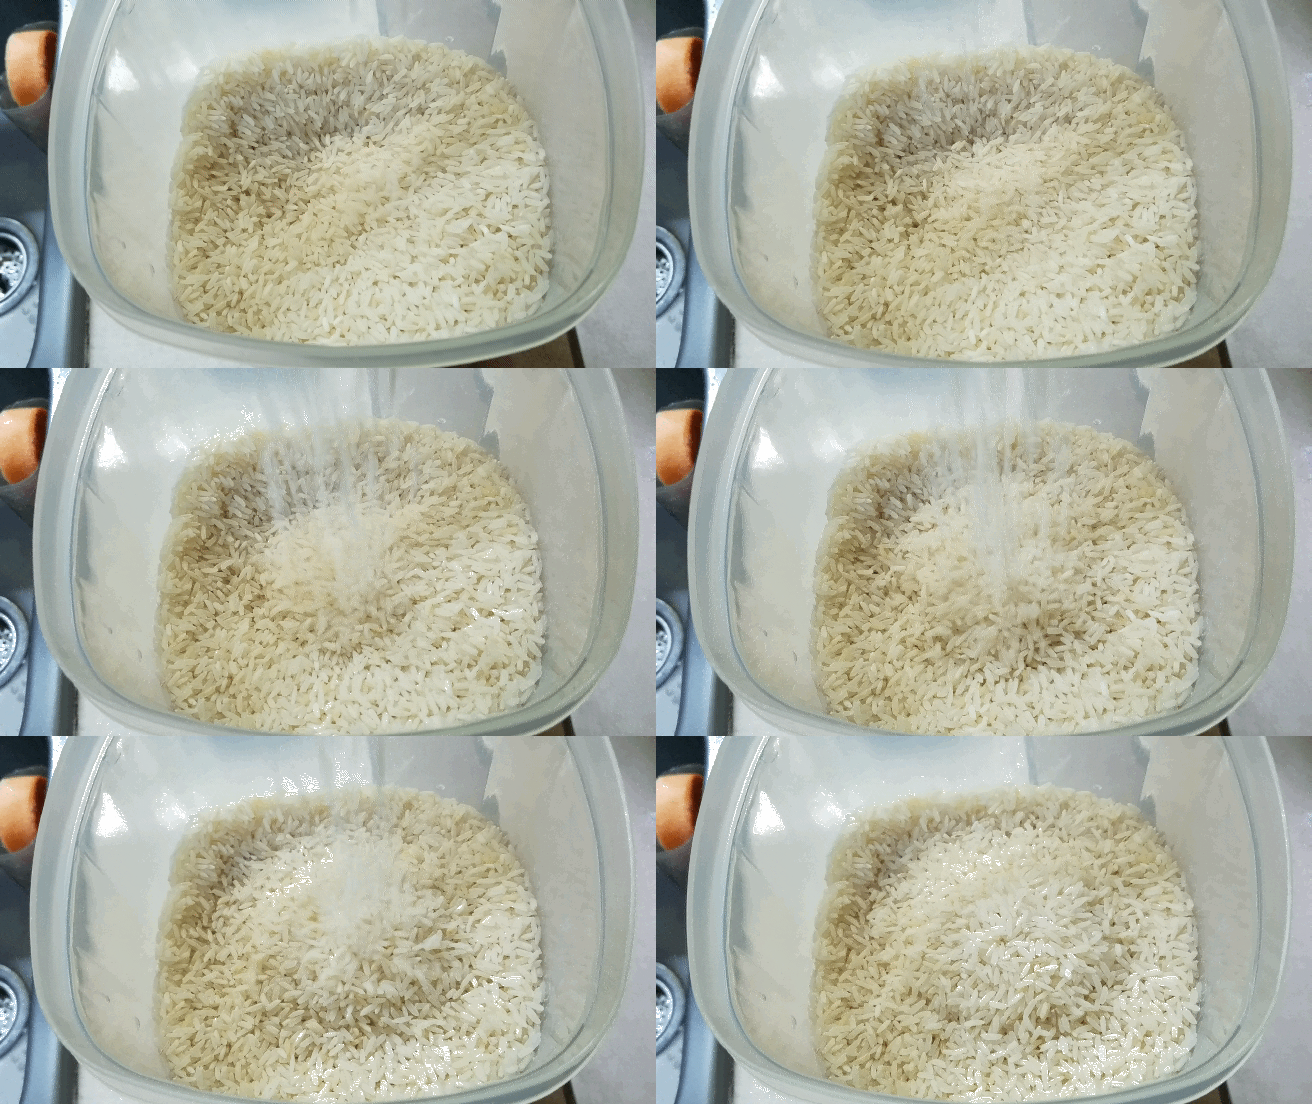
What kind of rice do you need? Whatever you have on hand. I had a blend of brown and white.
What kind of beans? Well, for this recipe, classic black beans. And yes, canned is just fine (though I’d recommend low or no-salt added to have better control of the sodium in your recipe).

Grab a handful of other ingredients – like fresh cilantro, onion, extra virgin olive oil, and lime – and you’re basically good to go.
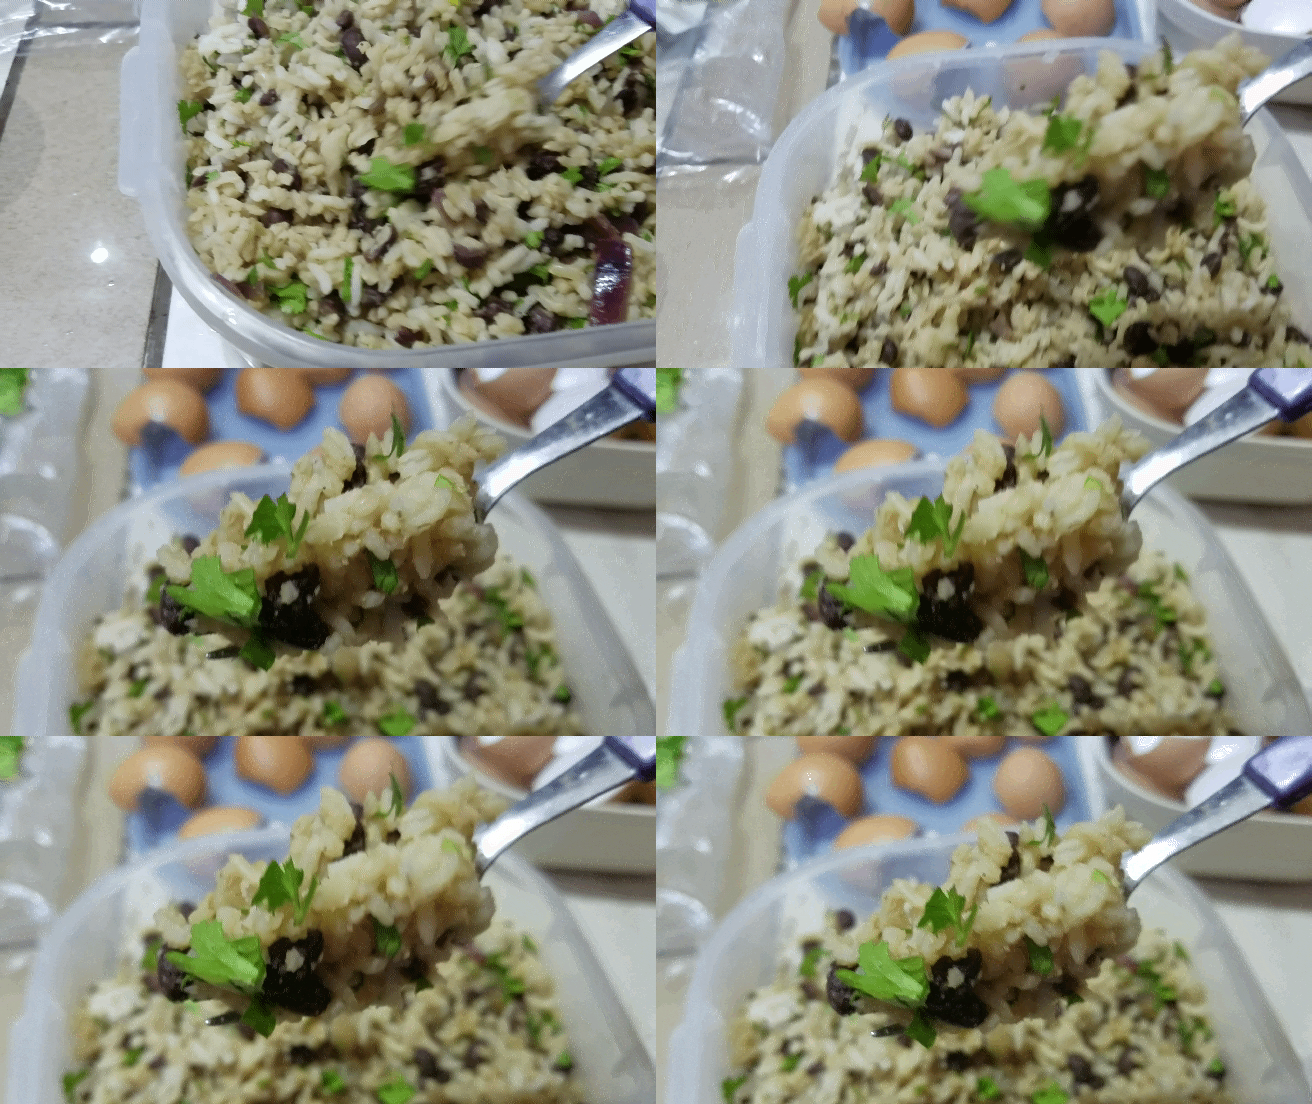
Mmmmmmmmmmmmmm yas.

The bigger plus? This recipe makes at least 6-12 Chipotle portions if you get their rice bowl… and it costs less than one or two orders.

By the way, you can find an amazing tex-mex bowl recipe (along with tons of helpful info) in one of my best-selling books, the grocery store tour guide, which is also available as an ebook!

Without further ado – here it is! Try it out, share, and let me know what you think :)


CILANTRO LIME RICE & BEANS (makes around 6 cooked cups)

  • 2 cups brown and/or white rice (before cooking) *cook according to packaging or using leftover rice is fine!
  • Half a large red onion, finely chopped
  • 1 Tbsp Extra Virgin Olive Oil
  • 1 (~8 oz.) can of Black Beans (preferably organic and low or no sodium to better control salt content), drained and rinsed
  • 1 small bushel of fresh cilantro, leaves picked and chopped (about 1/3 cup chopped)
  • The juice from one lime
  • 1 tsp. ground cumin
  • 1/4 tsp. sea salt (or more, to taste preference)
  • 1/4 tsp. black pepper (or according to taste)

Directions

  1. Cook rice according to package or use leftover rice. Two uncooked cups yields 4.5 to 6 cooked cups.
  2. In a fairly large saute pan heated at medium to high, saute onions in olive oil until fragrant and softened (about 2-3 minutes). Add rice and stir, letting cook for another 2-3 minutes.
  3. Add black beans, cumin, salt, and pepper. Stir to all incorporate. Lower heat to higher “low” spectrum, cover the pan, and let flavors marry for 3-4 minutes. You can also add 1/4 cup or so of water before covering, especially if the rice was leftover. This will add more moisture while cooking.
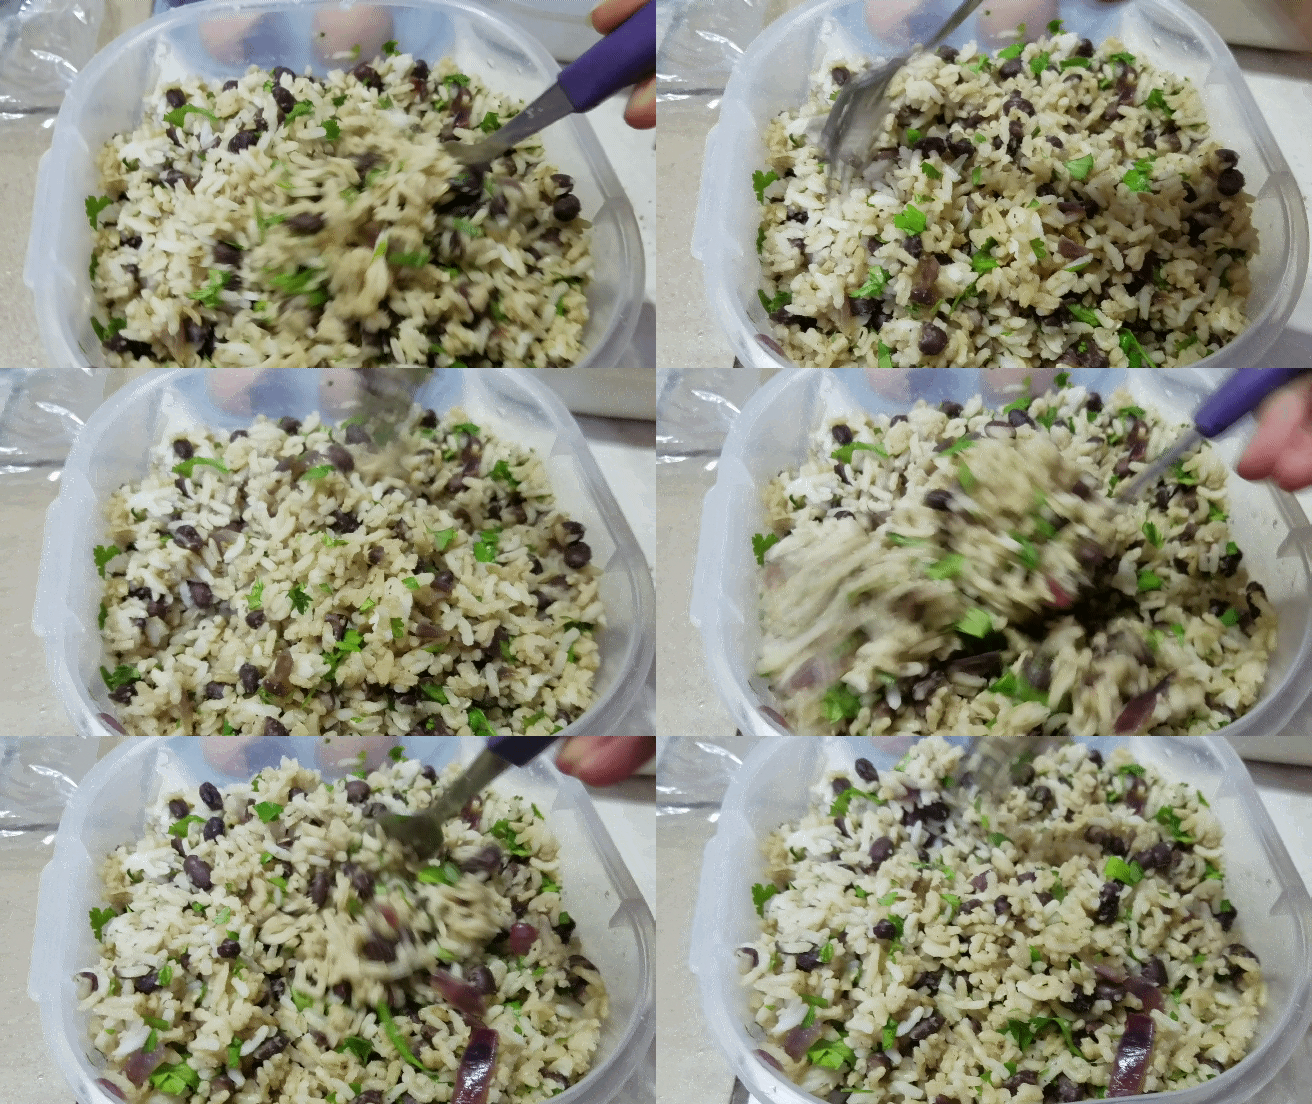
  4. Uncover and remove from heat. Stir in lime juice and cilantro, then taste and add more salt if necessary. Stir again and then ENJOY! :)
Healing Magic Panda Soup – Delicious & Satisfying Hug in a Bowl (RECIPE)

*This recipe is featured as a BONUS RECIPE in The Grocery Store Tour Guide & Nutritional Workbook, available HERE

Are you a soup person? Me neither. Or, at least I wasn’t before coming up with this amazingly magical and ridiculously simple recipe this a few winter ago.

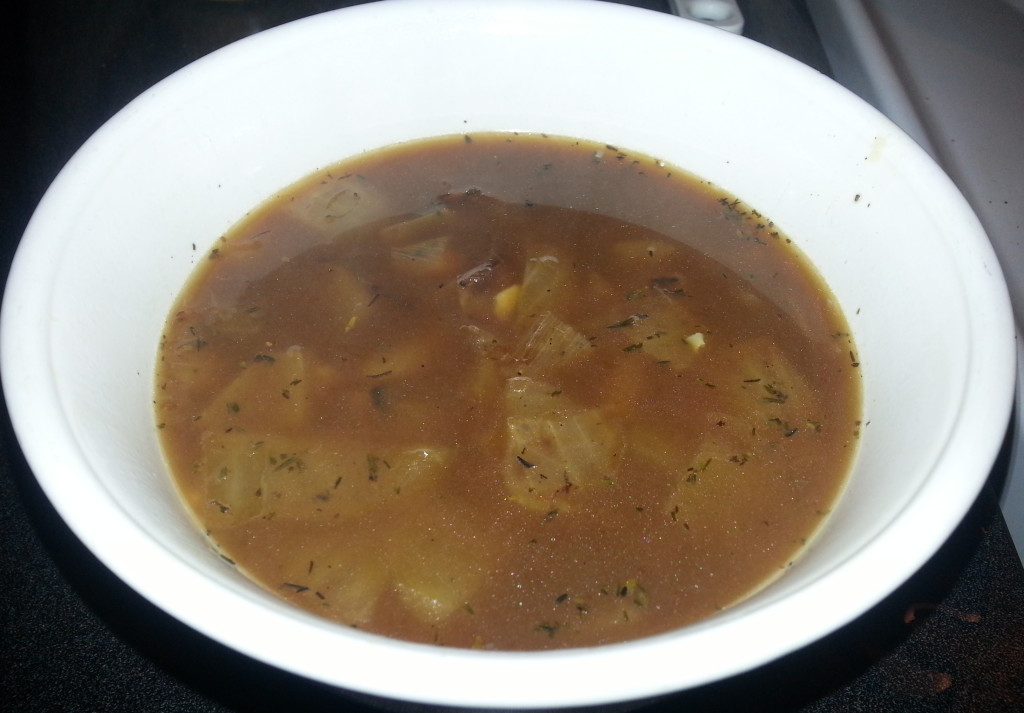
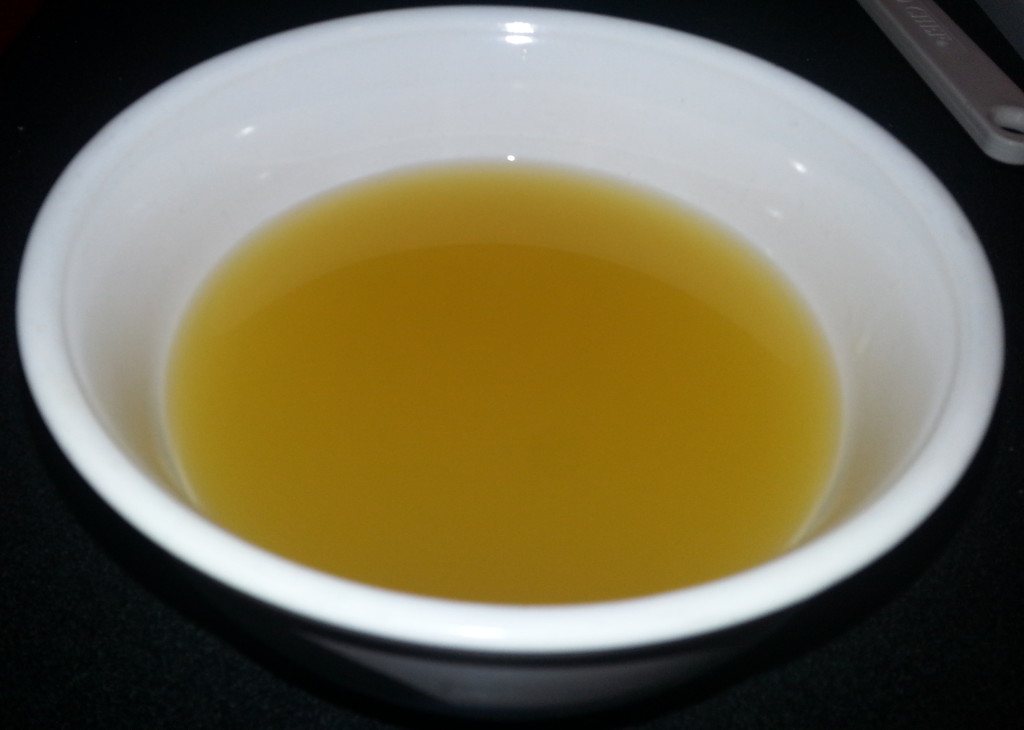
20140124_185159

There is something so wonderful, comforting, filling, and peaceful about this soup. It is the perfect amount of sweet and savory, not too broth-y with a touch of bite, and completely enjoyable regardless to which diet or lifestyle you are following (unless you are allergic to any of the minimal ingredients, of course).

It proves to be the perfect side dish- complementing any salad, sandwich, main course, crusty bread, breakfast, lunch, or dinner. It can even suffice as its own full-meal show. Additionally, it can act an amazing base recipe for whatever additions your heart desires; from greens to corn, veggies to grains, and meat to tofu.

Whether you are Vegan, Vegetarian, Paleo, counting points, raw ‘til 4, or have never particularly liked soup before, I am confident that you will love this Sweet Panda Soup as much my family, friends, and I do. Winter has long past as we now experience scorching summer days, yet this is still a staple in my kitchen for winding down in the evenings (and is surprisingly delicious cold, too)!

Not to mention, Healing Magic Panda Soup packs a punch in maintaining or improving your health by providing nutrient-rich hydration, anti-inflammatory compounds, natural fiber, and vitamin B-12. If you are hypoglycemic, it may even help to balance blood sugar levels.

Another bonus that others have found and that I can vouch for myself? It not only fills you up, but can also help keep any late-night cravings at bay.

With no further ado, here is my recipe for Healing Magic Panda Soup.

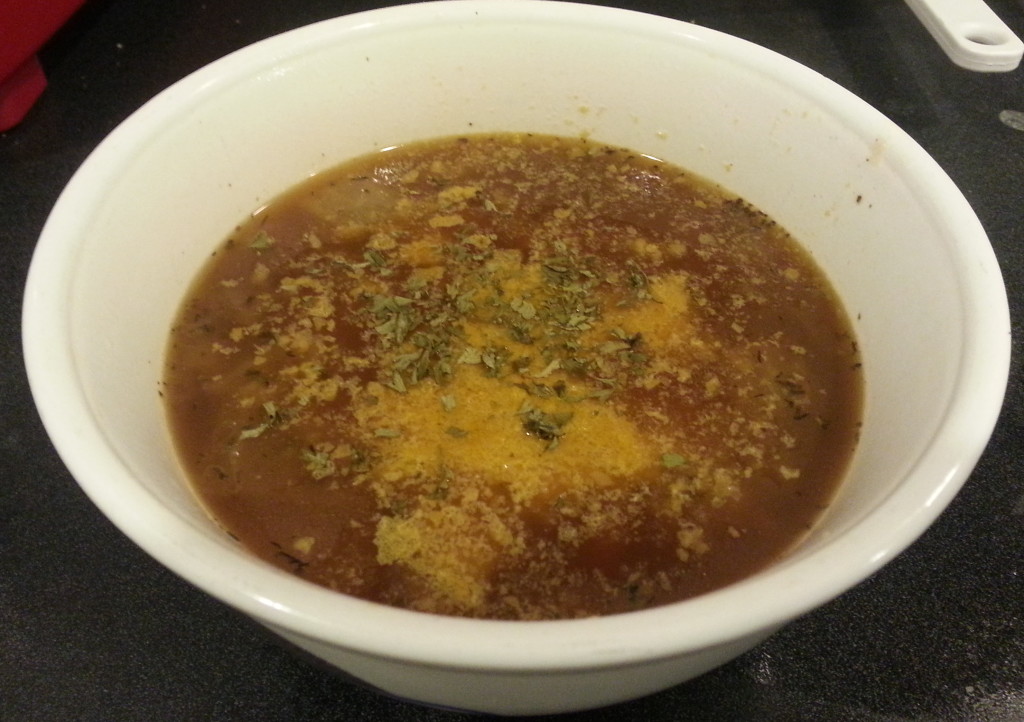
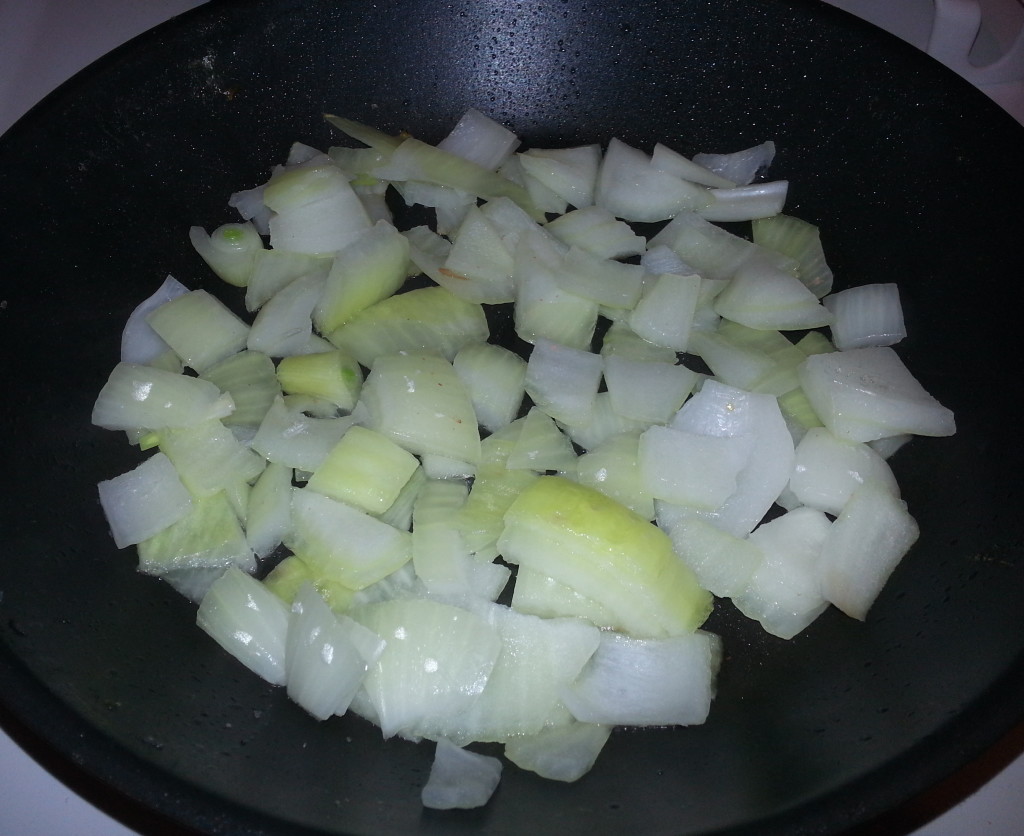
 20140124_185244

HEALING MAGIC PANDA SOUP

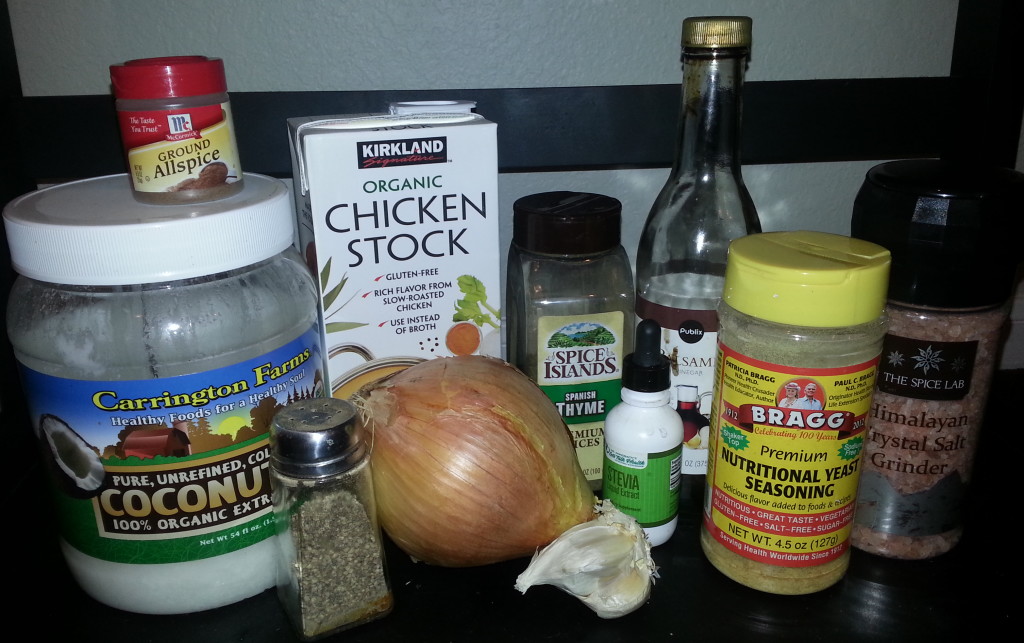
Single-Serving Ingredients *use organic, if possible

1 (medium to large) Sweet Vidalia Onion, chopped

1-2 cloves of garlic, minced

1 tsp. Extra Virgin Coconut Oil

1 Tbsp. Balsamic Vinegar

1 ½ Cups (or about two-thirds of your favorite bowl-full) of Organic, Low-Sodium Vegetable or Chicken Stock

A large pinch of Freshly Ground Sea Salt (I use Pink Himalayan)

A large pinch of Freshly Ground Black Pepper

2 tsp. Dried Thyme (or 1 tsp. fresh Thyme leaves, chopped)

¼ tsp. (or a modest sprinkle) All Spice

1 heaping tsp. sugar of choice (coconut, organic cane, honey) or 2 drops of liquid stevia

Optional, but recommended: 1 Tbsp. Nutritional Yeast flakes

Optional: 1 tsp. Dried (or chopped fresh) Parsley

Directions (Photos Below CROCK-POT VERSION)

  • Preheat a medium to large pan on stove at medium-high.
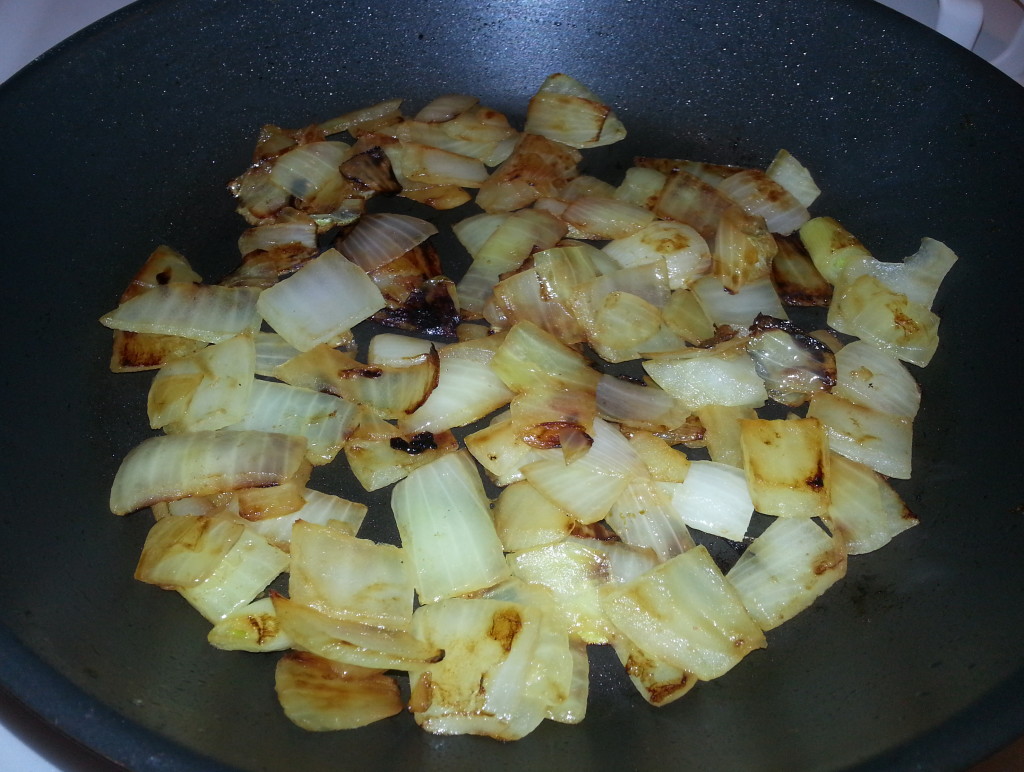
  • Put in coconut oil, chopped onions, and salt. Cover and let cook, stirring around every 5 minutes or so, until onions are translucent and beginning to caramelize into a light brown (about 20 minutes).
  • Add in garlic and let saute with onions for 2-3 minutes, until fragrant. *Always avoid burning or browning garlic, as it may cause bitterness in the dish.
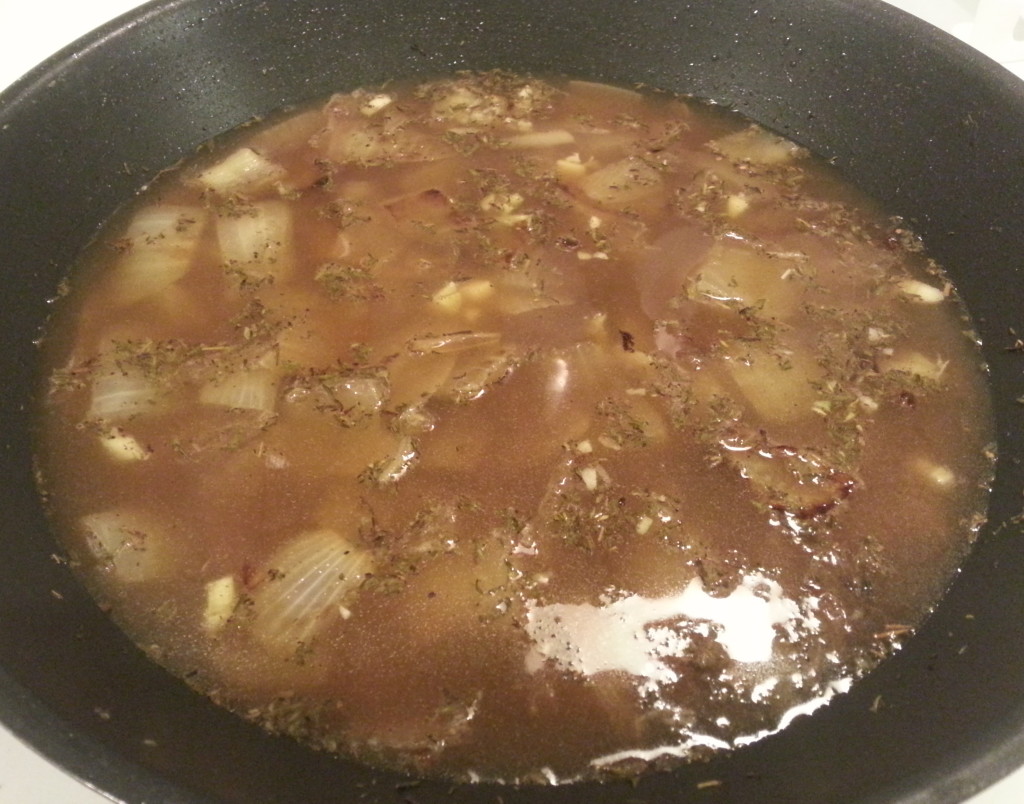
  • Add in balsamic vinegar, pepper, thyme, all spice, sugar/stevia, and stock. Bring to a simmer before turning heat down to medium-low. Cover and let cook another 5-10 minutes until flavors marry.
  • Pour in your favorite bowl; sprinkle the top with Nutritional Yeast flakes and parsley… Enjoy!
CROCK-POT VERSION

Ingredients (makes 8-12 servings) *use organic, if possible

6-8 (medium to large) Sweet Vidalia Onion, chopped

4 cloves of garlic, minced

1-2 Tbsp. Extra Virgin Coconut Oil

¼ Cup Balsamic Vinegar

2 ½ to 3 (32 oz) Cartons of Organic, Low-Sodium Vegetable or Chicken Stock

3 good pinches of Freshly Ground Sea Salt

3 good pinches of Freshly Ground Black Pepper

1 heaping Tbsp. Dried Thyme

½ tsp. (or a good sprinkle) All Spice

1 Tbsp. sugar of choice (coconut, organic cane, honey) or 4 drops of liquid stevia

1 Tbsp. Nutritional Yeast flakes (per bowl)

1 tsp. Dried (or chopped fresh) Parsley (per bowl)

Directions

  • Set Crock-Pot to HIGH and drizzle half of your coconut oil at the bottom.
  • Put in half the onions and sprinkle salt. Drizzle the rest of your coconut oil and put in the remaining onions, garlic, thyme, pepper, all spice, and salt. Stir around and cover.
  • Let onions cook and caramelize until they begin to sweat and turn a light brown (about 5-6 hours), opening to stir around once or twice in that time.
  • Add in stock, balsamic vinegar, and sugar/stevia. Stir well and cover again. Let cook for another 1-2 hours (up to 4) before serving it up in your favorite bowl with Nutritional Yeast flakes and a bit of parsley. Enjoy!

20140124_183436

20140124_183504

20140124_182840

20140124_183711

20140124_184051

20140124_185244

Oh, and don’t worry. No pandas were harmed in the making of this glorious dish. I just happen to love pandas, and it only seemed fit that this amazing soup be named after something I adore just as much!

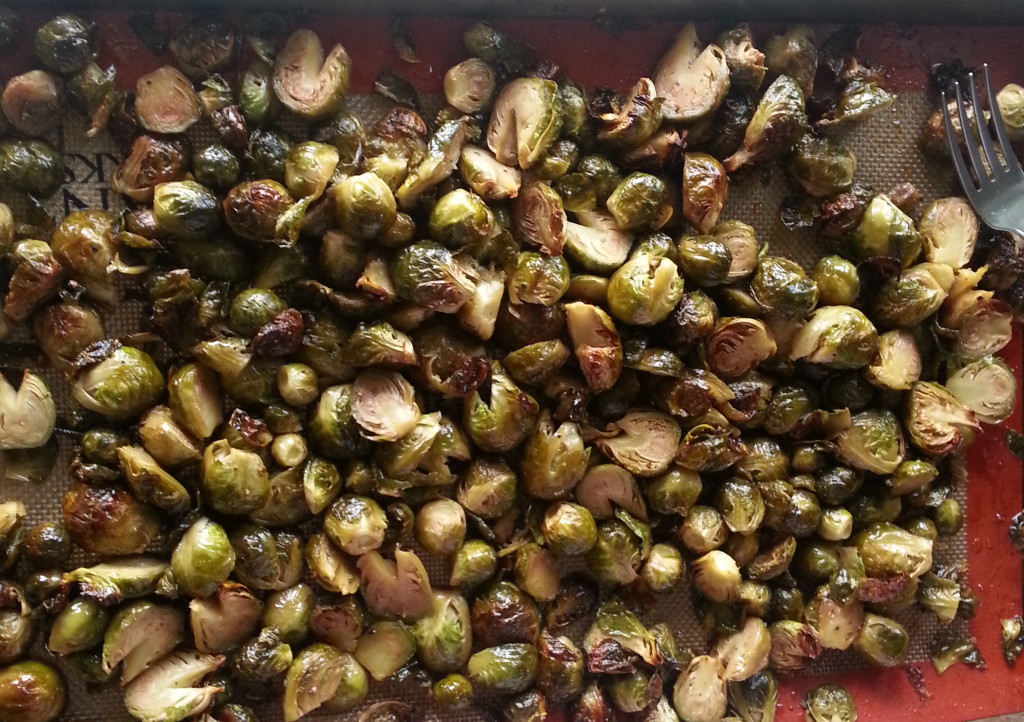
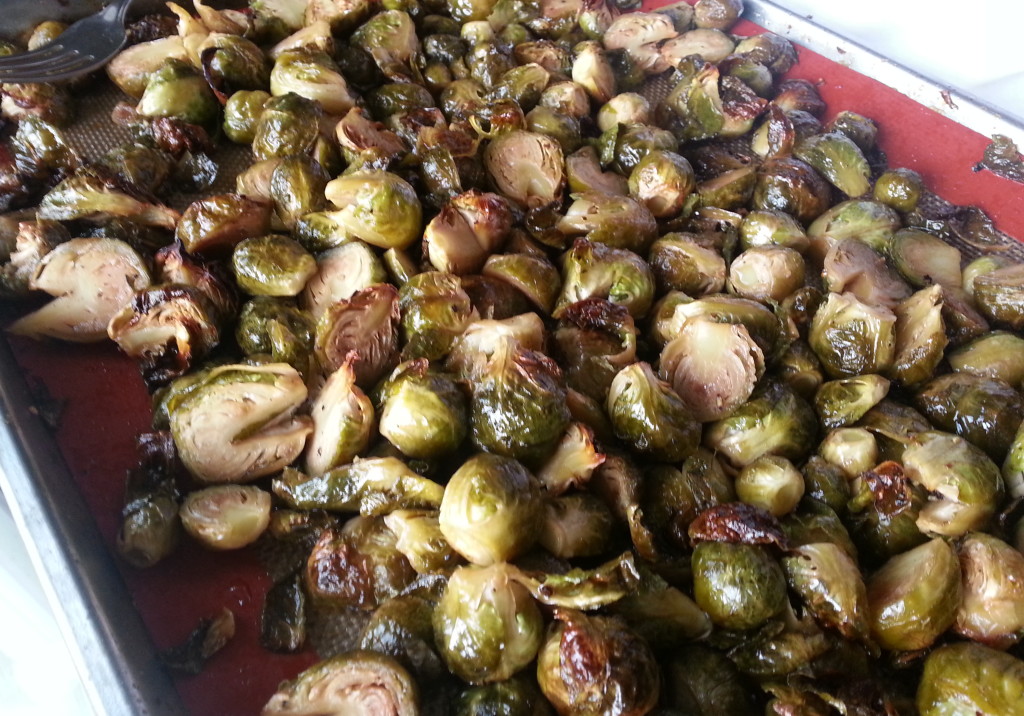
Addictive Roasted Brussels Sprouts (RECIPE) – only THREE ingredients!

Brussels Sprouts are amazing. They are nutritious, all kinds of bite-sized cute, and incredibly versatile.

Versatile, indeed. And, yes, these are the actual sprouts used in today’s recipe. Because multitask (and pigtails).

I’m not going to go into some story-time shpeel before sharing this recipe. It is so delicious and so easy that I am sparing you any pre-recipe childhood memory or suspenseful read before I share the goods. I also like typing out Brussels Sprouts like it’s someone’s proper name. The cuteness wins over being grammatically correct.

Brussels Sprouts are nutritious, with tons of vitamins, minerals, and fiber – but many people miss out because, well, how do you make them tasty? Steam them and they will likely turn into mush, making you feel like you’re eating baby food. Same goes for boiling. Pan-fry them and you may get a crisp outside, but likely a still-raw-ish inside.

People either love cruciferous veggies (like Brussels Sprouts, cabbage, broccoli, and cauliflower) or they don’t. I don’t care what your preference is. If you try this recipe, which has only THREE main ingredients, it will blow your previously-Brussels-Sprout-hating mind.

Get ready for some yummy, candied cruciferous nuggets you will find yourself eating like popcorn.

20151018_160158Brussels Sprouts for dayssssssssss…


SWEET, MAPLE-ROASTED BRUSSELS SPROUT POPPERS

You will need:

1-2 stalks of Brussels Sprouts, for best flavor (or enough Brussels Sprouts to cover a large, rimmed baking sheet)

1/4 Cup extra virgin olive oil

1/2 Cup high-quality, pure maple syrup

Salt & Pepper (to taste, preferably fresh ground)

Easy-peezy Directions:

  1.  Preheat your oven to 375 degrees F.
  2.  Rinse Brussels Sprouts well. If cutting from stalk (as I did for this recipe), rinse sprouts on stalk before cutting. Then proceed to *cut the sprouts off the stalk, halve them, and I also suggest cutting out a bit of the thick stem part from the base to prevent any bitterness once they are cooked. To do this, cut out a “V” of the firm white “heart” that would have been the base of the Brussels Sprout (you can peep this in the photos). Collect all your sprouts in a large bowl after the cutting.
  3. In a liquid measuring cup, pour in olive oil and maple syrup (measuring as you pour… win-win for less dirty dishes) and whisk well. Pour all over the Brussels Sprouts in the bowl and mix around until they are all coated.
  4. Pour the sprouts on your large, rimmed baking sheet. Season well with salt and pepper (I suggest freshly ground Himalayan Sea Salt & black pepper). Give another quick toss, and add a touch more salt and pepper. Sprouts should be in a single layer on the sheet, for even cooking.
  5. Place in the preheated oven for 40-50 minutes, making sure to toss half-way through the cooking time to get everything evenly roasted. Sprouts are done when most have a dark brown, crisp outer leaf and the larger ones are fork tender.
  6. Enjoy your insanely delicious cruciferous candy. Eat them as a side dish, pop ’em as a lone snack, mix them into a creamy soup (like my Simply Creamy Butternut Squash Soup), or share them with your veggie-loathing friends to convert them to the dark (leafy green) side.
20151018_160152
Withholding the excitement of such a winning recipe was 98% impossible, as proven by the blurriness (and the fork).

*Careful cutting those things off the stalks, especially if you are really excited and halfway paying attention… and just bought shining, new, sharp specialty knife from Costco. And your name is Jasmin. Yes, I nearly sliced my thumb clear off whilst preparing this recipe. However, the end result was clearly totally worth it.

Fun fact: Brussels Sprouts is commonly misspelled as “Brussel” Sprouts. Who’s guilty?