Tag: healthy foods

Easy, Homemade Oat Waffles (or pancakes) – gluten-free, vegan, low-fat, delicious! (RECIPE)

If you’re looking for a twist on getting healthy oats in for breakfast, but want to venture from the typical (delicious) bowl of warm oatmeal as your only vehicle – this recipe is exactly what you need.

EASY, Homemade Oat Waffles (or pancakes, if you don’t have a waffle maker).

20160207_114526

This recipe takes less than ten minutes to put together, twelve total minutes to cook, and the result is two giant waffles (which can yield 2-4 servings depending on your size and satiation) or 6-8 medium pancakes. It also utilizes ingredients that can all be found on the grocery list within The Grocery Store Tour Guide & Nutritional Workbook.

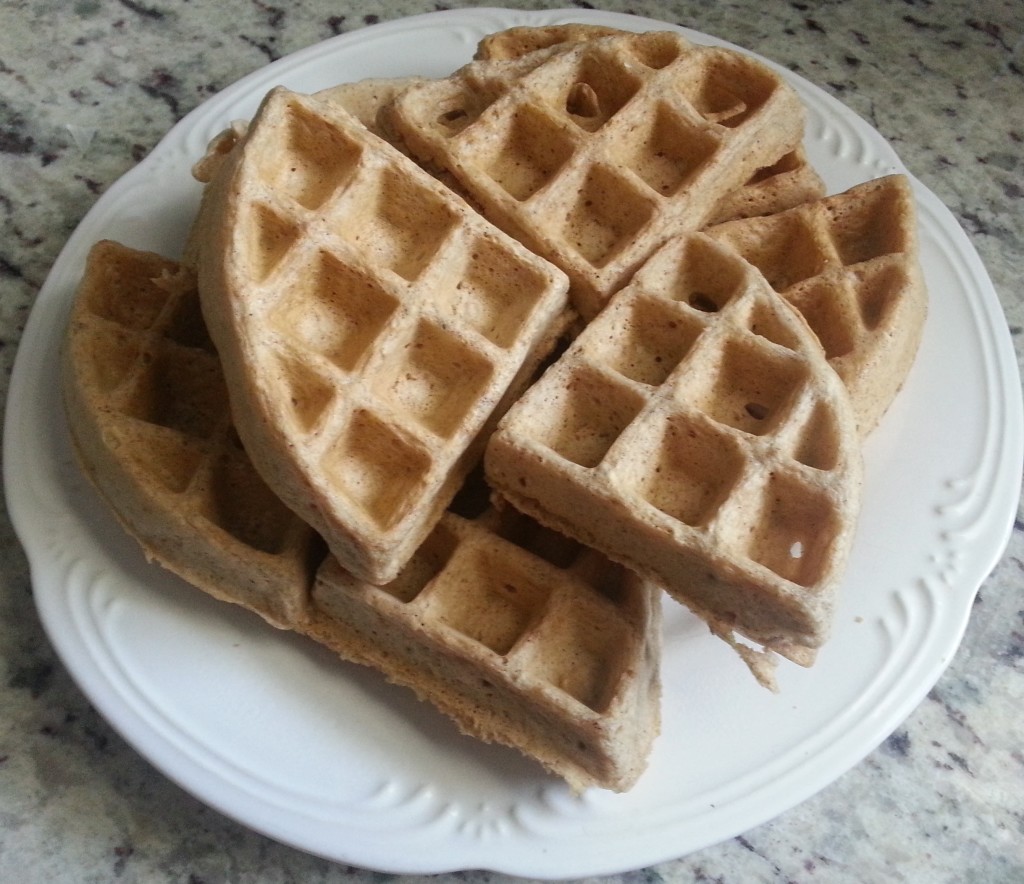
And if you’re worried about the overt denseness that a lot of oat-based recipes are guilty of producing? You’ll see that these waffles – though seemingly more dense than those made with a typical store-bought batter at first – turn out perfectly crispy on the outside while staying soft and fluffy on the inside.

20160207_114314

Plus, these high-fiber waffles will help satiate you and keep you full much longer than processed or store-bought mix versions. You can enjoy them with a touch of maple syrup or honey, eat them aside a scramble, or even use two pieces as your bread for an almond butter and banana sandwich.

You can even make these in bulk and freeze them. Just pull your serving out of the freezer and heat up in the toaster oven whenever a waffle-urge hits!

20160207_114230

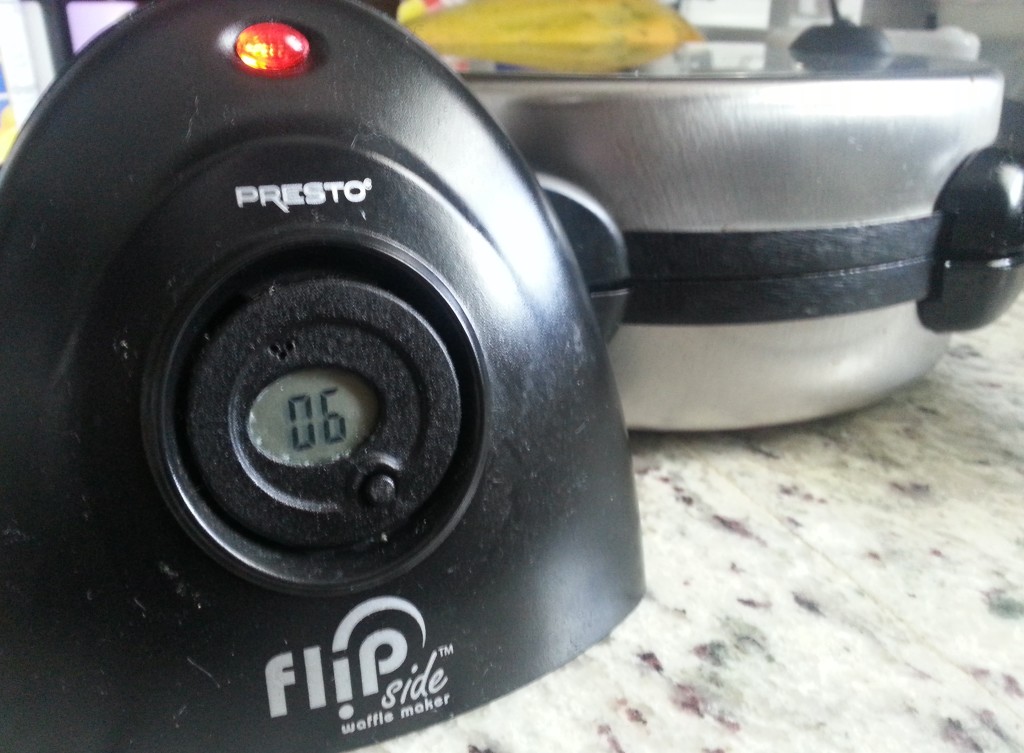
As for the waffle maker I use, it is the Presto FlipSide Waffle Maker and it is amazing. I got it off of Amazon over two years ago and use it once a week on average, if not more. It not only makes the perfect waffles every time, but can be used as a sandwich press, scramble cooker, hash browns, and for tons of other sweet or savory concoctions. It’s easy to clean, takes up no kitchen space to store, and is virtually fail-proof.

20160207_112250

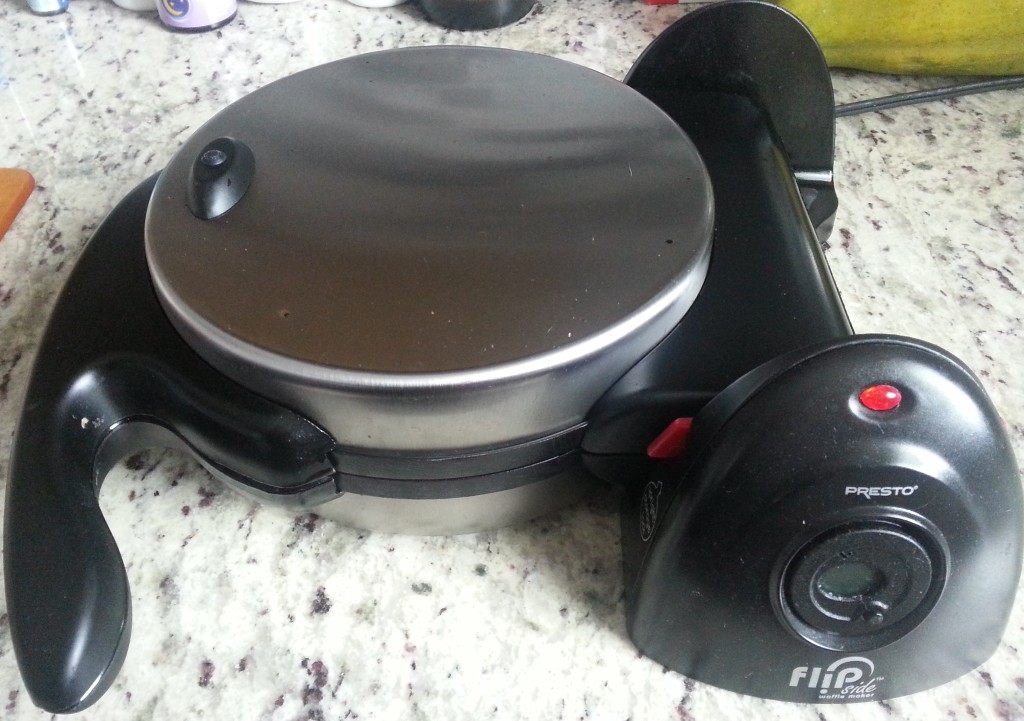
Basically, don’t be surprised if I organize a compilation of recipes utilizing this thing for a special eBook in the future… because it’s that awesome.

Once you bite into one of these crisp and fluffy waffles, you will taste their mild sweetness and hint of vanilla with cinnamon. They have just the right amount of whole-grain flavor while keeping the traditional feel of a classic Belgian waffle.

Now, enough talk. Onto this delicious recipe!


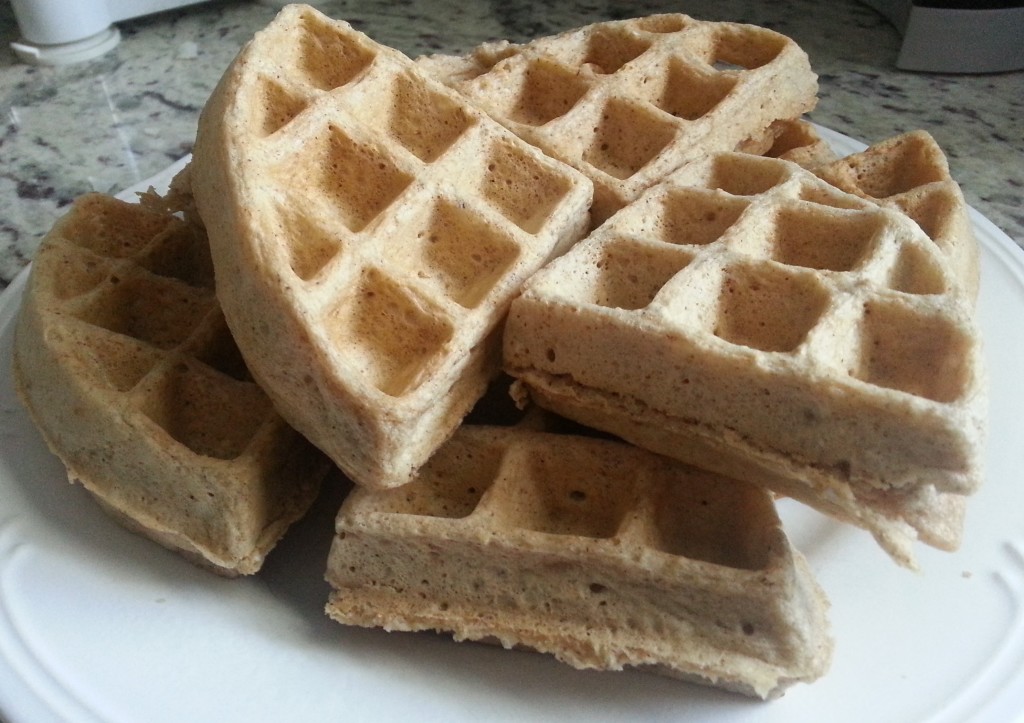
HOMEMADE OAT WAFFLES (or pancakes) *photos below

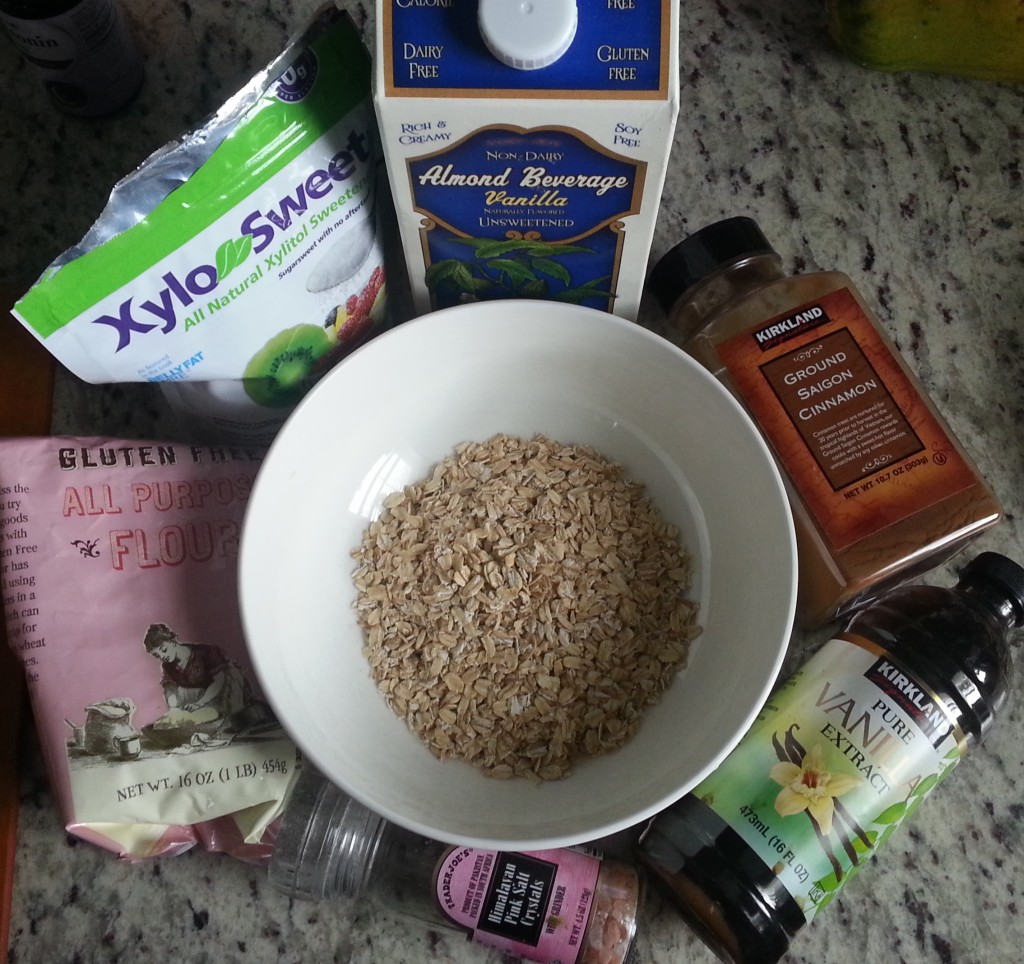
  • 1 cup of quick-minute or old fashioned rolled oats
  • ½ cup flour (I use a gluten-free flour blend, like Trader Joe’s brand)
  • 1 Tbsp. xylitol (or sweetener of choice, like stevia for baking, turbinado, regular sugar, or coconut sugar)
  • 2 tsp. baking powder
  • tsp salt
  • ½ tsp. ground cinnamon
  • 1 cup almond milk (I use unsweetened vanilla flavored)
  • 2 tsp. apple cider vinegar
  • 1 tsp. pure vanilla extract
  • ~8 drops liquid stevia (if you do not have this, use 2 Tbsp of your above sugar/sweetener instead of one)
  • 1 whole egg or a flax substitute (using a 1:3 ratio of ground flaxseed to water)
  • 1 tsp. coconut oil
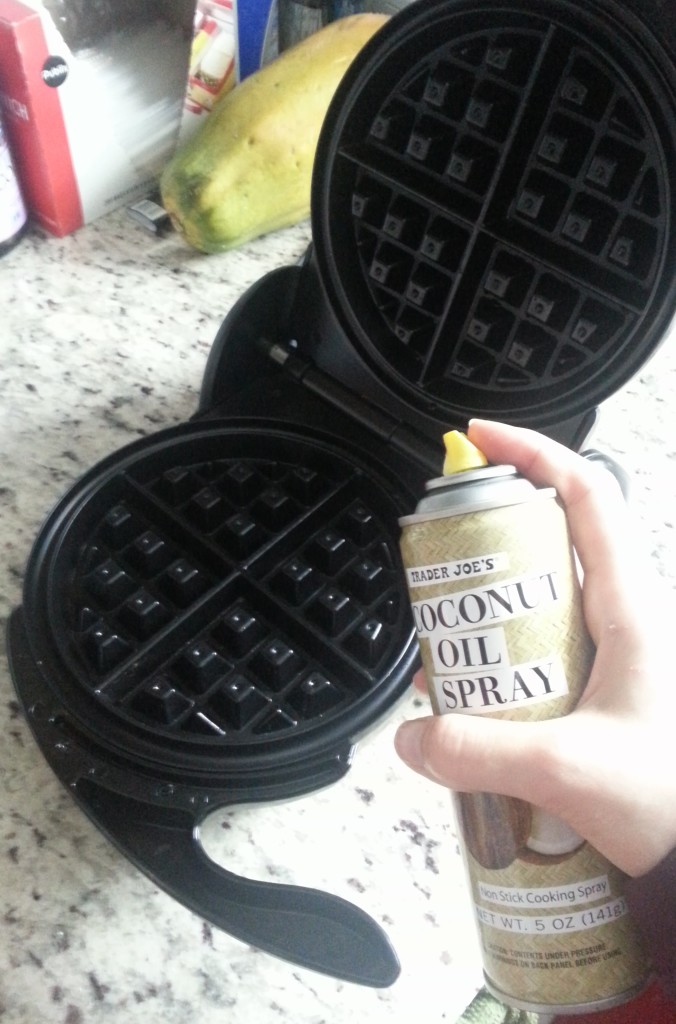
  • Non-stick cooking spray (like Trader Joe’s Coconut Oil Spray) for the waffle maker or pan
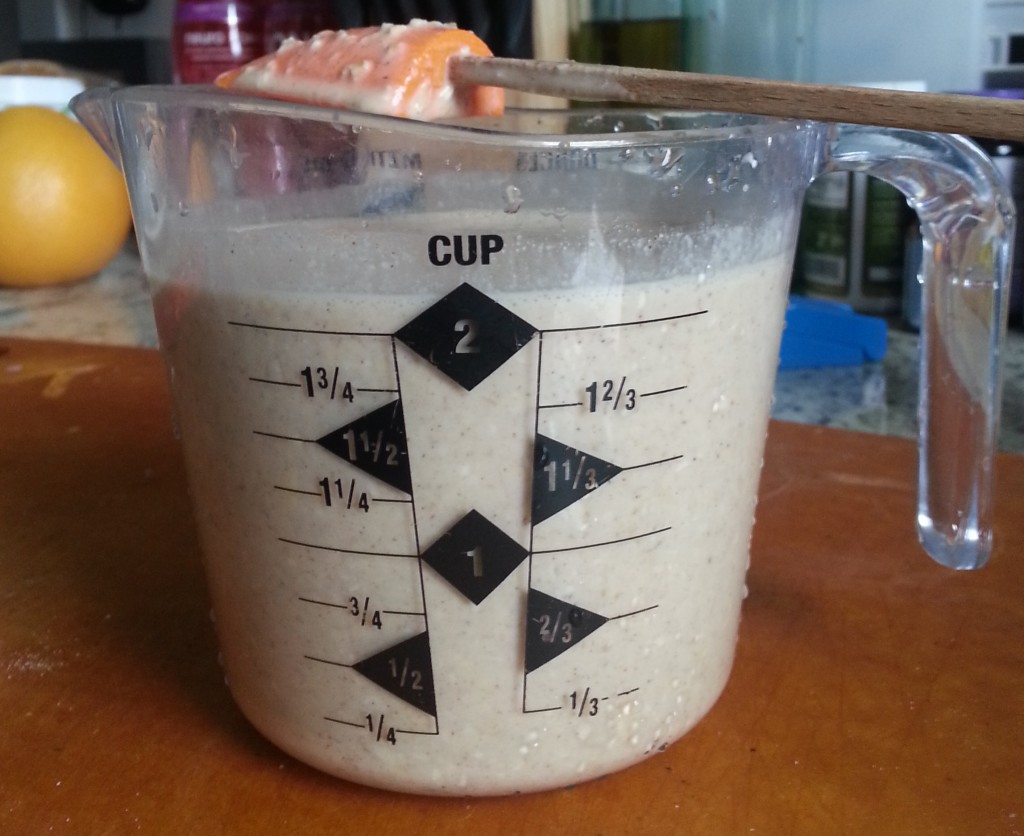
  1. Get out a large bowl, a liquid measuring cup (at least 16 oz large), your blender/food processor, and your waffle maker.
  2. Pour almond milk and apple cider vinegar into the measuring cup. Whisk and let sit as you do the following steps.
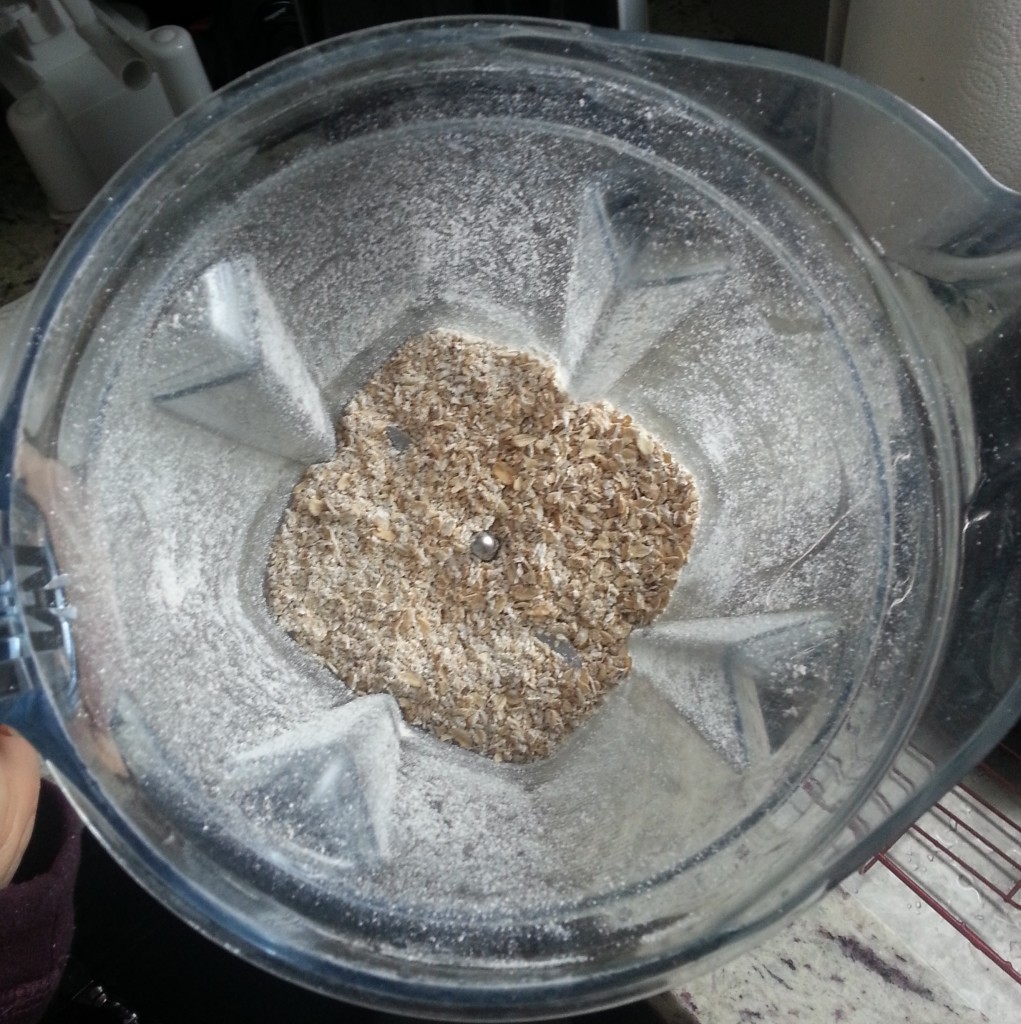
  3. Put oats into your blender or food processor and blend for about ten seconds, or until they are ground to about half the consistency that they were beforehand (see photos below).
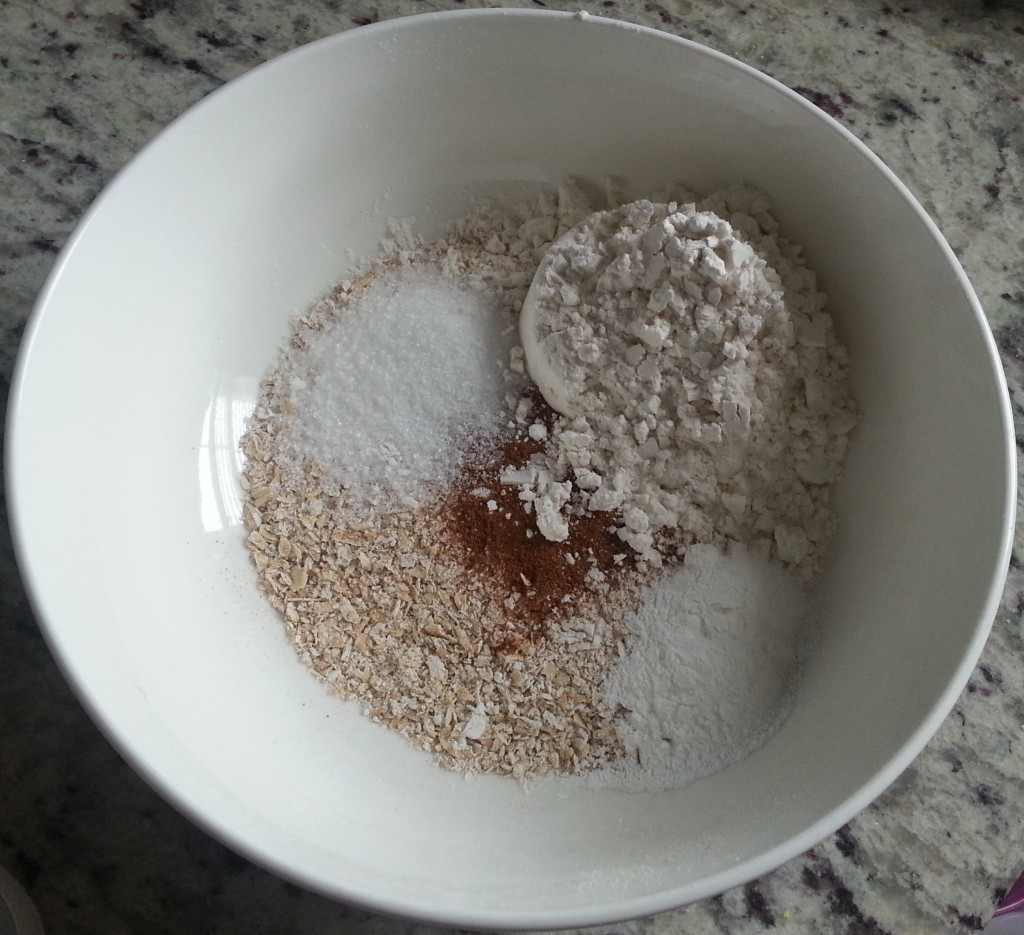
  4. Into your large bowl, put oats, flour, baking powder, xylitol/sweetener, salt, and cinnamon. Whisk altogether to incorporate.
  5. Into the measuring cup with liquids, add vanilla extract, liquid stevia, and egg (if using). Whisk to blend well and make sure egg is mixed, then add liquids to dry ingredients in bowl. Whisk well.
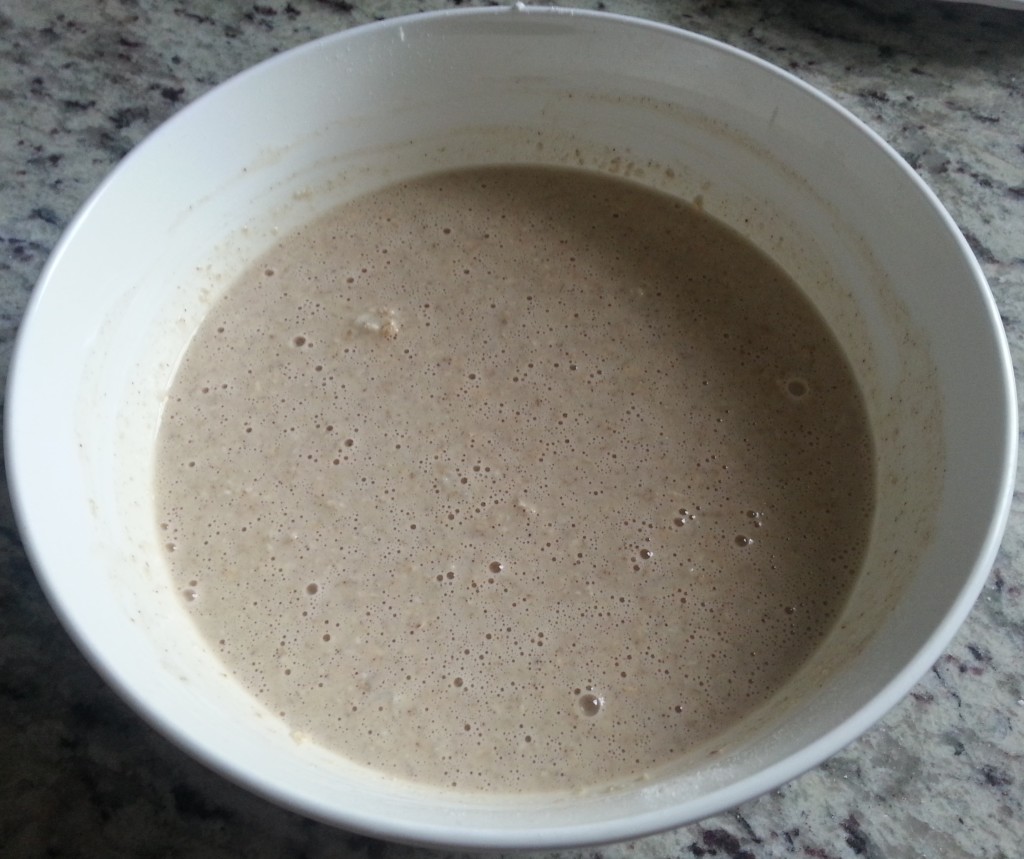
  6. Add flax-egg substitute, if using, and coconut oil into bowl. Whisk well (making sure coconut oil blends since it may be more solid due to the cold batter). Let batter sit for at least ten minutes to thicken.
  7. Plug in waffle maker to let it preheat (or begin heating pan, if making pancakes, on medium-high heat).
  8. After batter has rested for at least ten minutes, give a quick stir and pour it all into the liquid measuring cup. Scrape the bowl with a spatula to ensure you get all of the waffly-pancaky batter goodness into the cup (photo below).
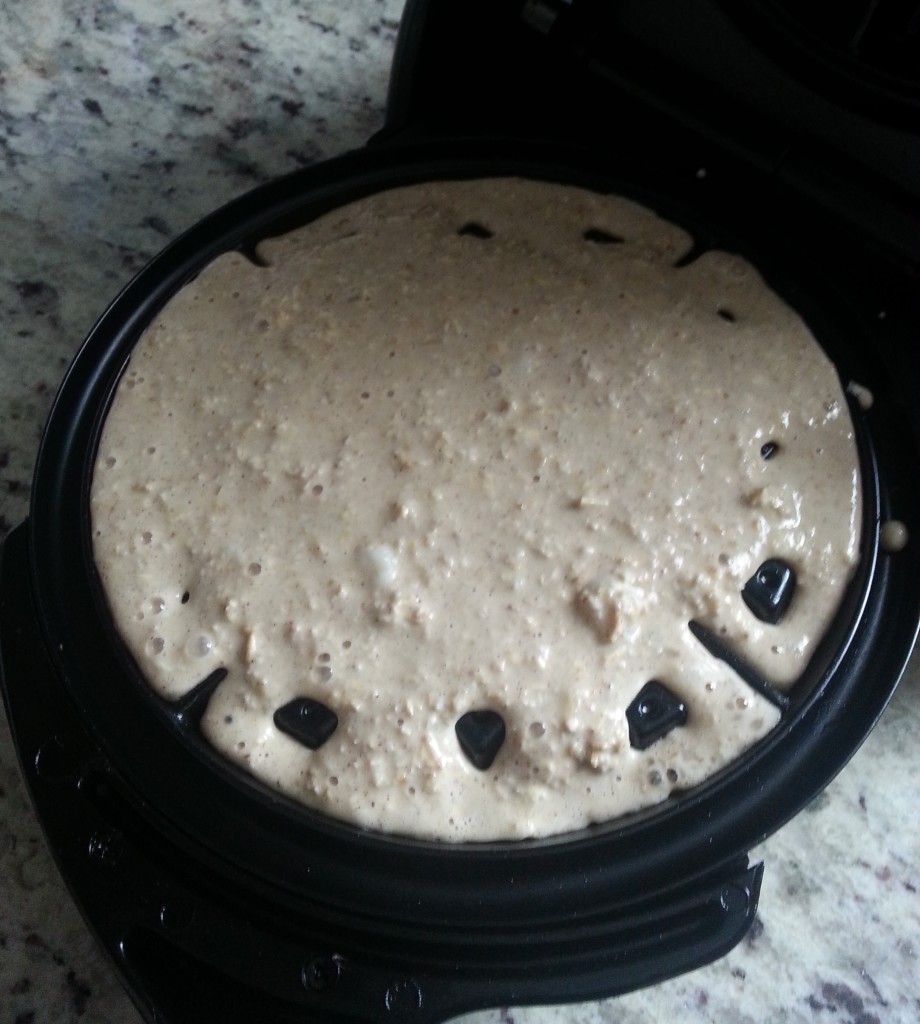
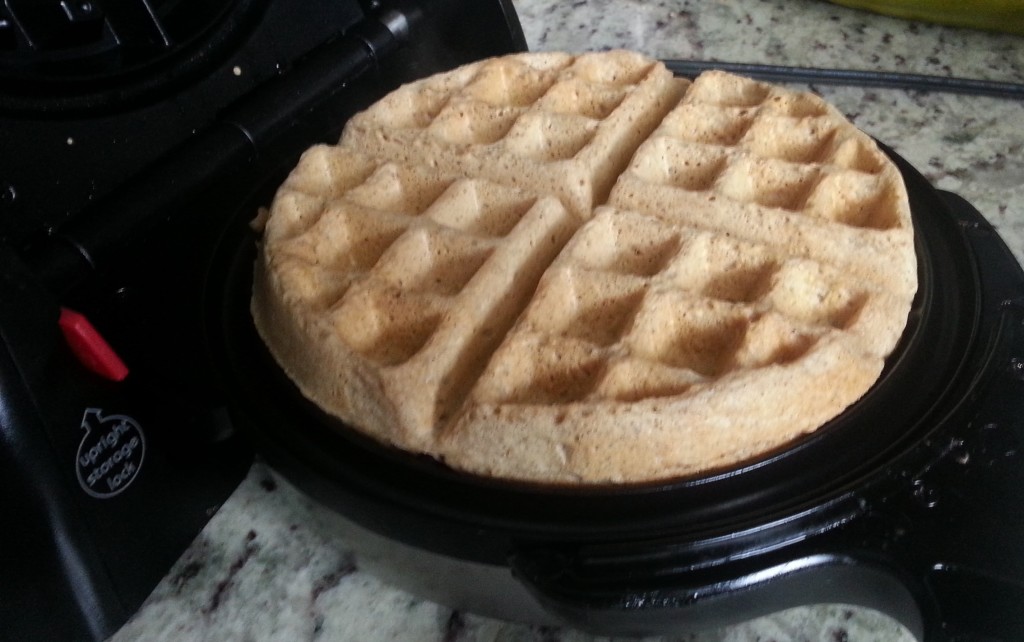
  9. Once waffle maker is heated, open and spray lightly with non-stick spray on both sides. Give batter a quick stir and pour exactly half (or 1 cup) of your batter into the center of the waffle maker. Close, set timer for 6 minutes, and flip to other side (if you are using the same Presto FlipSide waffle maker I own).
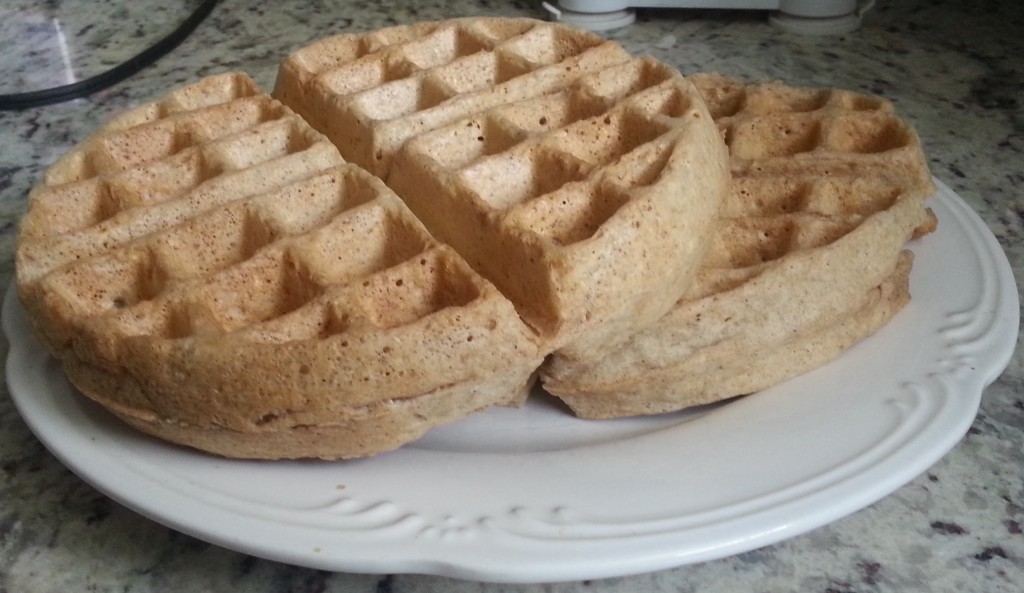
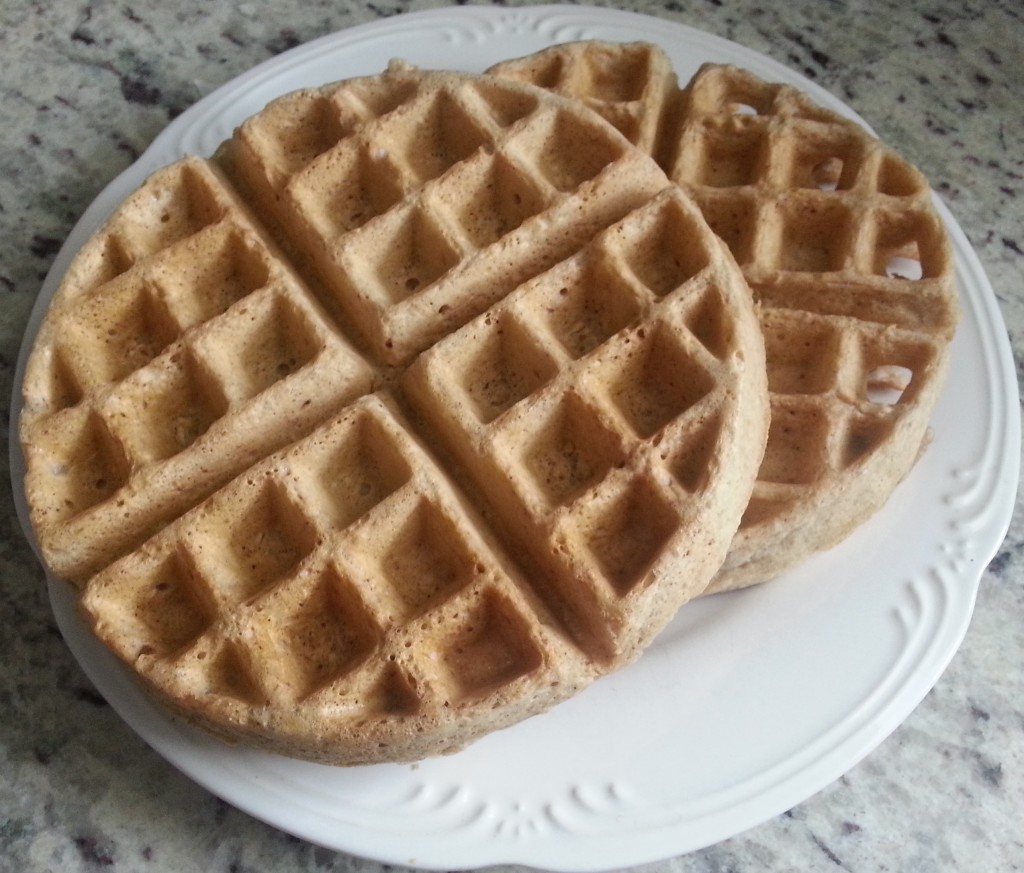
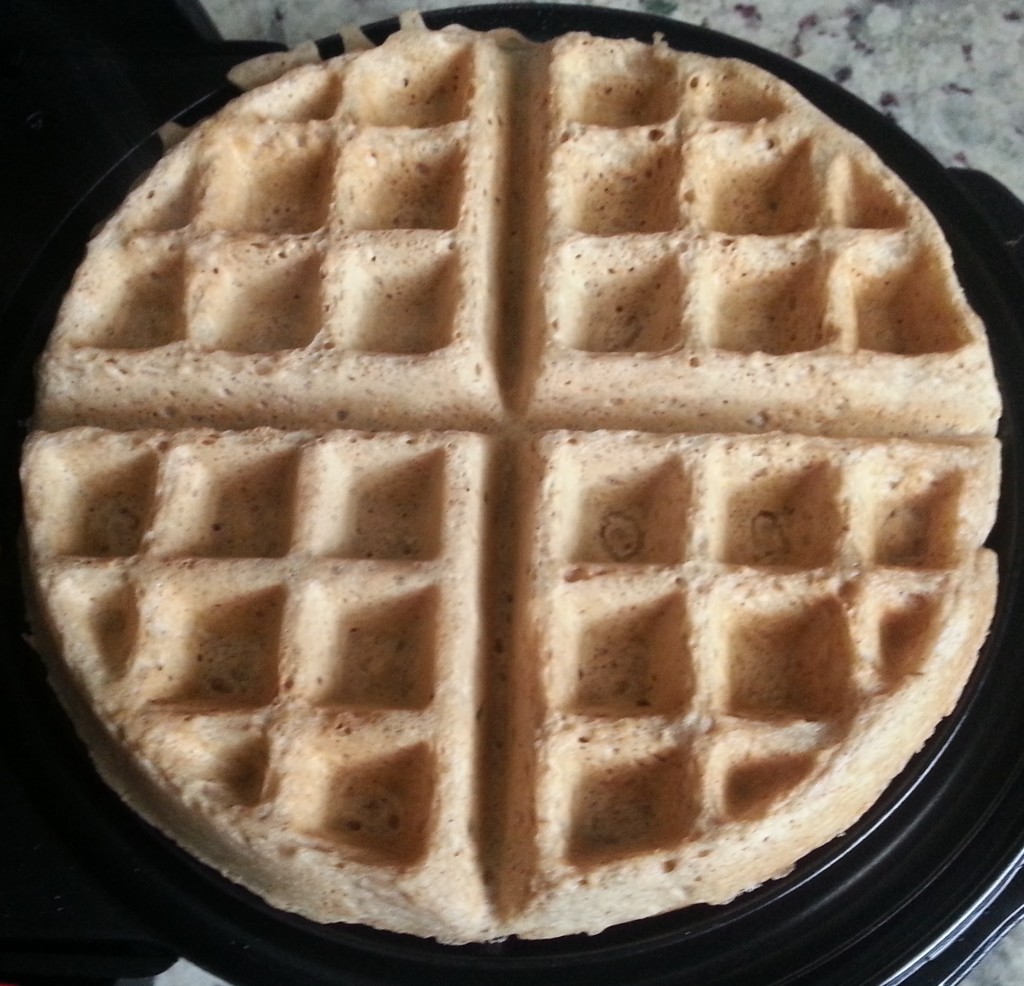
  10. Once the timer goes off, check your waffles. They should be light and slightly golden in color (see photos). Feel free to let them cook an additional 1-2 minutes if you like a really well-done and crispy waffle.
  11. Enjoy however you like! *To maintain crispness if you do not plan on eating immediately, set your oven to about 200 degrees F and place cooked waffles directly on the racks. This will keep them from getting soft as it keeps them warm. If you plan on freezing them, make sure they are cooled completely on a rack before freezing.

Remember to tag #truehealthtrifecta and share how you like this recipe on the True Health Trifecta Facebook page!

Step-by-step photos:

20160207_110133

20160207_110328

20160207_111316

20160207_112140

20160207_112703

20160207_112734

20160207_112826

20160207_112858

20160207_114224

20160207_114329

20160207_114509

Sweet Potato Soup: Easy, satiating, and delicious! (RECIPE)

‘Tis the season for warm and inviting soups.

20151115_153649

If you’re looking for a flavorful and easy meal – or a nutrient-rich accompaniment to any meal – this rich and creamy sweet potato soup is sure to do the trick. With the sweetness from roasted sweet potatoes and a surprising little kick thanks to fresh ginger root, this takes very minimal prep time and will make you a batch big enough to last a week.

Okay, in my house it’s more like a few days, but you get the idea.

It’s also whole food and plant-based (vegan), Paleo (if you indulge in the tubers), and gluten-free for those with sensitivities. Sugar-free, Low-sodium, blah blah benefits, benefits, benefits, free this, free that… Basically, unless you’re not into nightshades or onions or garlic, this recipe is perfect parts of magic for everyone.

Soups are so satisfying. It is the perfect meal if you’re craving something savory and filling, but aren’t a fan of feeling weighed down after eating. Plus, soups like this are incredibly inexpensive to put together. If you’re a single college student or a part of a monster household, it’s a lot of bang for your buck – financially and nutritionally.

There is virtually no fat in this recipe, it’s high fiber, and drowning in beneficial nutrients to make your mind and body all kinds of happy. You can eat it alone, aside a sandwich, aside a salad, with sprouts on top, as a different kind of salad dressing, tossed with other veggies or pasta, or drink it warm out of a mug. Ver-soup-tility, for the win!

Enough talk. Recipe time!

20151115_150646-1

SUPER SWEET POTATO SOUP

Ingredients:

  • 2 large sweet potatoes
  • Half a large sweet (yellow) onion, chopped
  • 2 stalks celery, chopped
  • 2 large carrots, chopped
  • 2-3 garlic cloves, minced
  • 2 inches fresh ginger root, peeled and minced
  • 1 Tbsp Extra Virgin Coconut Oil
  • 1 cinnamon stick, broken in half (optional, but recommended! Use 1/4 teaspoon ground cinnamon otherwise)
  • 1 carton (4 cups) low-sodium, organic vegetable or chicken stock
  • Salt & Pepper, to taste
  • Additional water, if needed

Preheat oven to 425 F. Scrub potatoes and poke holes on top of each with a fork. Place on a tin-foiled cookie sheet or baking dish and place in oven for about 45 minutes or until knife tender and syrup begins bubbling through fork holes.

While the potatoes are in the oven, heat a large saute pan on the stove at about medium to medium-high heat.  Warm & melt coconut oil. Add in onion, celery, carrots, and ginger, and stir to mix and coat in oil. Add some salt & pepper.

Once onions are translucent and carrots and celery soften, add in garlic and saute a couple of more minutes (don’t let garlic get burned or too dark, it will result in a bitter taste). Add in about one cup of the vegetable or chicken stock and the cinnamon stick or ground cinnamon. Turn heat down to medium-low and let simmer. Add a little bit more salt & pepper.

20151115_150612-1

By this time, the ‘taters should be done in the oven. Take them out and let them cool a bit. Carefully cut a slit through the skin to help them cool down faster. Once they’re cool enough to handle, remove the skin and chop roughly.

20151115_151322

Add the potatoes to the saute pan and pour in the rest of the vegetable or chicken stock. Bring the mixture back up to a simmer and cover. Let simmer for about 5-6 minutes. If you have a potato masher, you can also gently mash them up in the saute pan. Add a little bit of salt & pepper.

Remove the cinnamon sticks and transfer the almost-soup from the saute pan into a high speed blender or food processor, and blend until smooth, about 2 minutes. Add water until consistency you like is reached.

20151115_153246

If you’re not eating it right away, pour the soup into containers and let cool before refrigerating. Otherwise, pour the now smooth-n-creamy soup back into the sauce pan and let simmer a couple of minutes before serving. Hint: It’s great with broccoli sprouts and/or sliced almonds on top.

20151115_153622-1

ENJOY!

4 Steps to Lose Fat & Gain Fitness, Client Highlight, and My VO2 Max Experience! (VIDEO)

Lots happening on the home front! Another article published in the Winter Park Observer, awesome client progress, and a new video just uploaded on my YouTube channel!

20140822_114458

*Can’t read it here? Just go to the Ask a Trainer Q&A page.

And now for a little Client Highlight of the week:

20140822_114306

This week’s client highlight goes to my awesome, hard-working, and fun client, THERESA! She’s the perfect model in the photos above ;) but more importantly, she’s consistent, comes in to get her training done even on the days she admittedly isn’t feeling it, is making GREAT progress with her endurance, strength, shoulders/arms and booty (which unfortunately aren’t showcased in this photo), and is just so fun to coach and work with.

I love what I do because of awesome people just like her!

As for the newest fun-filled video including my first VO2 Max testing experience, stories about drooling, and legit stick figure doodles to boot, check it out below:


And if you’d like to take a longer look at the art that was my recollection, well here you go:

20140821_221739
I know. It’s crossing into Picasso and Dali territory. So deep.

And yes, there are a BIG number of projects in the works; one of which I’m really excited about is a video series to help anyone with degenerative discs, back pain, and health both inside and out. Make sure to sign up for the mailing list (or subscribe to my YouTube channel) to find out the latest with that once it’s available! :)

The Undead Diet: Prepare Yourself For The Zombie Apocalypse

Prepare yourself for the Zombie Apocalypse...
Prepare yourself for the Zombie Apocalypse…

They’re everywhere. Moaning and limping and dragging their undead-selves all around the movies, television, and any other media outlet. Zombies are officially the IT thing lately, trendier than- dare I say it- yoga or going raw. They are the automatic celebrity and don’t even have to bathe, have all their limbs, communicate legibly, or smell particularly fresh.

But, let’s face it, they could use some help in the health and body departments just as much as any other person. They were living people like us at one point, after all. That’s why I took the time to give any future zombies what they deserve: Nutritional guidelines before the Zombie Apocalypse actually hits.

This is a list of the best foods for zombies (before becoming zombies), aka, The Undead Diet:

Aloe Vera Juice: I don’t know if I’ve ever seen a zombie without gruesome cuts, wounds, or missing limbs. Although green juice is the last thing one would be caught consuming, we can make sure to prepare our body for ultimate healing beforehand by drinking at least a quarter cup of Aloe Vera Juice every day. Not only does it encourage digestion and restoration, it has also been shown to help those with anemia by stimulating bone marrow to create blood cells. Win-win for the walking dead!

Hot Chili Peppers:  If there is one area where zombies obviously need help, it’s their skin. Wrinkly, dry, chapped, half fallen off; it’s just never at its best. Hot Chili Peppers offer the most Vitamin C per gram, and Vitamin C is the prime precursor for collagen production which keeps our skin supple, plump, and youthful. Additionally, the capsaicin (element that makes them hot) has been shown to slow and reduce cancerous growth, increase circulation, and increase endorphins to elevate your mood.  In a nutshell, chili-pepper-it-up now if you want to be a happy zombie with envious skin!

Blueberries:  Not only are blueberries full of E, A, C, and B-complex vitamins; but also copper, which acts as an anti-bacterial, and iron, which promotes immunity by raising hemoglobin and oxygen concentration in the blood. Not to mention, the anthocyanins (what makes blueberries blue) provide endless anti-oxidant benefits; from acting as an anti-inflammatory, to protecting the nervous system, to encouraging collagen production and improving eyesight. Take advantage of these tasty little nuggets while they are still on your menu!

Organic Grass-fed Beef: Now, this is a huge staple in The Undead Diet, and it’s important to make sure you get organic and grass-fed. It has the recommended 3:1 ratio of omega 6 to omega 3 fats, which provide endless benefits from internal lubrication to anti-inflammation. It is also up to four times higher in Vitamin E than commercially-raised beef. But the biggest advantages before starting your zombie afterlife come from the abundant iron and protein (particularly, lysine). Lysine plays a huge role in the formation of collagen, which is important for healthy connective tissues and bones. Organic, grass-fed beef is a prime preventative measure to keep your limbs as strong (and attached) as possible!

Carrot Juice: Zombies aren’t huge fans of the sun. Even when they do get some rays, their complexion stays as gray as a gargoyle. Not only does just one cup of carrots provide more than 400% of your daily value for vitamin A, but the beta-carotene also brightens up the skin with a healthy glow if you incorporate it into your diet regularly. By drinking carrot juice, the bioavailability of the beta-carotene is drastically increased and better absorbed in your body. So drink it up and give your pre-undead self some nice color to carry over!

Wild-Caught Salmon: Speaking of skin, salmon is one of the best sources of Omega-3 Fatty Acids, or EFAs, which has been shown to reduce UV-induced damage and wrinkles. Seeing as you’ll be spending most of your days shuffling about aimlessly in the sun, this is a definite necessity. Salmon is also one of the highest foods in zinc, which helps aid against sickness and decay. Basically, the copious benefits of salmon make it a true zombie super food.

Organic Yogurt: You won’t exactly be eating enough greens or drinking enough milk in your walking dead days to keep those bones and teeth strong. Six ounces of this fermented goodness provides over 20% of your daily value in calcium to do just that. Plus, the probiotics will keep your gut flora in check boost cellular immunity. Even better: The yogurt’s live cultures have been shown to lessen tongue-bacteria and sulfide compounds responsible for bad breath… and I think we all know zombies need as much help as possible when it comes to that.

Ginger: Stiff joints seem to come with the territory when crossing over to the other side, and one of the most versatile and delicious ways to alleviate such rigid discomfort is with spicy ginger.  The gastrointestinal benefits of this pungently delicious spice are popular with teas and juicing, but did you know that ginger is also a potent anti-inflammatory that can be used to alleviate arthritic aches and pains? Mince it, grate it, boil it- simply enjoy it! Who’s to say you won’t shuffle a little more gracefully?

Liquid Chlorophyll: Although I’ve never been within close enough distance to know firsthand, word on the street is that zombies smell like, well, death. In comes Liquid Chlorophyll, a detoxifying supplement that acts as a natural deodorizer to the body. It is also a great source of magnesium and cleans your digestive tract of pesticides and toxins. While all the other walking dead mosey around wafting the scent of rotting flesh, this will keep you as fresh and clean as possible from the inside out.


There you have it, The Undead Diet.  Brace yourself for the Zombie Apocalypse by adding these nutritious, functional choices into your regime and you’ll be one of the most well put-together Walkers around!

(Hey, even if the movies are just pulling everyone’s chain and it never happens, at least you can still enjoy the benefits of these foods just the same.)


“Open a Trader Joe’s in Ormond Beach” is doin’ work!

Our Facebook-page-with-a-mission is getting some exposure! Check out the article that was written about it in the local weekly publication, Hometown News. Fun stuff!

And don’t forget to like the page on Facebook and help us out! Every clickity-click counts and we greatly appreciate it. You don’t have to be a resident of the area to “like” the page, so spread the news about it all you want and we will sent you giant telepathic hugs each time you do. Promise.

If we actually end up getting the store? Fresh-baked cookies for everyone who helped out by clicking… AND tele-hugs. Double promise! :)