Tag: dessert

RECIPE: How to Make HIGH PROTEIN PLANT BASED ICE CREAM – Vegan / Gluten Free / Nice Cream / Chocolate Lovers

I absolutely love this rich, chocolate “nice” cream and make it on the regular. It is not only easy and delicious, but the extra love from the legit hard chocolate shell topping really make it over the top.

ICE CREAM

This filling and flavorful dessert also happens to be a completely plant-based source of HIGH protein with over 30 grams in this recipe!  Plus, it’s great for any time of day: pre-workout, post-workout, breakfast, lunch, or dinner. Shoot, even dessert after a big ol’ salad.

Watch the video here, recipe is below:

EASY, RICH, CHOCOLATE “NICE” CREAM

Ingredients:

1 cup Frozen Blueberries

2 Ripe Bananas, sliced and frozen solid

1-2 Tbsp High-Quality Cocoa Powder (like my favorite: Pernigotti Cocoa)

1 Scoop Plant Based Protein Powder (recommend: RawFusion Plant-Based Protein)

Generous Sprinkle of Ground Cinnamon

Small splash of Balsamic Vinegar

About a quarter to a third cup of Unsweetened Almond Milk (for desired consistency)

Directions:

  • Put the ingredients, in the order shown, into a high powder blender or food processor. Blend until all incorporated. Add more almond milk for desired consistency. Blend until smooth. Pour into bowl and set in freezer for 15-20 minutes.

To make the HARD CHOCOLATE SHELL COATING:

In a small bowl, mix: ½ Tbsp. melted coconut oil, 4-5 drops Liquid Stevia, a scant teaspoon high-quality cocoa powder, and a pinch of salt. Mix until smooth.

  • Take the bowl of ice cream out of the freezer and pour the chocolate shell coating mixture all over the top, using a spatula to get every last bit. It will harden in seconds.
  • Top your “nice” cream with something crunchy, like hemp hearts, chopped nuts, or sesame seeds.
  • Enjoy! :)

Presentation1


Find more recipes and smart food-shopping tips in my Grocery Store Tour Guide!

The BEST Tapioca Pudding with Mangoes – sweet, amazing, gluten/dairy free dessert! (RECIPE)

Does this look nostalgic to anyone?

k2-_66aae989-09e8-45c4-8d64-0b5773c3dd42.v1
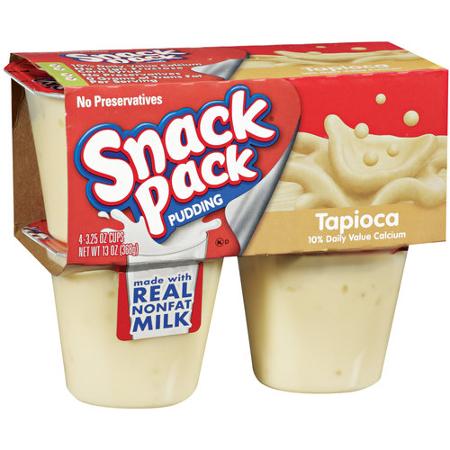
I may be in the minority here, but I never had tapioca pudding as a kid. I never even knew what tapioca was and remember wondering if it was just a different name for rice (since rice pudding was actually familiar). I was never a fan of milk or milky things growing up, either, so I never made an effort to try it. Regardless, it was easy to see many a lunch box contained these little sugar-packed and highly processed snacks.

Fast forward twenty-or-so years and tapioca entered my life again. I’ve used tapioca starch as a thickener in recipes for a while and noticed it within the ingredients to many packaged foods, but was still yet to make my own version of this renowned dessert known as Tapioca Pudding.

I don’t know what took me so long… because it is absolutely amazing.

20151226_192434

Though I don’t exactly have anything to compare it to – my prime taste tester did happen to love those school-time snacks back in the day. And I am happy to report he said this isn’t even comparable since it’s the best tapioca pudding he’s ever had (and, possibly, the best pudding dessert he’s ever had). Yet another win!

So, what is tapioca anyway? Tapioca is a starch extracted from the cassava root (which is becoming more commonly found in grocery stores these days – probably next to the potatoes or yucca).  Similar to other starches, it can be processed into sticks, powder/flour, flakes, or fun little pudding-worthy pearls. The pearls are commonly used in Asian desserts where they lend a chewy, satisfying texture to whatever it may be. Oh, and for those wondering, it is indeed gluten free and vegan.

Fun fact: Have you ever had Boba tea? Those boba are actually giant tapioca pearls.

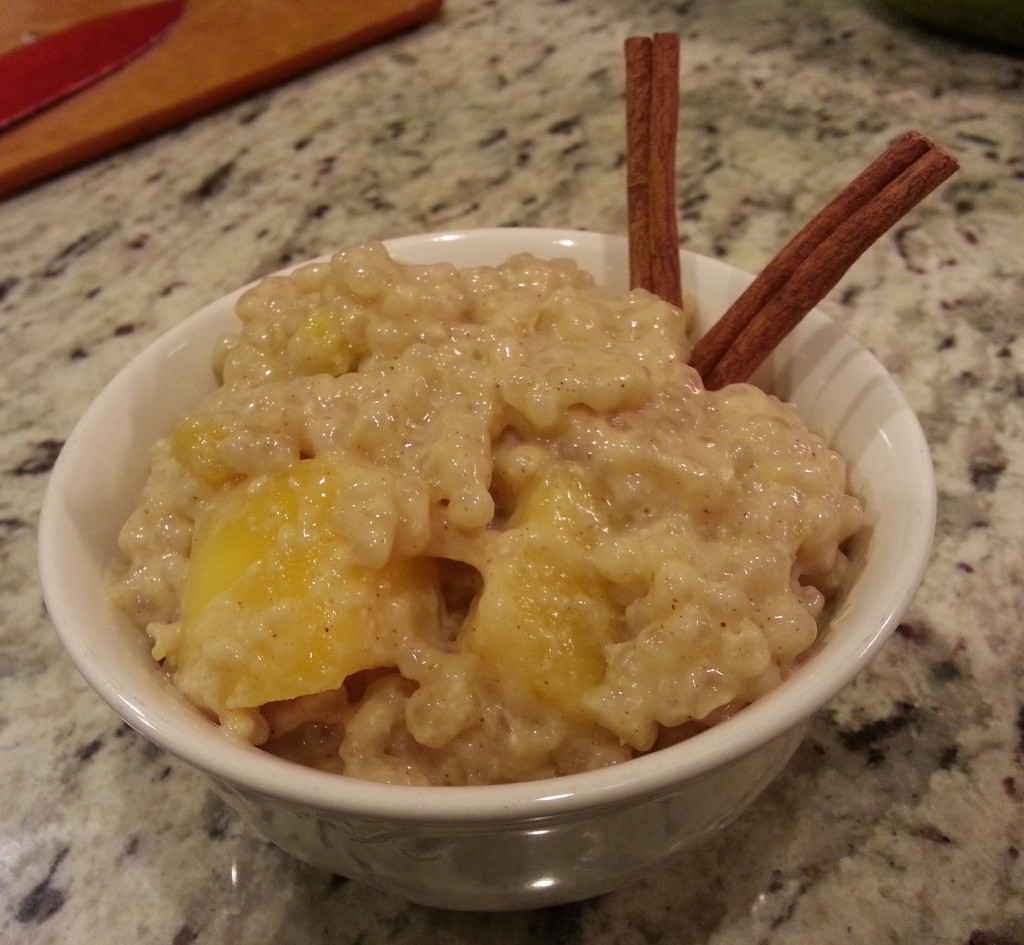
Personally, I absolutely love the texture of tapioca pudding – even more than rice pudding. It’s like eating spoonfuls of simultaneously creamy and chewy surprises with every bite. Plus, by adding sweet, buttery mango, this dairy-free version is also both rich but light at the same time. It can be eaten hot or cold, making it perfect as a summer or holiday dessert.

It’s easy to make, doesn’t dirty many dishes, and has a handful of quality ingredients that are easy to find and much better for you compared to the original kid’s snack.

20151226_124854-1

Just looking at these pictures reminds me I need to make this again, like tonight. It’s that delicious and that easy to put together. Did I mention that it tastes even better after a couple of days in the fridge?

20151226_192502

I really, really hope you try this recipe. You will be so glad you did (and will impress anyone who tries it!)


THE BEST TAPIOCA PUDDING with mangoes
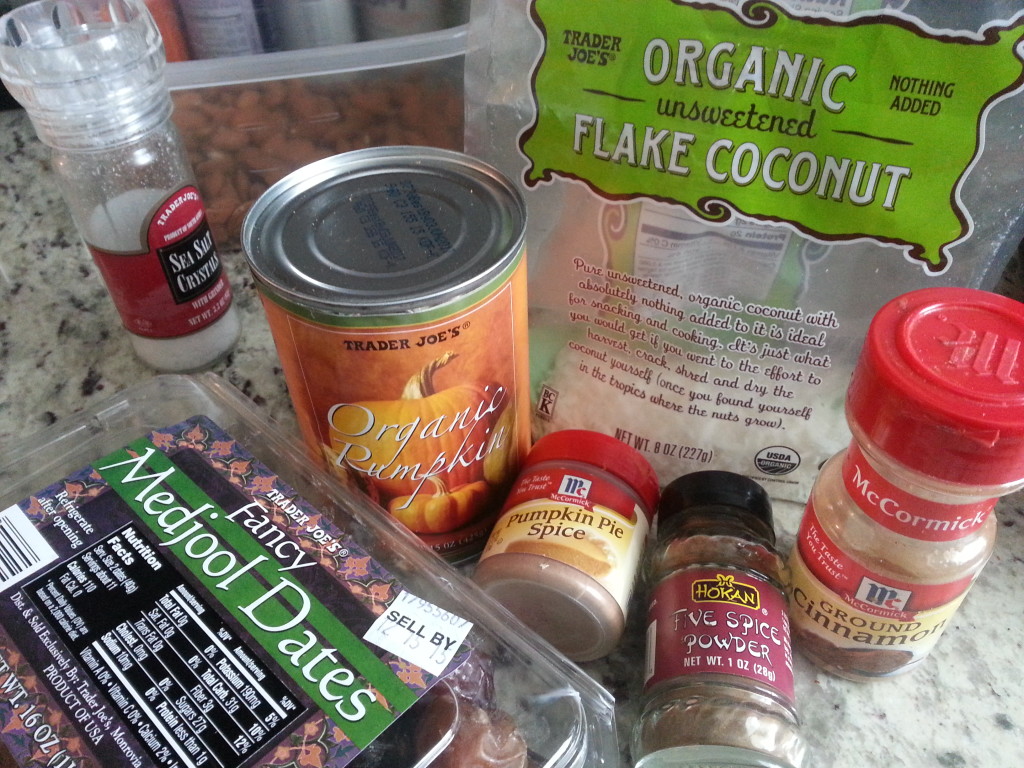
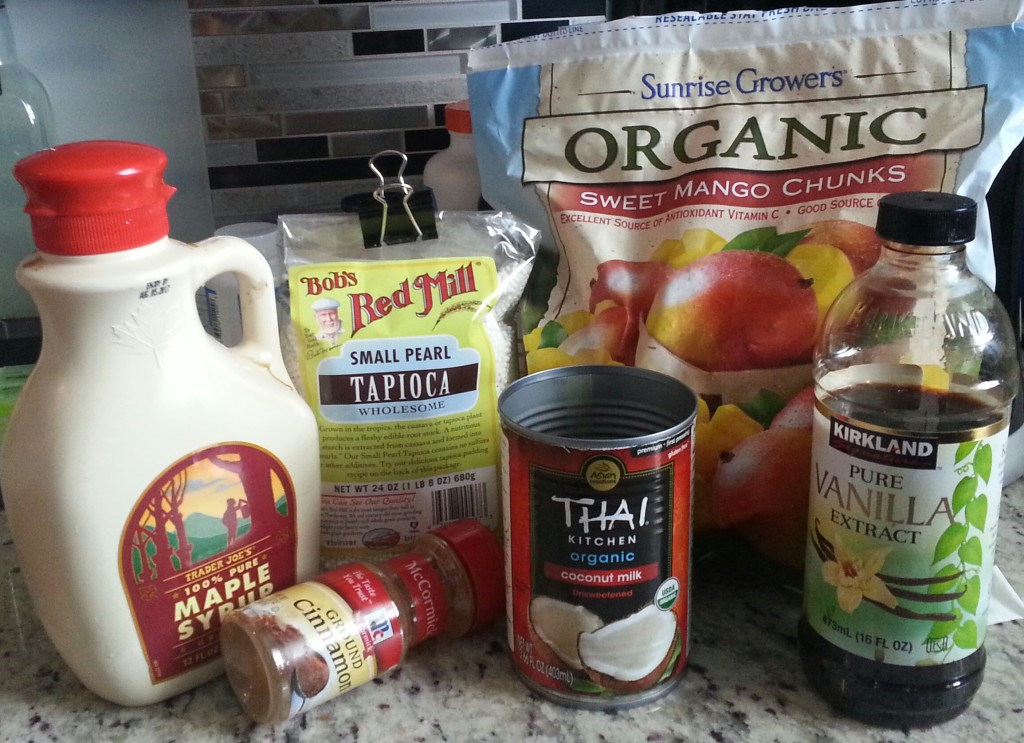
Ingredients

½ cup tapioca pearls

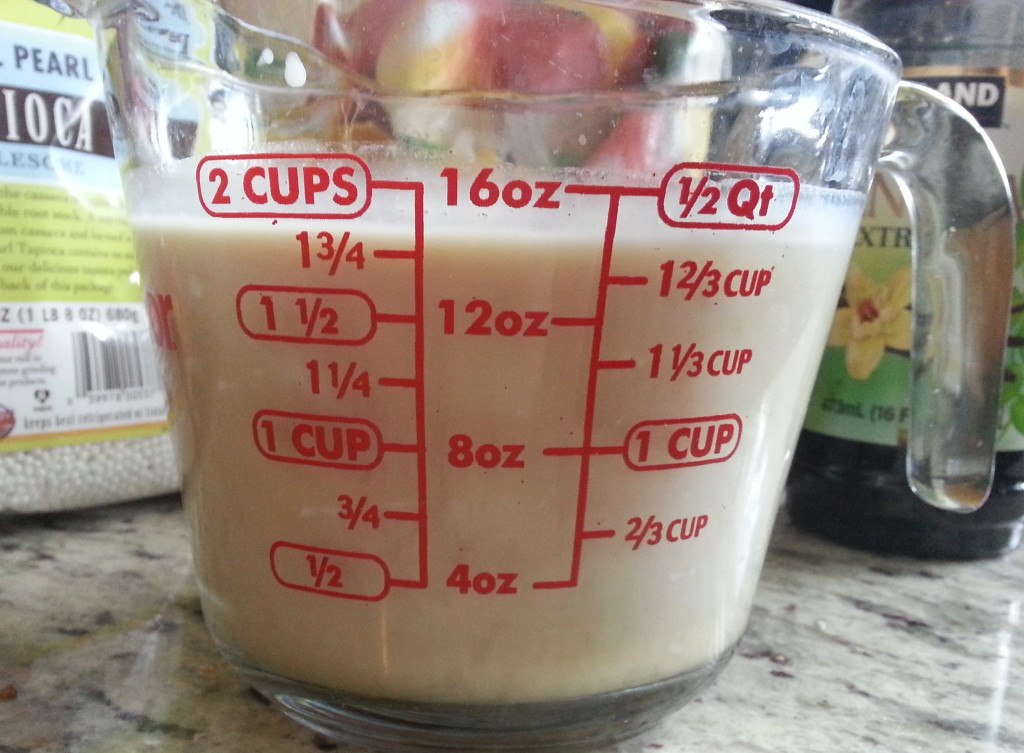
½ of a 14 oz. can of Coconut Milk (~200ml)
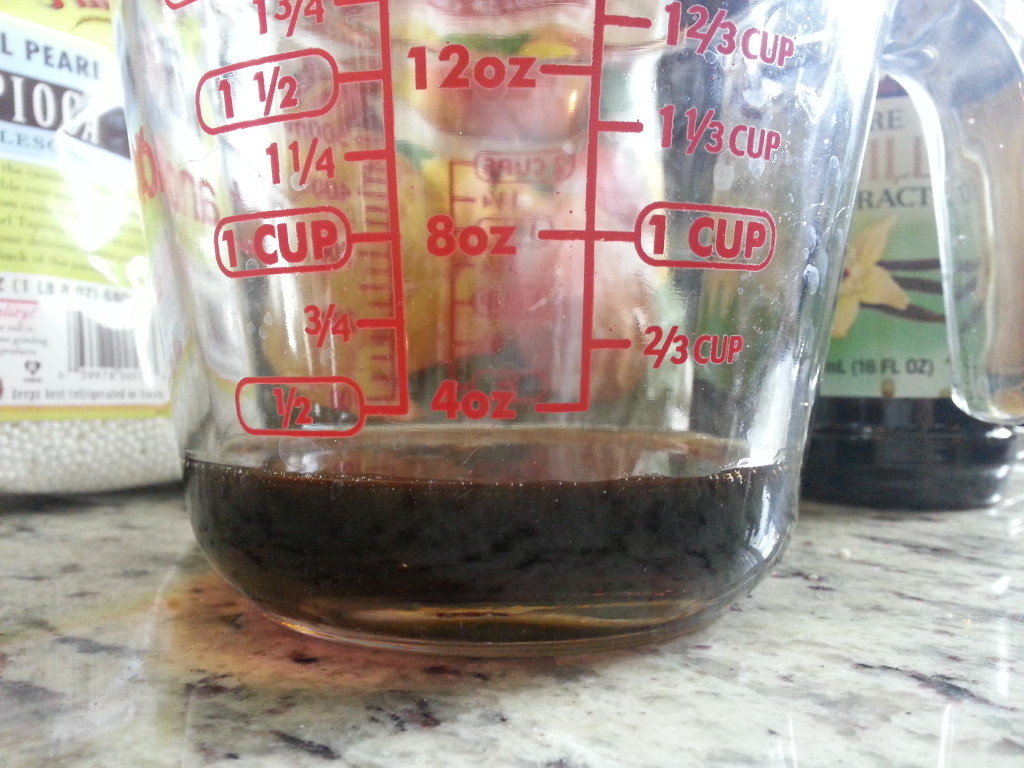
¼ cup maple syrup

¼ tsp salt

3 Tbsp stevia-for-baking or xylitol (or sugar of choice)

1 tsp pure vanilla extract

¾ cup unsweetened vanilla almond milk
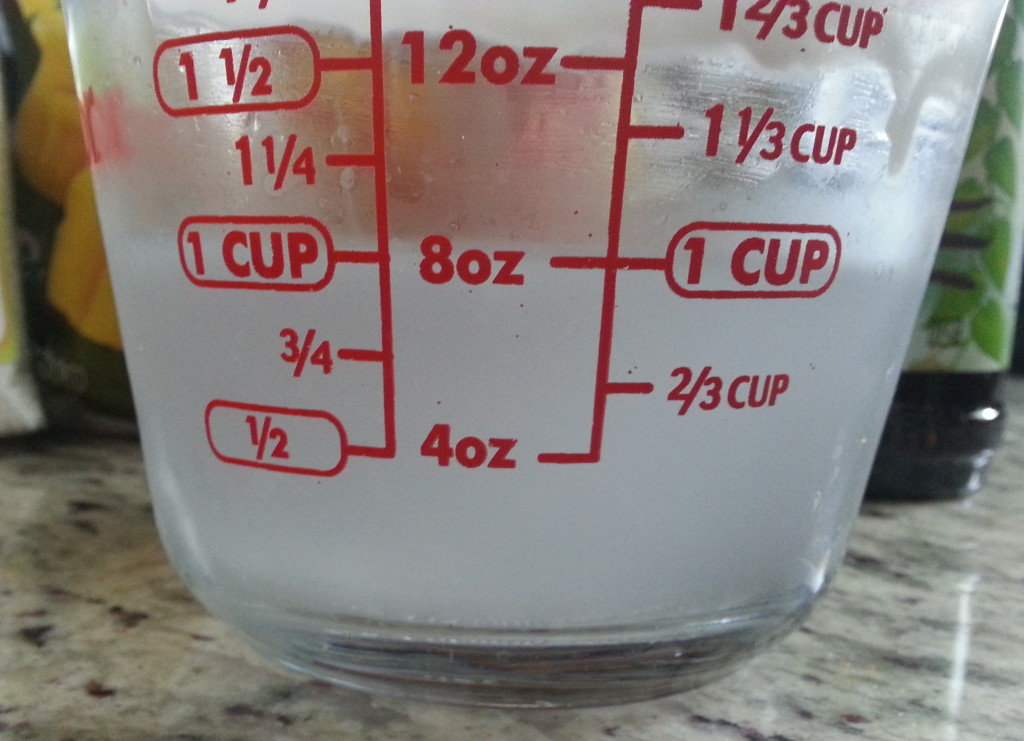
½ cup + ½ cup water

¼ tsp ground cinnamon

~2 cups chopped mangoes (frozen or fresh)

Optional, for thickness: 1 egg, separated (yolk and white)

Directions (with photos below)

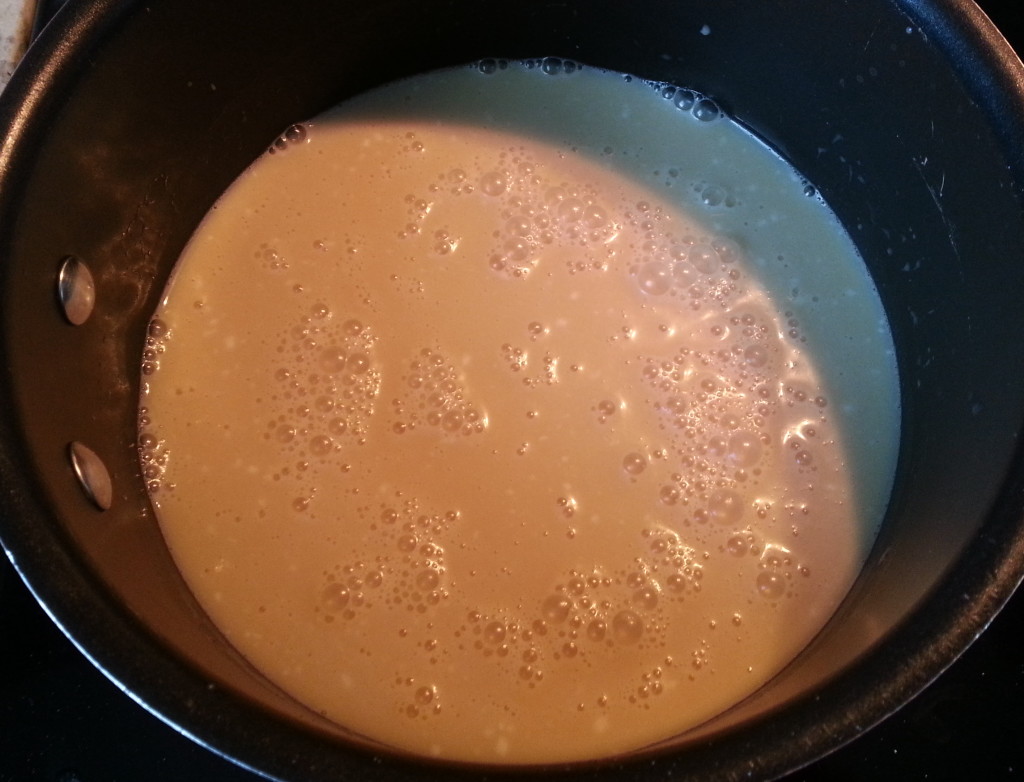
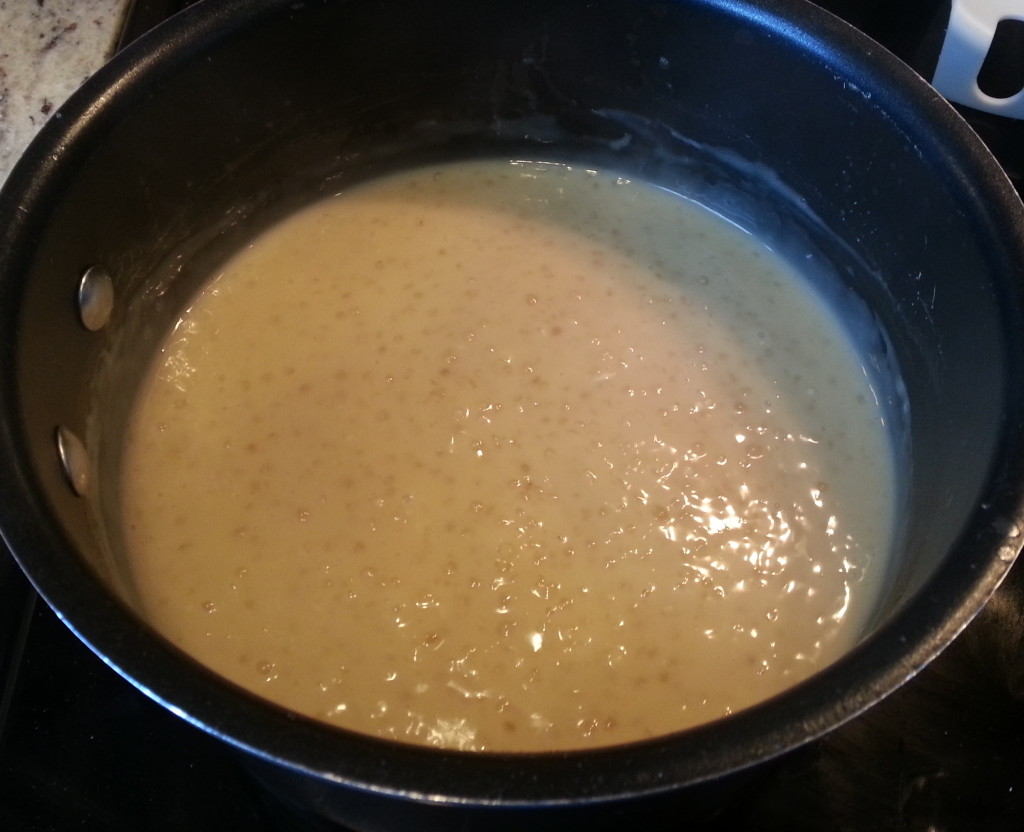
  • Place coconut milk, almond milk, maple syrup, salt, ½ cup of water, tapioca pearls, and egg yolk (if using) in a medium saucepan. Mix to incorporate ingredients and let sit on stove top – no heat or cooking yet – for 20 minutes.
  • Turn burner to medium-high heat to bring pudding mixture to a boil, stirring occasionally.
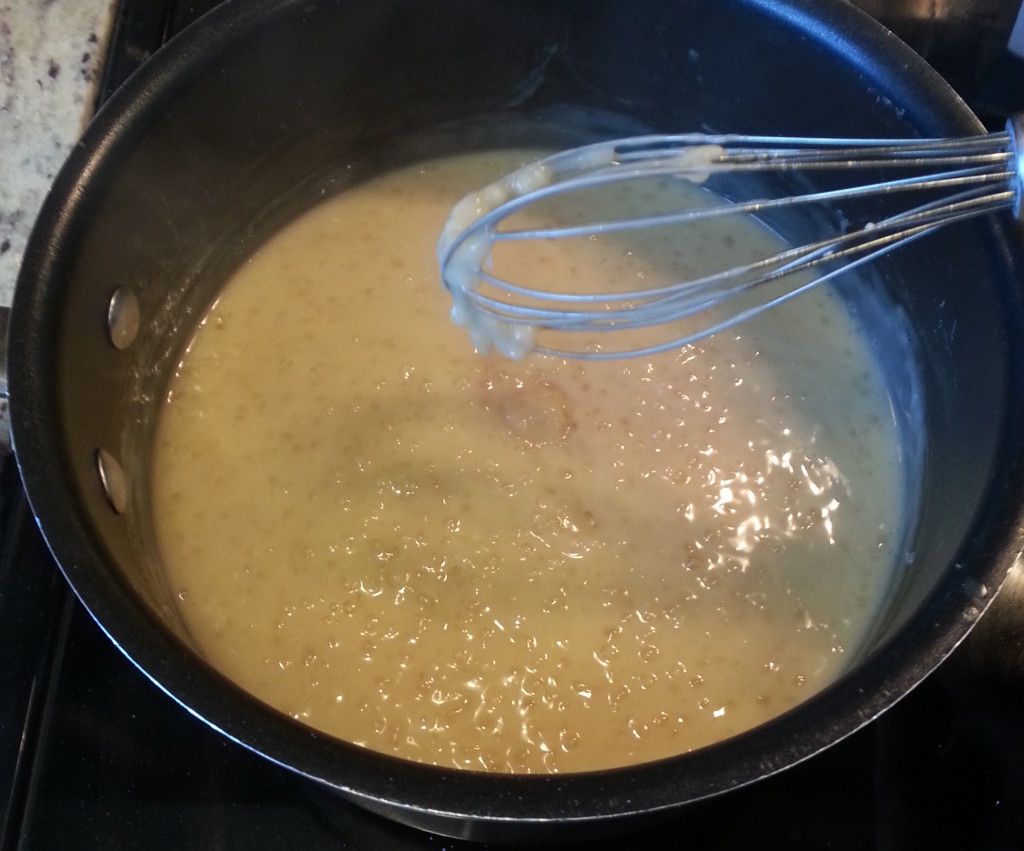
  • Once it boils, turn burner down to low heat and allow to simmer for about ten minutes or so, until it thickens and the tapioca pearls become translucent. Add more water from the remaining ½ cup if it gets too thick.
  • Add mangoes and cook until mixture begins to simmer again, about 3-5 minutes.
  • If using egg, whip egg white in a small bowl (or the measuring cup) with the sugar/sweetener. Temper this mixture into the saucepan by folding 1-2 tbsp of the hot pudding mixture into the egg white/sugar mixture. Do this at least three times before pouring the egg white/sugar bowl mixture into the saucepan. Then allow pudding to cook another 2-3 minutes in saucepan.
  • If not using egg, simply mix the sugar into pudding on stove and cook 2-3 minutes.
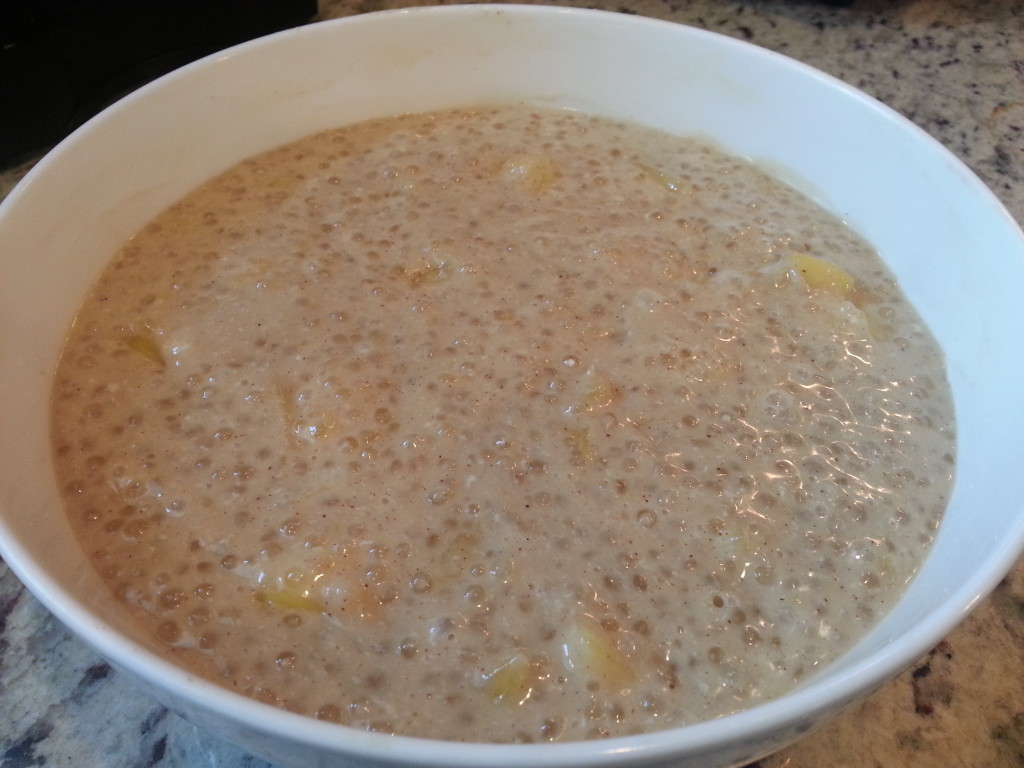
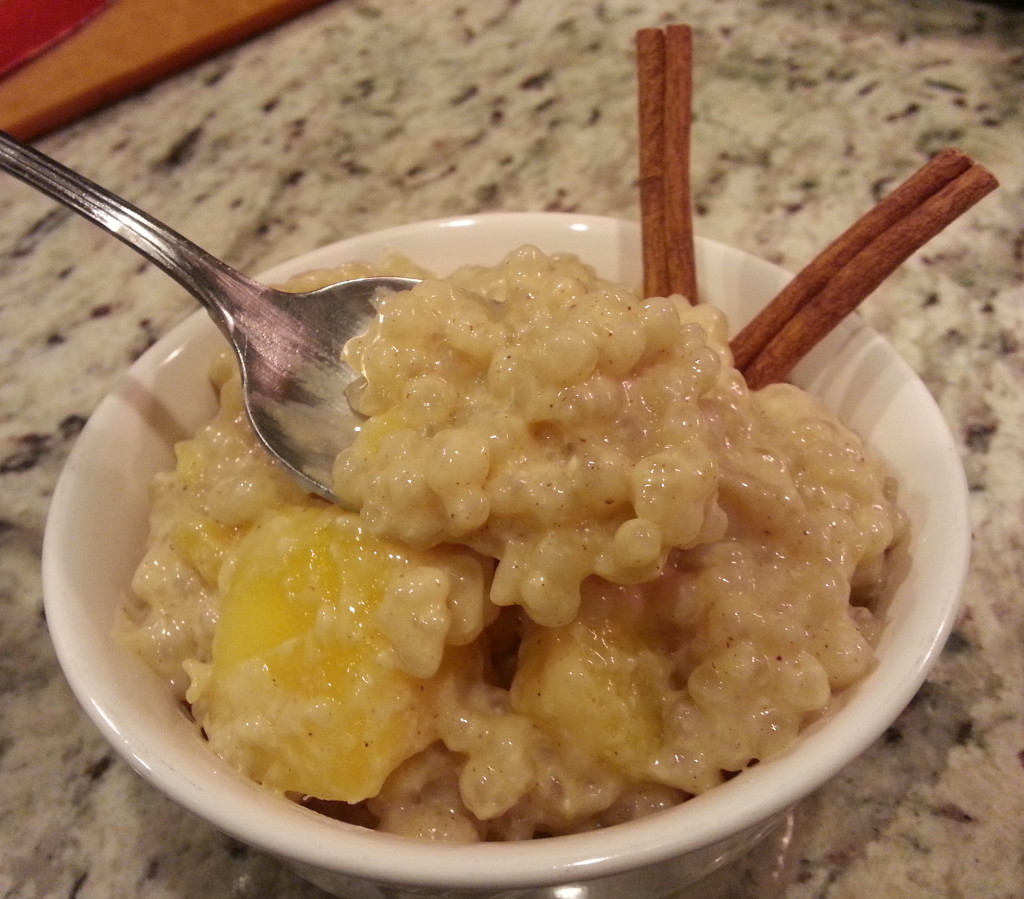
  • Pour into a serving bowl and add vanilla and cinnamon. Mix well.
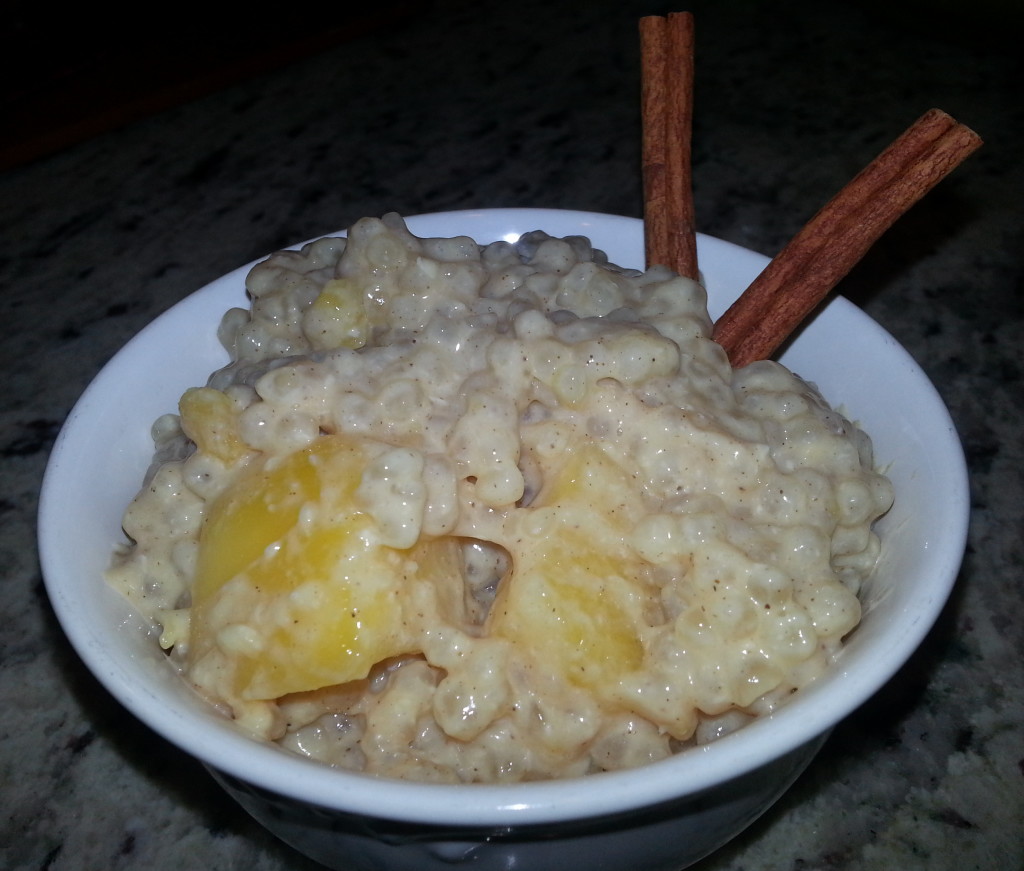
  • You can serve this warm from the oven or cover it and refrigerate up to 5 days for a cool dessert. It’s really delicious both ways (and thickens even more as it sits). It’s really presentable when served with cinnamon sticks (as shown in pics).
  • Enjoy! :)


20151226_125449


20151226_125711


20151226_130004


20151226_130510


20151226_133803


20151226_133850


20151226_135828


20151226_192417

Rich, Delicious Pumpkin Cheesecake (RECIPE) – Easy, no bake, dairy-free, vegan!

This is one of my go-to recipes when it comes to last minute requests for dessert, which is exactly what happened on Christmas this year. I was asked to bring a dessert the night before the big day – well after all the grocery stores were closed. Seeing as I normally have all of the ingredients on hand that are needed to put this Pumpkin Cheesecake together, it was easy breezy.

Too delicious to set up for a food photo shoot. Paper plate it is.

This dessert turns out super rich, indulgent, creamy, and cheesecake-y… despite not having any dairy whatsoever. Unless you let everyone know this is a plant-based dish, no one will guess that cashews are the “cheese” up in this cake. Not to mention, there are virtually no dirty dishes, give or take a few measuring utensils, because everything goes straight into the blender with no bowls or mixing necessary. It’s also fast to prepare since all you do is blend for a couple of minutes until it becomes nice and creamy.

The hard part is the waiting time for this to set, which still isn’t even that bad at only an hour or two.

Yaaaas this Pumpkin Cheesecake deserves a porcelain plate. But taste > aesthetics.

All that said, it’s important to remember this is still an indulgent dessert. Just because it is made with more nutritious and quality ingredients than any store bought (or even traditionally made) cheesecake, doesn’t mean it’s a free-for-all to have a handful of giant slices and nudge it off as okay since it’s “healthy“. I mention this because whenever I concoct any food things – whether it is a main dish, appetizer, dessert, drink, anything – I noticed many people assume it is a “healthier” or “lighter” version and, therefore, it’s okay to overindulge. This isn’t the case, as the macro-nutrients (namely, fat and sugar) do still add up which means that sometimes my versions aren’t necessarily lower-calorie versions. They’re just better quality options than others.

Treat any dessert like dessert, and any main dish as a main dish. Eat until your just about satisfied and avoid stuffing yourself. Treat this Pumpkin Cheesecake like you’d treat any special dessert or high-fat-high-sugar treat. (Hint: That means it may be best for your waistline to keep this recipe in your arsenal for potlucks or special date nights. Once you taste it, you’ll see why… It’s really freaking good and tough not to eat the whole thing yourself!)

20151215_123102
High quality ingredients does NOT always equal lower calorie treats!

Now, get to makin’… and make sure you enjoy each bite!

EASY, DELICIOUS PUMPKIN CHEESECAKE

For the filling:

  • 2 cups raw cashews (soaked in cool water overnight, or use boiled water and quick-soak for an hour)
  • ½ cup 100% pumpkin puree
  • ¼ cup coconut oil
  • Juice from one lemon (about 3 Tbsp)
  • 1 tsp pure vanilla extract
  • ¾ cup pure maple syrup
  • 1 tsp. pumpkin pie spice
  • ¼ tsp. ground cinnamon
  • Scant ¼ tsp. ground ginger
  • A good pinch of salt
  • tsp. Chinese five-spice powder *this is my secret addition for pumpkin pie, too! Adds a touch of special!
  • Optional: ¼ cup unsweetened coconut flakes, toasted (to sprinkle on top when serving)
  1. Place all of the above ingredients (except coconut flakes) in a blender or food processor and blend until smooth.
  2. Pour the creamy filling into a prepared graham-style pie crust, or into a raw crust (recipe below).
  3. Place in the freezer for ~2 hours or until solid.
  4. To serve, remove from freezer and let thaw enough to cut through (about 20 minutes before serving). To avoid the cheesecake from getting too soft, don’t leave out for more than an hour and keep any uneaten portion stored in freezer (it may get too soft in fridge). This will easily keep in the freezer for up to a month, I imagine… Though it’s never lasted more than a week at my house!
  5. ENJOY! :)

NO-BAKE, RAW PIE CRUST RECIPE

  • 1 cup raw almonds (or 1 1/4 cup almond flour) *Pecans would be great, too!
  • 1 cup of packed, pitted Medjool dates (about 15 medium sized dates)
  • A good pinch of salt
  • 1/8 tsp ground cinnamon
  • 1/16 tsp ground ginger
  • Needed: A spring form pan, if possible, Otherwise a pie dish or even 8×8 baking dish works.
  1. If using a spring form pan, line the bottom with parchment or wax paper (and cut into a circle).
  2. If using whole almonds, place them in a food processor and grind until it becomes a coarse flour (photo below). *If you’re using the almond flour, skip to next step.
  3. Remove ground almonds from food processor and set aside in a bowl.
  4. Place dates in food processor and process until they soften and one big sticky ball forms (photo below).
  5. Add ground almonds back in with salt, cinnamon, and ginger, and continue processing until the texture becomes small crumbles that easily stick together when you press them between your fingers.
  6. Pour the crust mixture into the spring form pan (or pie dish, or baking dish), and press down with your fingers until it covers the entire area (photo below). *Wet your fingers with a little bit of water if you find it’s too sticky.
  7. Pour in your favorite pie filling (like the Pumpkin Cheesecake above) and you’re good to go!
Line your spring form pan…

20151215_122852

Grind up those almonds…

20151215_123606

Process the dates until a ball forms…

20151215_124813

Add ground almonds back in and process to reach this consistency…

20151215_125042

Press crust into bottom of pan…

20151215_125622

Pour in the pumpkin cheesecake filling and smooth with the back of a spatula…

20151215_132748

let set, cut, serve, and enjoy! :)

20151215_193757

Are Fatty Foods Addictive? Do you eat ice cream? Must watch! (VIDEO)

It’s been a while since I’ve posted an update, blog, recipe, other fun-filled reads… BUT, this.

THIS.

Why am I choosing to share this video out of the hundreds of other videos, studies, essays, and research I’ve come across proving the message that is being put across? It’s pretty simple, really.

  1. It’s short enough to get and keep your attention for the whole thing.
  2. It’s JAM-PACKED with legit, clinical studies and information proving the point.
  3. It relates to a common struggle MANY OF YOU have expressed, and are unsure why.
  4. It’s quickly impactful, incredibly relevant, clear & concise…

Basically, it’s just good.

If you watch one 5-minute video this week, or this year… It better be this one. I’ll admit, that may even be including my own videos for you guys! There is a lot explained in this short video that can be a huge eye-opener to many people (which, in turn, will help you MAKE and STICK to your healthy choices):


What do you think? Does any of thing ring true to you? If you’ve gotten my Nutritional Cheat Sheet, you will see my notes regarding single foods that are both high in fat and carbohydrates (think ice cream, fried anything – especially sweets, most anything sugary and processed, even peanut butter, to name a few).

Hint: As you know by watching the above video, you want to steer clear of such apparent deliciousness!

Let me know what you think about this beneficial lil’ video of education in the comments below; will this effect your food choices from here on out? Have you experienced any of the side-effects mentioned when it comes to dopamine or satisfaction? Discuss!

P.S. Lots of great updates coming soon including my first exclusive e-book, members-only recipe book, instructional videos, and more! Make sure to sign up to our mailing list for updates and don’t forget to browse around the place! :)

EASY, Go-To Protein Shake Recipes!

Common Question: How do I USE protein powder?

Depending on the type of protein powder (for the sake of simplicity, I will refer to the two more common comparisons: whey and plant-based), there is little difference when it comes to actual preparation and ways to enjoy.

Compared to whey, plant-based protein (like my favorite: RawFusion), tends to act more like a ‘flour’ when mixed or baked into different things. It is a bit thicker, slightly harder to blend, and can even be made into a pudding quite easily (similar to casein protein for anyone familiar with Casein Fluff). Whey, however (especially whey isolate), tends to become more gummy and liquid-like and would not suffice in a pudding-type treat. Due to this, it does blend into liquids or other foods, like yogurt, much faster and easier.

So in the case of consistency, plant-based proteins = thicker like flour; whey proteins = easier to blend into liquid. Regardless, both are great for blended smoothies. And since most clients I have worked with are in need of a convenient way to use protein powder as opposed to becoming the next Master-of-Creative-Culinary-Uses-For-Protein (guilty, as proven by the video at the bottom of this post), I will share a couple of my favorite go-to protein smoothie ideas that are easy, delicious, and nutritionally-sound.

These are great any time of day: breakfast, an hour or so before your workout, after your workout, or literally any time. Sure, there are certain benefits timing-wise if you want to get more detailed with the science of nutrient absorption versus activity and a whole slew of other metabolic factors, but what ultimately matters is simply getting into the routine of having additional protein and feeding your body favorable nutrients in general. Trust me. Do not over-complicate things, especially with new routines. Focus on the grand scheme rather than minute details. Have your shake or smoothie where it fits best for you and your schedule.

Remember: it is best to start with small and simple habits!

Protein Mocha Frappuccino

  • 8-10 oz. unsweetened almond or coconut milk
  • 1 scoop Protein Powder of choice (or 2 for active men) *I use RawFusion
  • 1 Tbsp. Instant Coffee Granules
  • 1 Tbsp. Unsweetened Cocoa Powder *omit if you’re using Chocolate-Flavored Protein
  • 1 Handful of Ice
  • 1 Tbsp. Chia Seeds OR 2 Tbsp. Ground Flaxseed
  • Optional: 1 tsp. vanilla extract, or any extract of choice! Coconut, Mint, Orange, Banana.. tons of fun flavors out there! Be creative!

Blend in blender and enjoy!

Fruity Protein Smoothie

  • 8-10 oz. unsweetened almond or coconut milk
  • 1 scoop Protein Powder of choice (or 2 for active men) *I use RawFusion Vanilla
  • A big handful of raw spinach
  • 1 Cup Frozen Berries
  • 1 Tbsp. Nut Butter, Coconut Butter, Chia Seeds OR 2 Tbsp. Ground Flaxseed
  • Optional: 1 tsp. vanilla extract, or any extract of choice! Coconut, Orange, Banana… get creative!

 Blend in blender, sprinkle some cinnamon on top, and enjoy!

*For those seeking a trusty, inexpensive little blender, I always suggest this Hamilton Beach Single Serving Blender with Travel Lid. It is easy to find (sold at Wal-Mart or Amazon.com for $12-14), blends your shake smoothly, lasts FOREVER (I’ve had mine for over 6 years, plus check out these reviews), and is great to keep at work and/or at home.

The great thing about smoothies is that you CAN very easily adjust and get creative according to your taste! Make it a Veggie Smoothie by adding in some cucumbers, celery, spinachMake it an Apple Pie Smoothie by using vanilla protein, cinnamon, a chopped apple (or even organic apple sauce), and some walnutsMake a Pumpkin Pie Smoothie by using pumpkin puree, vanilla protein, cinnamon, ginger, nutmeg, and some pecans… Don’t be scared to try new things! You’ll be surprised at some of the deliciousness you come up with.

For those who ARE open to becoming more creative with protein powder, try mixing it into some organic Greek Yogurt, or mixing it into cooked and cooled down oatmeal, or even making it into a pudding like I mentioned and using it as a dip or sweet cream sauce like I did in this recipe.

Want to get really fancy?

Check out this video recipe for Protein Marshmallows!

Coming soon: Recipes for both my easy, homemade chocolate bars and simple, sprouted grain “graham” crackers to use with the Protein Marshmallows for the delicious S’mores-From-Scratch as shown here…

Smores

Like I said, the possibilities really are endless! :)

3-Minute Chocolate Protein Cake (aka: the 2:30 AM Mudd Cake)

I’m going to keep this short and simple so you can try it, stat. Here is something so easy, SO yummy, and my clients have probably heard me mention it once or twice (hence the requests for this post, which I apologize for how long it took me to do)!
This individually-sized chocolate cake literally takes just a few minutes to make and uses simple, protein-packed ingredients that will satisfy your sweet tooth without artificial ingredients, sugars, or additives. The recipe is also gluten-free, dairy-free, and even vegan if you replace the liquid egg whites with a vegan-friendly egg substitute.
Easy Vegan Egg Substitute:  Mix 2 Tbsp ground flax (seed or meal) with 6 Tbsp warm water. Let sit for about five minutes, until it becomes a gooey, egg-like consistency. Use in recipe as you would eggs/egg whites.
Plus, did you know that cocoa actually has numerous health benefits, including alleviating cravings and encouraging satiety?  You’ll be surprised at how moist, rich, and delicious this turns out (and this is, admittedly, coming from someone who is NOT typically a fan of microwaving anything… never mind baked goods)!
Even more exciting news? This is just the first of a number of recipes (and videos) I will be posting featuring my most favorite, plant-based protein, RawFusion by SAN.
So here she is, the 3-Minute Chocolate Protein Cake (originally named the 2:30 AM Mudd Cake by the other half, who can also be credited for the lovely photo you see below… before it was devoured, of course).

RawFusion chocolate cake

3-Minute Chocolate Protein Cake (makes one serving)

In a mug or small bowl, whisk together the following:

From there, simply put it in the microwave at a power level of 5 for 2 minutes (adjusting that power level is super important to ensure the right finished product here). Anddd… DONE!

(Could that have been any easier?!)

If you want to get even fancier, feel free to top it off with the following:

Sweet ‘n Creamy Vanilla Sauce (enough for two servings of cake)

Simply whisk together the following in a bowl:

  • 1/2 Scoop of RawFusion protein (vanilla flavor preferred here!)
  • 1/4 C. unsweetened Almond Milk (or enough to make it a thick-but-pourable consistency)
  • 1 Tbsp Stevia
  • 1/2 tsp. Pure Vanilla Extract

After the cakes are done, flip them over onto plates and then spoon that goodness on top. You can also sprinkle with some chopped nuts (like the pistachios seen above)! ENJOY :)


Quinoa Cocoa Cakes for Two

… or for however many you like, really. This impromptu what-do-I-have-in-the-pantry-that-I-can-make-dessert-ish recipe is VERY easy and came out to two super moist and tasty little cakes. The consistency is almost fudge-like; the outside is just crisp enough to make it sort of a less gooey chocolate lava cake.


Yes it is as decadently good as it looks.....
Yes it is as decadently good as it looks…..


And added bonus, they are egg-free, gluten-free, paleo-friendly (depending how strict of a regimen you’re on considering there is a pseudo-grain flour involved), and it can easily be vegan/dairy-free by simply substituting the kind of protein used in the sweet cream sauce to something like Sunwarrior Protein-Vanilla. Make sure to check out the notes below the recipe for more tips! :)


Try it out and let me know what you think!


Quinoa Cocoa Cakes for Two

Ingredients:

1/4 Cup Quinoa Flour

2 Tbsp cocoa powder

3 Tbsp Stevia*

1/4 tsp. Baking Powder

Pinch of salt

Scant 1/4 tsp instant coffee or espresso (optional)

1 Tbsp Ground Flaxmeal

1 Tbsp Extra Virgin Olive Oil*

1/4 Cup + 3 Tbsp water

1/4 tsp. Vanilla Extract


What to do:
Preheat oven to 350.*
In a small glass or bowl, whisk together flaxmeal, olive oil, water, and vanilla extract. Let sit for 5 minutes.
In another bowl, mix together quinoa flour, cocoa powder, stevia, baking powder, instant coffee, and salt.
Add flax liquid to dry ingredients and whisk together well.
Split batter into two greased large muffin tins (or I had mini-bundt tins). Bake for 20-25 minutes, until toothpick inserted comes out clean.
Plate each on top of half the Sweet Cream Sauce. Optional tops include.. well.. basically whatever you want. I had a dollop of Son of a Butter! Smoky Bacon Peanut Butter and a fresh strawberry.
*Next time I may try baking at 375 for around 18 minutes. If you like a more cakey, less fudgy center, this option would encourage that more.

 
Crazy Easy Sweet Cream Protein Sauce:

Scoop 1-2 Servings of your favorite vanilla protein powder into a bowl (I used Vi-Shape by Body By Vi since that is all I had on hand) and whisk with just enough water for thick sauce consistency. I added a touch of cardamom and cinnamon for an extra yumminess.


P.S. Don’t forget, if you want photos of recipes as they are created, workout tips, free gym routines, and other random goodness, you can follow me on Instagram or Twitter too. Happy New Year, everyone!


Happy Chocolate Chip Cookie Day!

There literally seems to be a day for every single food, condiment, spice, baked good, anything-slightly-culinarily-related these days. But, especially considering O.G. chocolate chip cookies are one of my better known specialties, who would I be to pass this up?

Instead of a plain ol’ recipe for cookies, here is a special little treat I will occasionally make myself (that is just like eating my O.G. cookies all mushy-like with a spoon.. Mmm..)

Post-Workout Warm Cookie Dough in a Bowl

Mix the following ingredients in a good-sized bowl:

¼ C. cream of rice (dry) + 3/4 C. water 
½ C. + 3 Tbsp liquid egg whites
½ tsp butter extract
½ tsp vanilla extract
Pinch of ground instant coffee
1 Tbsp brown sugar [OR] 1/2 Tbsp maple syrup + 2 Tbsp stevia [OR] 1 Tbsp Splenda brown sugar for baking

Cook above in microwave, whisking every minute until nice 'n thick (I start with 2 minutes, whisk, 1 minute, whisk, 1 minute, whisk... you get the idea). If it gets TOO thick, just whisk in more water. Let it cool a good five minutes or so (it will be really hot), then stir in: 

1 heaping Tbsp semi-sweet chocolate chips (preferably 70% or darker)

I pretty much let it cool down to only slightly warm before adding them in, otherwise the chocolate chips will just melt away as soon as you start stirring. You can always just sprinkle them on top though.

There are tons of substitutions and variations that can be made of this, too. Using oats, protein powder, different additives (walnuts, cacao nibs, blueberries...). Play around and see what works! This in particular is suited best for a PWO meal because of the faster-absorbing (high-glycemic) carbohydrates, ratio of protein to those carbs, and lower fat.

Tasty and effective! Enjoy!